Перейти к основному содержанию
Присоединяйся к сообществу ремонтников - Создай аккаунт

Canon EOS Rebel T5 Image Sensor Replacement

Выберете то, что вам нужно

    1. Canon EOS Rebel T5 Image Sensor Replacement, Battery: шаг 1, изображение 1 из 1
      • Lay the camera on its back so that the card/battery door is facing you.

      • Using your fingernail, slide the tab on the battery door up to release the battery door latch.

      Спросите у FixBot

      Добавить комментарий

    2. Canon EOS Rebel T5 Image Sensor Replacement: шаг 2, изображение 1 из 1
      • Lift the now free card/battery door to reveal the battery compartment.

      • Push the gray lever to the right side so that the battery can be removed and replaced with a new one.

      Спросите у FixBot

      Добавить комментарий

    1. Canon EOS Rebel T5 Image Sensor Replacement, Back Cover: шаг 3, изображение 1 из 1
      • Turn the camera so that the back is facing to your right.

      • Remove the 5mm JIS #000 screw above the rubber USB port cover.

      Спросите у FixBot

      Добавить комментарий

    2. Canon EOS Rebel T5 Image Sensor Replacement: шаг 4, изображение 1 из 1
      • Remove the rubber piece.

      • Unscrew the two screws under the rubber cover to completely remove the rubber cover piece.

      • It is held in place by a notched tether, but can be easily manipulated to slide out.

      Спросите у FixBot

      Добавить комментарий

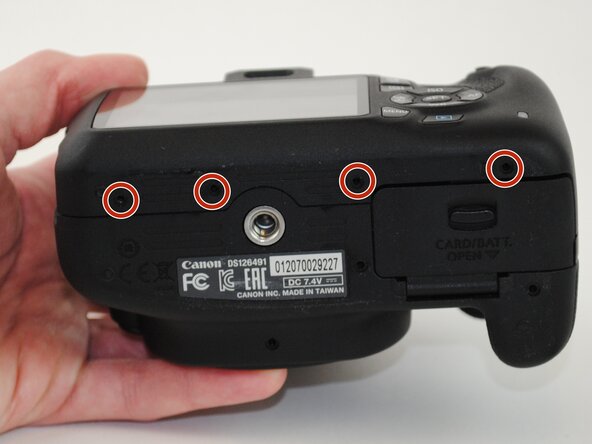
    3. Canon EOS Rebel T5 Image Sensor Replacement: шаг 5, изображение 1 из 1
      • Turn your camera so that the bottom is facing you.

      • Remove the four 5mm JIS #000 screws.

      Спросите у FixBot

      Добавить комментарий

    4. Canon EOS Rebel T5 Image Sensor Replacement: шаг 6, изображение 1 из 1
      • Now turn the camera so that the front is facing towards your right.

      • Remove the two remaining 5mm JIS #000 screws.

      Спросите у FixBot

      Добавить комментарий

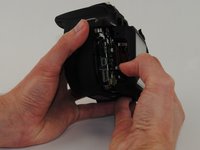
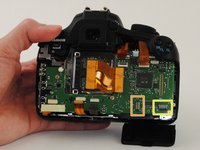
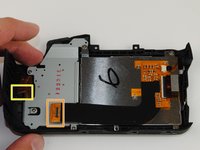
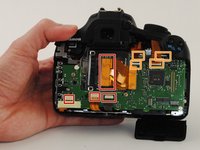
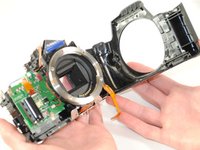
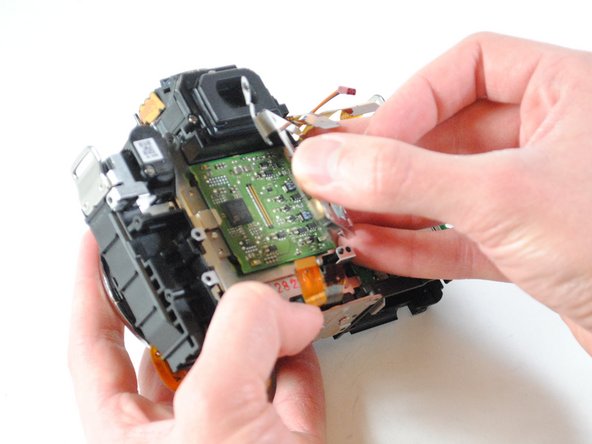
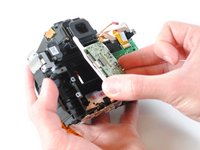
    5. Canon EOS Rebel T5 Image Sensor Replacement: шаг 7, изображение 1 из 3 Canon EOS Rebel T5 Image Sensor Replacement: шаг 7, изображение 2 из 3 Canon EOS Rebel T5 Image Sensor Replacement: шаг 7, изображение 3 из 3
      • Now that all of the exterior screws have been removed, grip the camera firmly on both sides.

      • Gently pry the back panel from the main body of the camera.

      • There are two ribbon cables that need to be removed in order for the back panel to come free from the camera body, as indicated.

      • This back panel contains various control components of the camera as well as the LCD screen.

      Спросите у FixBot

      Добавить комментарий

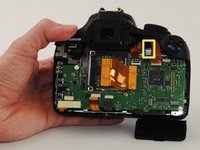
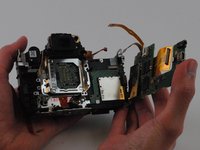
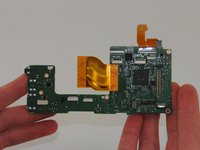
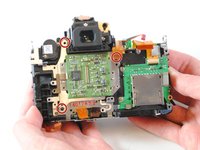
    1. Canon EOS Rebel T5 Image Sensor Replacement, Motherboard: шаг 8, изображение 1 из 2 Canon EOS Rebel T5 Image Sensor Replacement, Motherboard: шаг 8, изображение 2 из 2
      • Remove all ribbon cables with the plastic spudger.

      • Gently pry up the black plastic tabs to slide out the ribbon cables

      • Take note of this black cable and where it connects to the motherboard. This is a fiber optic cable which is used for the camera flash. It will need to be reconnected after replacing the motherboard.

      • When reconnecting the fiber optic cable, simply push the black cable into the hole in the connector and push it all the way in.

      Спросите у FixBot

      Добавить комментарий

    2. Canon EOS Rebel T5 Image Sensor Replacement: шаг 9, изображение 1 из 1
      • Turn your camera so that the top is facing you.

      • Remove the two black 5 mm JIS #000 screws.

      Спросите у FixBot

      Добавить комментарий

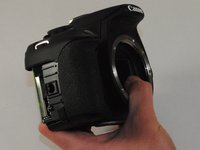
    3. Canon EOS Rebel T5 Image Sensor Replacement: шаг 10, изображение 1 из 3 Canon EOS Rebel T5 Image Sensor Replacement: шаг 10, изображение 2 из 3 Canon EOS Rebel T5 Image Sensor Replacement: шаг 10, изображение 3 из 3
      • Turn the grip side toward you.

      • Remove the rubber grip, using the plastic spudger.

      Спросите у FixBot

      Добавить комментарий

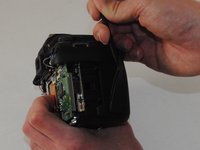
    4. Canon EOS Rebel T5 Image Sensor Replacement: шаг 11, изображение 1 из 1
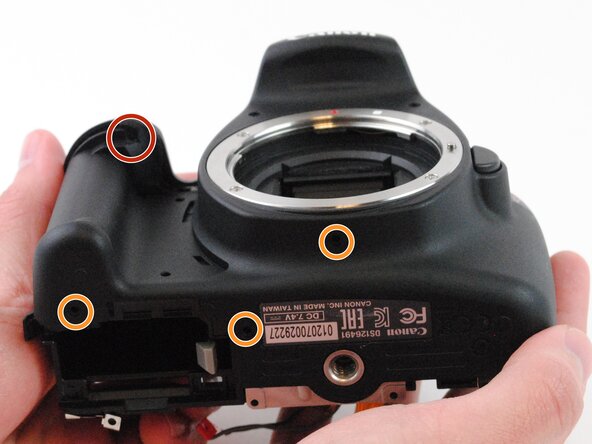
      • Remove the black 5 mm JIS #000 screw, located under the grip.

      • Remove the three 3.5mm JIS #000 screws on the bottom of the case.

      Спросите у FixBot

      Добавить комментарий

    5. Canon EOS Rebel T5 Image Sensor Replacement: шаг 12, изображение 1 из 1
      • Remove the top panel of the device.

      Спросите у FixBot

      Добавить комментарий

    6. Canon EOS Rebel T5 Image Sensor Replacement: шаг 13, изображение 1 из 2 Canon EOS Rebel T5 Image Sensor Replacement: шаг 13, изображение 2 из 2
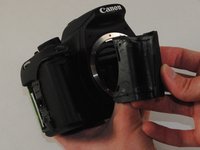
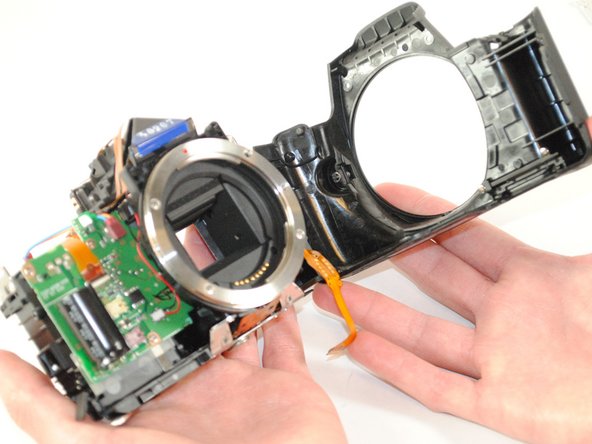
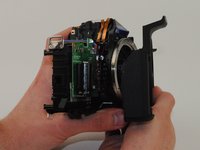
      • Remove the front panel of the camera.

      Спросите у FixBot

      Добавить комментарий

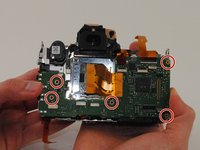
    7. Canon EOS Rebel T5 Image Sensor Replacement: шаг 14, изображение 1 из 3 Canon EOS Rebel T5 Image Sensor Replacement: шаг 14, изображение 2 из 3 Canon EOS Rebel T5 Image Sensor Replacement: шаг 14, изображение 3 из 3
      • Remove the five silver 5mm JIS #000 screws.

      • The motherboard can now be removed.

      Спросите у FixBot

      Добавить комментарий

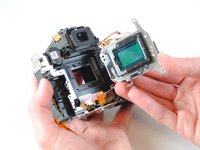
    1. Canon EOS Rebel T5 Image Sensor Replacement, Image Sensor: шаг 15, изображение 1 из 2 Canon EOS Rebel T5 Image Sensor Replacement, Image Sensor: шаг 15, изображение 2 из 2
      • The screws holding the image sensor in place is set to a very specific height. Unless they are returned to the exact same height after replacement, the camera will no longer be in focus unless the focus is recalibrated.

      • Remove the three silver 3mm JIS #000 screws from the image sensor holder.

      • Remove the image sensor holder.

      Спросите у FixBot

      Добавить комментарий

    2. Canon EOS Rebel T5 Image Sensor Replacement: шаг 16, изображение 1 из 3 Canon EOS Rebel T5 Image Sensor Replacement: шаг 16, изображение 2 из 3 Canon EOS Rebel T5 Image Sensor Replacement: шаг 16, изображение 3 из 3
      • Remove the three remaining silver 3mm JIS #000 screws from the image sensor.

      • Be careful not lose the springs underneath the screws on the image sensor

      • Using your fingers, lift the image sensor from the device.

      Спросите у FixBot

      Добавить комментарий

Заключение

To reassemble your device, follow these instructions in reverse order.

Отменить: Я не выполнил это руководство.

13 человек успешно провели ремонт по этому руководству.

Tyler Brown

Участник с: 09/22/14

921 Репутация

Автор 2 руководств

Команда

USF Tampa, Team 16-4, Wollert Fall 2015 Участник USF Tampa, Team 16-4, Wollert Fall 2015

USFT-WOLLERT-F15S16G4

4 членов

Автор 18 руководств

3 Комментарии к руководству

Thanks for the post. I was able to take this apart without damage to any of the camera parts. I am wondering if you happen to have the data sheet for the camera sensor, 704f? I cannot seem to find one.

Dawn - Ответить Поделиться
Hi. I do not see where it explains the calibration of the Sensor. Could you give me some reference about that?

ivanram - Ответить Поделиться
I reassembled on the camera no longer powers on, i checked disassembled again, checked for loose wires, ribbons, everything looks perfect and still it’s completely dead.

Edward Perkins - Ответить Поделиться

Добавить комментарий

Статистика просмотров:

За последние 24 часов: 4

За последние 7 дней: 19

За последние 30 дней: 88

За всё время: 9,493