Этот перевод был сделан машиной и пока не проверен человеком. Говорите на этом языке? Просмотрите его.
Введение
Если ЖК-экран вашей видеокамеры поцарапан, треснул или неисправен, его необходимо заменить. Это руководство потребует времени и некоторых инструментов.
Выберете то, что вам нужно
-
-
-
Найдите крышку батарейного отсека. Переверните устройство и найдите крышку батарейного отсека.
-
Положите палец на текстурированный участок крышки батарейного отсека и сдвиньте ее вперед до щелчка. Затем поднимите крышку батарейного отсека.
 Спросите у FixBot
-
-
-
Найдите серый фиксатор и сдвиньте его в сторону. Аккумулятор подпружинен и приподнимется.
-
Извлеките аккумулятор.
-
-
-
-
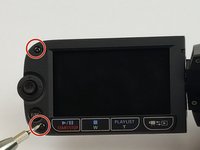
С помощью отвертки Phillips #000 открутите два винта на ЖК-панели.
-
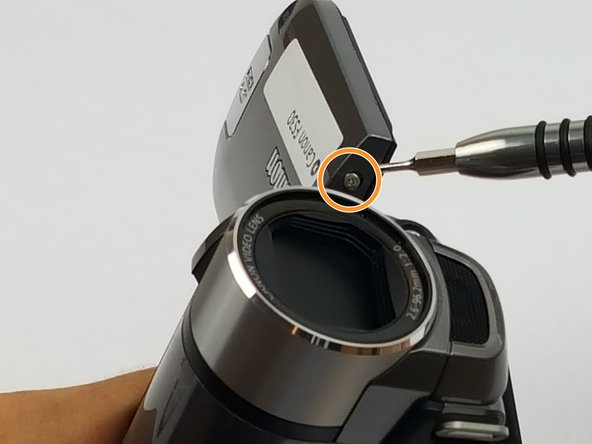
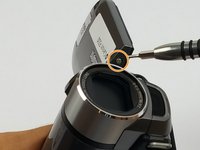
С помощью отвертки Phillips #000 открутите еще два винта рядом с точкой поворота ЖК-панели.
-
-
-
Используйте пластиковый инструмент для открывания, чтобы снять пластиковую крышку с ЖК-панели.
-
-
-
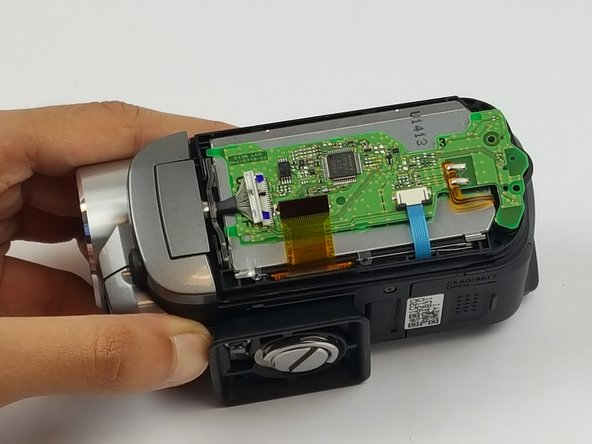
Найдите и выкрутите два винта на логической плате.
-
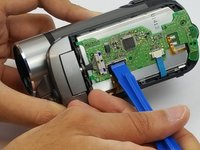
С помощью пластиковой лопатки для вскрытия откройте разъем ZIF (с нулевым усилием вставки). Шлейф ЖК-дисплея должен приподняться.
-
-



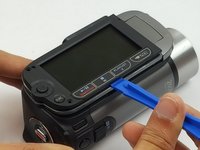
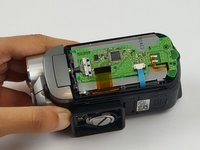

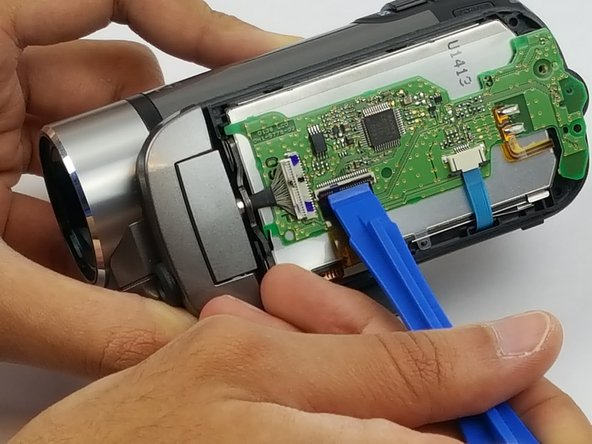
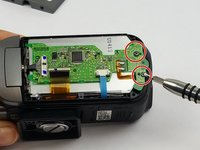

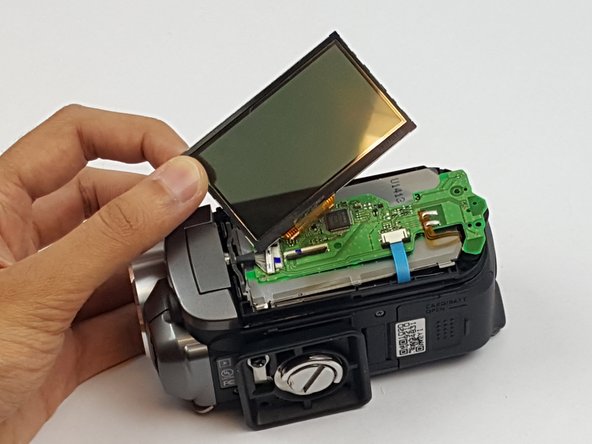
Для сборки устройства выполните эти инструкции в обратном порядке.
Отменить: Я не выполнил это руководство.
Еще один человек закончил это руководство.

Команда

USF Tampa, Team S1-G4, Nance Spring 2017 Участник USF Tampa, Team S1-G4, Nance Spring 2017
USFT-NANCE-S17S1G4
4 членов
Автор 52 руководств
