Перейти к основному содержанию
Присоединяйся к сообществу ремонтников - Создай аккаунт

Canon PowerShot A3400 LCD Display Replacement

Выберете то, что вам нужно

    1. Canon PowerShot A3400 LCD Display Replacement, Battery: шаг 1, изображение 1 из 1
      • Place thumb on area right next to where it says open and slide to the right to open.

      Спросите у FixBot

      Добавить комментарий

    2. Canon PowerShot A3400 LCD Display Replacement: шаг 2, изображение 1 из 1
      • Remove the battery by pushing the orange object outwards; the battery will spring up and out.

      Спросите у FixBot

      Добавить комментарий

    1. Canon PowerShot A3400 LCD Display Replacement, Plastic Case: шаг 3, изображение 1 из 2 Canon PowerShot A3400 LCD Display Replacement, Plastic Case: шаг 3, изображение 2 из 2
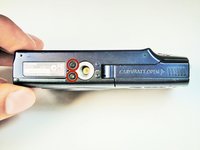
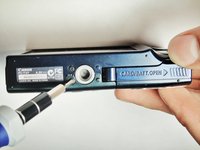
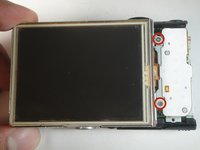
      • Remove the two 5.00 mm screws in the bottom of the casing with a Philips #000 screwdriver

      Спросите у FixBot

      Добавить комментарий

    2. Canon PowerShot A3400 LCD Display Replacement: шаг 4, изображение 1 из 2 Canon PowerShot A3400 LCD Display Replacement: шаг 4, изображение 2 из 2
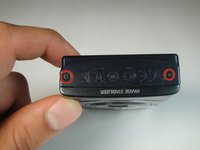
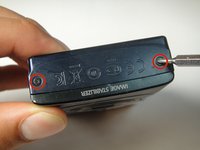
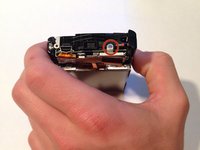
      • Place the camera on to the side that has the image stabilizer label.

      • Remove the 5.00 mm screws that are on this side using the screwdriver.

      Спросите у FixBot

      Добавить комментарий

    3. Canon PowerShot A3400 LCD Display Replacement: шаг 5, изображение 1 из 1
      • Place camera on to the side with the A/V Out Digital Cover facing up.

      • Remove this visible 5.00 mm screw.

      • Pull the A/V Out Digital cover back to uncover the next step.

      Спросите у FixBot

      Добавить комментарий

    4. Canon PowerShot A3400 LCD Display Replacement: шаг 6, изображение 1 из 1
      • Remove the 5.00 mm screw from behind the cover.

      Спросите у FixBot

      Добавить комментарий

    5. Canon PowerShot A3400 LCD Display Replacement: шаг 7, изображение 1 из 1
      • Make sure the battery cover is open.

      Спросите у FixBot

      Добавить комментарий

    6. Canon PowerShot A3400 LCD Display Replacement: шаг 8, изображение 1 из 2 Canon PowerShot A3400 LCD Display Replacement: шаг 8, изображение 2 из 2
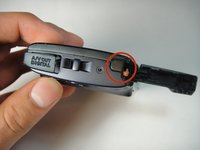
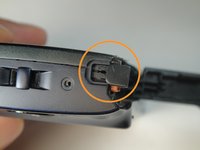
      • Turn the camera onto the side with the A/V out Digital cover.

      • Use your finger to pull this tab to the right.

      Спросите у FixBot

      Добавить комментарий

    7. Canon PowerShot A3400 LCD Display Replacement: шаг 9, изображение 1 из 3 Canon PowerShot A3400 LCD Display Replacement: шаг 9, изображение 2 из 3 Canon PowerShot A3400 LCD Display Replacement: шаг 9, изображение 3 из 3
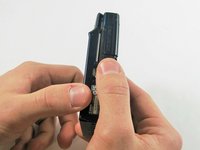
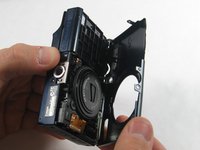
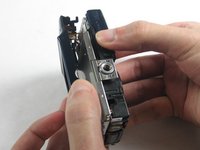
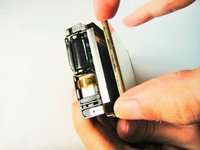
      • Remove the lens side by using your fingers or a spudger to pry it gently open.

      • Try to pry it loose all around that side so that it is easier to pull off.

      Спросите у FixBot

      Добавить комментарий

    8. Canon PowerShot A3400 LCD Display Replacement: шаг 10, изображение 1 из 3 Canon PowerShot A3400 LCD Display Replacement: шаг 10, изображение 2 из 3 Canon PowerShot A3400 LCD Display Replacement: шаг 10, изображение 3 из 3
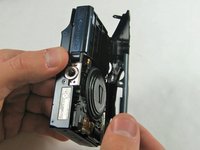
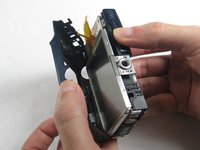
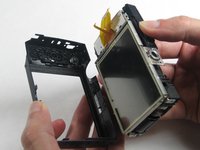
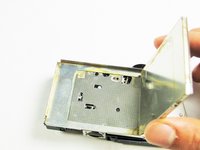
      • Using your fingers, pull the screen side gently off.

      • Try to loosen it all around that side so that it is easier to try and pull it off.

      Спросите у FixBot

      Добавить комментарий

    1. Canon PowerShot A3400 LCD Display Replacement, Lens: шаг 11, изображение 1 из 3 Canon PowerShot A3400 LCD Display Replacement, Lens: шаг 11, изображение 2 из 3 Canon PowerShot A3400 LCD Display Replacement, Lens: шаг 11, изображение 3 из 3
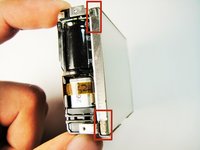
      • Remove the three 5 mm screws

      Спросите у FixBot

      Добавить комментарий

    2. Canon PowerShot A3400 LCD Display Replacement: шаг 12, изображение 1 из 3 Canon PowerShot A3400 LCD Display Replacement: шаг 12, изображение 2 из 3 Canon PowerShot A3400 LCD Display Replacement: шаг 12, изображение 3 из 3
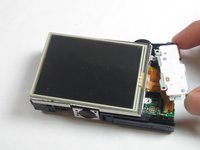
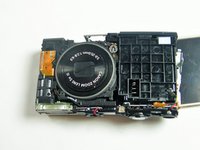
      • Pull the screen away from the main components.

      • Do not pull hard as there are some ribbons still attached to the motherboard that could be damaged if you use too much force.

      Спросите у FixBot

      Добавить комментарий

    3. Canon PowerShot A3400 LCD Display Replacement: шаг 13, изображение 1 из 2 Canon PowerShot A3400 LCD Display Replacement: шаг 13, изображение 2 из 2
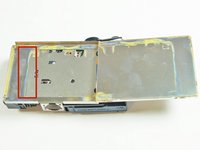
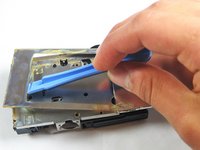
      • Lift the metal plate with the plastic opening tool.

      Спросите у FixBot

      Добавить комментарий

    4. Canon PowerShot A3400 LCD Display Replacement: шаг 14, изображение 1 из 1
      • Remove all of these 5 mm screws

      Спросите у FixBot

      Добавить комментарий

    5. Canon PowerShot A3400 LCD Display Replacement: шаг 15, изображение 1 из 3 Canon PowerShot A3400 LCD Display Replacement: шаг 15, изображение 2 из 3 Canon PowerShot A3400 LCD Display Replacement: шаг 15, изображение 3 из 3
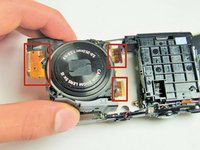
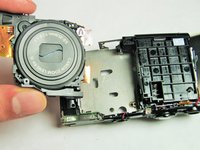
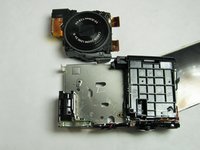
      • Gently remove the lens componenet.

      • The orange flex cables are connected to ZIF connectors. Be sure to disconnect and reconnect them properly by first unlocking the retaining flap on each connector.

      Спросите у FixBot

      Добавить комментарий

    1. Canon PowerShot A3400 LCD Display Replacement, LCD Display: шаг 16, изображение 1 из 3 Canon PowerShot A3400 LCD Display Replacement, LCD Display: шаг 16, изображение 2 из 3 Canon PowerShot A3400 LCD Display Replacement, LCD Display: шаг 16, изображение 3 из 3
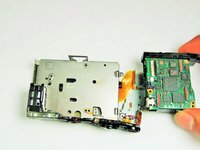
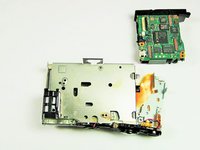
      • Detach the Motherboard, and then gently pull the motherboard away from the screen.

      Спросите у FixBot

      Добавить комментарий

Заключение

To reassemble your device, follow these instructions in reverse order.

Отменить: Я не выполнил это руководство.

Еще один человек закончил это руководство.

Matt Mullins

Участник с: 01/13/15

104 Репутация

1 руководство автора

Команда

USF Tampa, Team 1-1, Sullivan Spring 2014 Участник USF Tampa, Team 1-1, Sullivan Spring 2014

USFT-SULLIVAN-S14S1G1

1 член

Автор 2 руководств

1 Комментарий к руководству

useless if you try to do it reverse.. Don't even try it.

The Heat - Ответить Поделиться

Добавить комментарий

Статистика просмотров:

За последние 24 часов: 3

За последние 7 дней: 9

За последние 30 дней: 29

За всё время: 1,251