Этот перевод был сделан машиной и пока не проверен человеком. Говорите на этом языке? Просмотрите его.
Введение
Следуйте этому пошаговому руководству по установке для замены материнской платы на вашей камере Canon Powershot SD700 IS.
Чтобы упростить процесс, пожалуйста, ознакомьтесь с нашим более подробным руководством по снятию корпуса камеры в руководстве по замене ЖК-дисплея.
Выберете то, что вам нужно
-
-
-
Выключите камеру, нажав кнопку питания над ЖК-экраном.
 Спросите у FixBot
-
-
-
Открутите два маленьких винта в нижней части камеры с помощью отвертки Phillips #00.
-
-
-
Используйте отвертку Phillips #00, чтобы открутить два маленьких винта с правой стороны камеры.
-
-
-
С помощью отвертки Phillips #00 выкрутите винт слева от камеры, расположенный под надписью A/V out digital.
-
-
-
Используйте отвертку Phillips #00, чтобы выкрутить винт на нижней части камеры, рядом с отсеками для аккумулятора и карты памяти.
-
-
-
Снимите передний, задний и боковые корпуса с камеры и отложите их в сторону.
-
-
-
-
-
-
Отсоедините ЖК-дисплей и подсветку.
-
Выкрутите более крупный винт.
-
Выкрутите два винта меньшего размера.
-
Выкрутите маленький винт.
-
Выкрутите маленький винт.
-
-
-
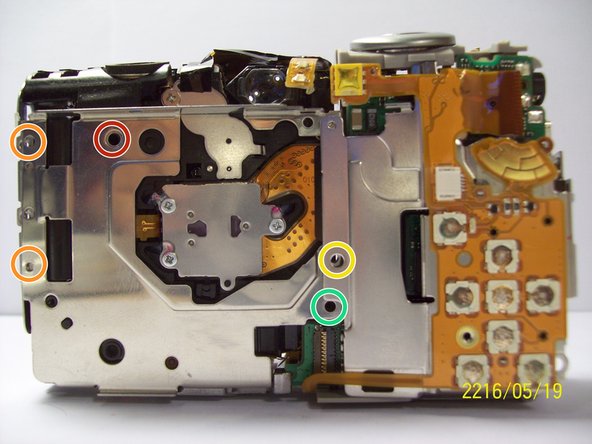
Открутите два винта рядом с креплением для штатива с помощью отвертки Phillips #00.
-
-
-
Открутите винт рядом с затвором в верхней части камеры с помощью крестовой отвертки.
-
-
-
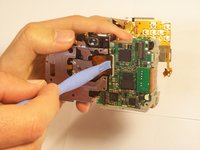
Отсоедините оранжевый шлейф, подняв с помощью лопатки фиксатор разъема ZIF, к которому он подключен.
-
-
-
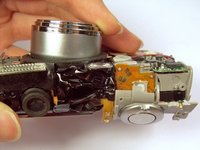
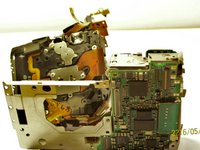
Осторожно поднимите затвор вместе с подключенным к нему шлейфом. Это позволит снять корпус вокруг материнской платы.
-
-
-
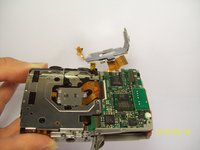
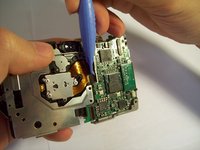
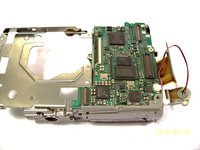
Когда корпус материнской платы снят, отсоедините короткий оранжевый шлейф, подняв фиксатор разъема ZIF с помощью спуджера или другого пластикового инструмента для открывания, и извлеките шлейф. Отсоединение этого шлейфа отделит часть камеры, содержащую материнскую плату, от остального корпуса камеры.
-
-
-
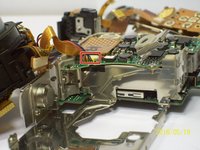
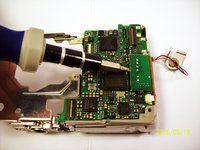
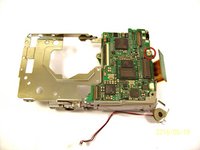
Отсоедините провода, подключенные к материнской плате.
-
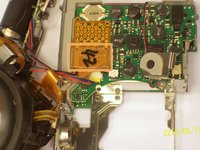
Снимите пленку, осторожно приподняв ее с материнской платы.
-
-
-
Отсоедините оставшиеся провода, подключенные к материнской плате, аккуратно потянув их вверх.
-
-
-
Открутите винт с помощью отвертки Phillips #00.
-
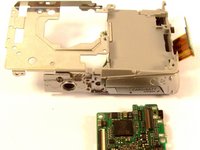
Аккуратно приподнимите материнскую плату и извлеките ее из корпуса.
-
-
-
Открутите винт.
-
После того как винт будет откручен, вы сможете извлечь плату.
-
-














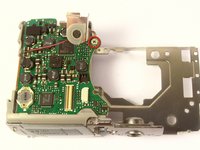
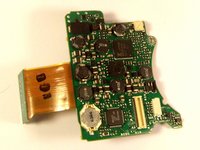
Для сборки устройства выполните эти инструкции в обратном порядке.

Команду

Cal Poly, Team 9-71, Walters Spring 2011 Участник Cal Poly, Team 9-71, Walters Spring 2011
CPSU-WALTERS-S11S9G71
4 членов
Автор 96 руководств
