Этот перевод был сделан машиной и пока не проверен человеком. Говорите на этом языке? Просмотрите его.
Введение
Используйте это руководство по ремонту, чтобы извлечь неисправную кнопку спуска затвора из вашего Canon PowerShot SD870 IS.
Выберете то, что вам нужно
-
-
-
Снимите ремешок, если он есть.
-
Извлеките литий-ионный аккумулятор.
 Спросите у FixBot
-
-
-
Открутите два винта Phillips #00 длиной 4 мм в нижней части камеры.
-
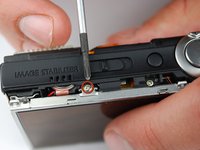
Открутите винт рядом с креплением для ремешка на запястье.
-
Приподнимите крышку «A/V OUT DIGITAL» и открутите винт над USB-портом.
-
-
-
Открутите два винта Phillips #00 с плоского торца камеры.
-
Снимите черную Г-образную боковую крышку.
-
Снимите серебристую U-образную фиксирующую пластину.
-
-
-
-
-
-
Первый винт, который необходимо снять, находится в нижней части камеры, с левой стороны.
-
С помощью отвертки Phillips #00 открутите серебристый винт длиной 3,4 мм, расположенный в нижней левой части.
-
-
-
Второй винт, который необходимо выкрутить, находится над камерой.
-
Используя ту же крестовую отвертку (Phillips), выкрутите последний серебристый винт длиной 3,4 мм.
-
Это освободит U-образную серебристую деталь, которая удерживала ЖК-экран. Снимите эту деталь и отложите её в сторону.
-
-
-
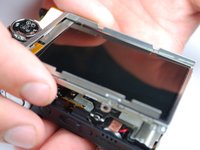
Теперь ЖК-экран должен удерживаться только шлейфом данных ЖК-экрана.
-
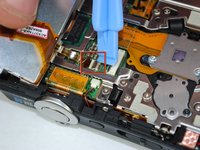
Приподнимите экран с правой стороны и с помощью маленькой отвертки или другого небольшого инструмента для открывания откиньте черную часть разъема вверх, чтобы разблокировать его.
-
Осторожно извлеките шлейф данных из разъема.
-
ЖК-экран по-прежнему должен быть подключен с помощью шлейфа подсветки.
-
-
-
Чтобы отсоединить шлейф подсветки, используйте другой небольшой инструмент для открывания, чтобы разблокировать его.
-
Аккуратно извлеките шлейф подсветки.
-
Теперь ЖК-экран должен быть полностью отделен от корпуса камеры.
-
-
-
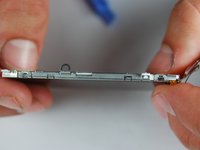
Корпус ЖК-экрана крепится с помощью 4 защелок, расположенных сверху и снизу на левой и правой сторонах.
-
Аккуратно отсоедините защелки, осторожно поддевая их одну за другой.
-
После того как защелки будут отсоединены, задняя часть корпуса по-прежнему будет соединена с передней частью шлейфом подсветки.
-
Осторожно отклейте шлейф подсветки от корпуса.
-
-
-
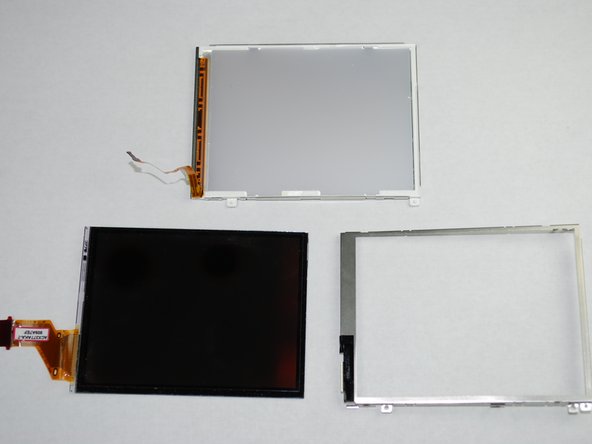
Теперь ЖК-экран и корпус должны быть разделены на три части:
-
ЖК-экран
-
Рамка ЖК-экрана
-
Задняя часть корпуса ЖК-экрана
-
Сам ЖК-экран теперь можно снять и отремонтировать/заменить.
-
-
-
-
-
После того как вы сняли корпус и ЖК-экран, можно приступать к снятию кнопки спуска затвора.
-
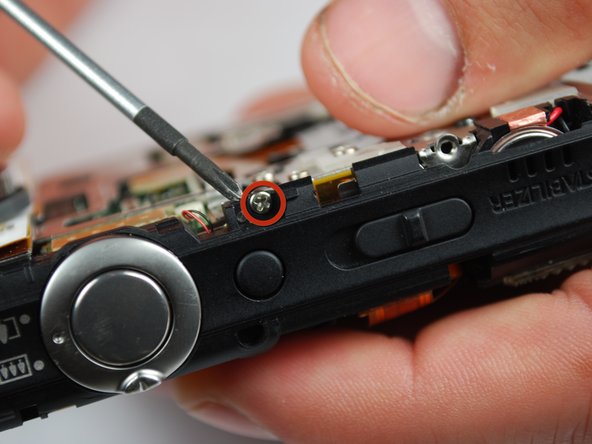
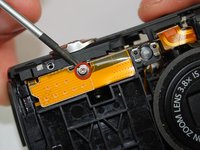
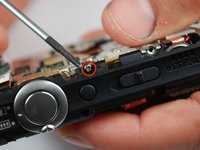
Для начала с помощью отвертки Phillips #00 открутите два серебристых винта длиной 4 мм (0,159 дюйма) на верхней и передней панелях камеры.
-
-
-
Верхняя пластиковая деталь, удерживающая кнопку фиксатора, должна крепиться к логической плате только с помощью красно-черного разъема.
-
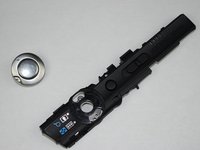
Отсоедините разъем от логической платы и снимите корпус кнопки фиксатора с камеры.
-
-
-
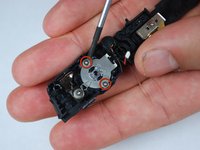
После того как вы сняли с камеры пластиковый корпус кнопки фиксатора, открутите два серебристых винта длиной 2,3 мм с помощью крестовой отвертки Phillips #00.
-
Теперь кнопку фиксатора можно снять для ремонта или замены.
-
-


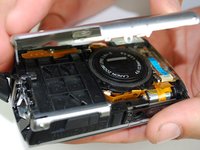
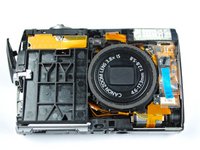


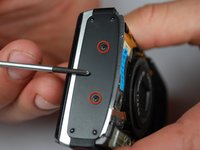
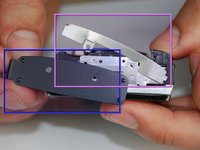








Для обратной сборки устройства выполните эти действия в обратном порядке.
Отменить: Я не выполнил это руководство.
Еще один человек закончил это руководство.

Команду

Cal Poly, Team 10-45, Garner Spring 2010 Участник Cal Poly, Team 10-45, Garner Spring 2010
CPSU-GARNER-S10S10G45
4 членов
Автор 72 руководств
