Введение
Canon PowerShot SX600 HS camera, can have a broken or damaged screen/LCD. The screen can be noted to have cracks or the LCD does not allow the screen to display, either or calls for a replacement of the display screen. Use this guide when replacing the display screen or LCD for your camera.
Выберете то, что вам нужно
-
-
-
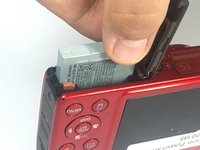
To remove the battery, locate the battery cover on the bottom of the camera.
-
Using your thumb, press down on the cover and slide it outwards.
 Спросите у FixBot
-
-
-
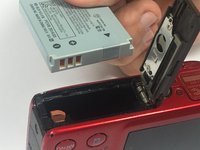
Depress the orange lever holding the battery in place to unlock it.
-
-
-
-
-
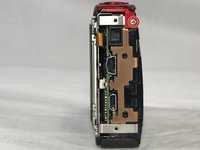
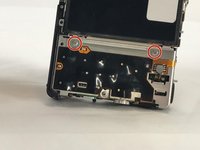
Use a #000 Phillips screwdriver to unscrew the four 4mm screws located on the sides of the camera (2 for each side).
-
-
-
Unscrew the four 2mm located on the bottom of the camera using a Phillips #000 screwdriver.
-
-
-
-
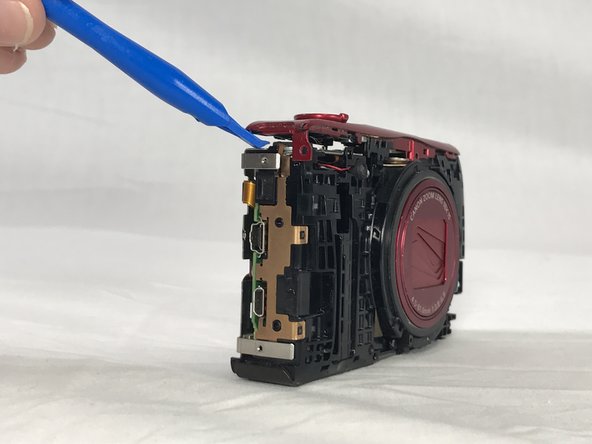
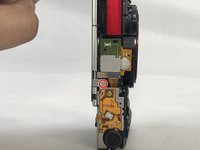
Use a plastic opening tool to loosen and remove both the front and back plates of the camera, as well as the two side pieces.
-
-
-
Unscrew the three 2mm screws attaching the piece to the camera frame with a #000 Phillips screwdriver.
-
-
-
Use an opening tool to gently remove the power and shutter button assembly from the frame.
-
-
-
-
-
Unscrew the 2mm screw connections of the main board protector from the camera frame using a #000 Phillips head screwdriver (2 on front, 1 on top)
-
-
Инструмент, используемый на этом этапе:Tweezers$4.99
-
Use a pair of tweezers to remove the no-fuss connector from its holder.
-
-
-
Lift the LCD screen ZIF connector tab and remove the ribbon cable.
-
Detach the no-fuss connector.
-
Lift the screen from its holder.
-
-


To reassemble your device, follow these instructions in reverse order.
Отменить: Я не выполнил это руководство.
7 человек успешно провели ремонт по этому руководству.
Команда

USF Tampa, Team S6-G4, Lacy Spring 2017 Участник USF Tampa, Team S6-G4, Lacy Spring 2017
USFT-LACY-S17S6G4
3 членов
Автор 9 руководств
2 Комментарии к руководству
Plz I want othe
I did all this with a new LCD. After reassemble the lens has extended out but camera does not turn on. Should I take it apart again and start from beginning. Is there a connector not in place correctly that will cause this to happen?