Перейти к основному содержанию
Присоединяйся к сообществу ремонтников - Создай аккаунт

Canon Powershot A720 IS Lens Replacement

Выберете то, что вам нужно

  1. Canon Powershot A720 IS Lens Replacement, Lens: шаг 1, изображение 1 из 2 Canon Powershot A720 IS Lens Replacement, Lens: шаг 1, изображение 2 из 2
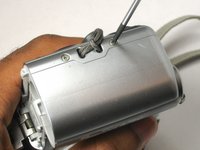
    • If the initial shutter button dislodge does not work, we have to disassemble the camera.

    • On the bottom of the camera, use your thumb and push the battery lock up to open. The battery compartment door should then spring open and batteries will slide out.

    Спросите у FixBot
  2. Canon Powershot A720 IS Lens Replacement: шаг 2, изображение 1 из 1
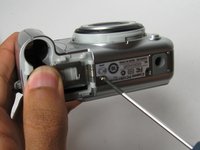
    • Place the camera down with the lens facing up.

    • Next, use the Phillips #00 Precision Screwdriver to unscrew the inner most 4 mm phillips head screw. This will remove the door from the camera.

    • Be sure to place all screws on the Magnetic Mat. Using a dry erase marker, write the size and location of where the screws were removed from.

    Спросите у FixBot
  3. Canon Powershot A720 IS Lens Replacement: шаг 3, изображение 1 из 3 Canon Powershot A720 IS Lens Replacement: шаг 3, изображение 2 из 3 Canon Powershot A720 IS Lens Replacement: шаг 3, изображение 3 из 3
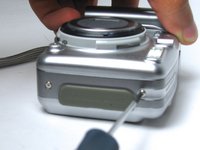
    • Use the Phillips #00 Precision Screwdriver to remove the six 4 mm Phillips head screws found on the sides and bottom of the camera.

    Спросите у FixBot
  4. Canon Powershot A720 IS Lens Replacement: шаг 4, изображение 1 из 3 Canon Powershot A720 IS Lens Replacement: шаг 4, изображение 2 из 3 Canon Powershot A720 IS Lens Replacement: шаг 4, изображение 3 из 3
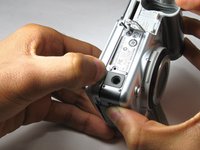
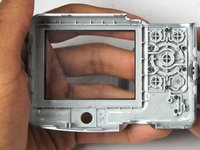
    • Slowly pry open the back case panel to separate from the rest of the camera.

    • The gray rubber cover labeled DC IN DIGITAL A/V OUT may fall out.

    Спросите у FixBot
  5. Canon Powershot A720 IS Lens Replacement: шаг 5, изображение 1 из 2 Canon Powershot A720 IS Lens Replacement: шаг 5, изображение 2 из 2
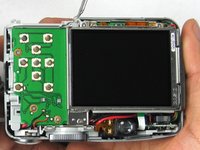
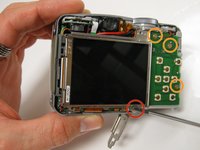
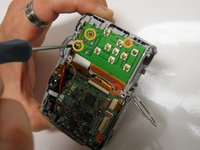
    • Unscrew the two 3 mm screws below the LCD Screen Mount using the Phillips #00 Precision Screwdriver.

    • Unscrew the top 4 mm screw using the Phillips #00 Precision Screwdriver.

    Спросите у FixBot
  6. Canon Powershot A720 IS Lens Replacement: шаг 6, изображение 1 из 2 Canon Powershot A720 IS Lens Replacement: шаг 6, изображение 2 из 2
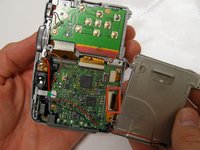
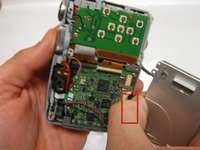
    • Carefully lift and turnover the LCD Screen so you are able to see the motherboard.

    • Be very careful with the LCD Screen and avoid wearing a static bracelet as it will cause release of static discharge.

    • Without touching the motherboard, grab the LCD Screen's ribbon wire with your thumb and index finger and carefully disconnect it from the ZIF connector. Have your fingers close to the ZIF connector when pulling the ribbon wire out. The LCD Screen should be positioned in between your fingers.

    • Do not rip the ribbon wire or the red and black power wires when pulling the LCD screen out.

    • You do not have to unsolder the LCD screen if you are only replacing the lens.

    Спросите у FixBot
  7. Canon Powershot A720 IS Lens Replacement: шаг 7, изображение 1 из 2 Canon Powershot A720 IS Lens Replacement: шаг 7, изображение 2 из 2
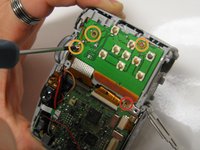
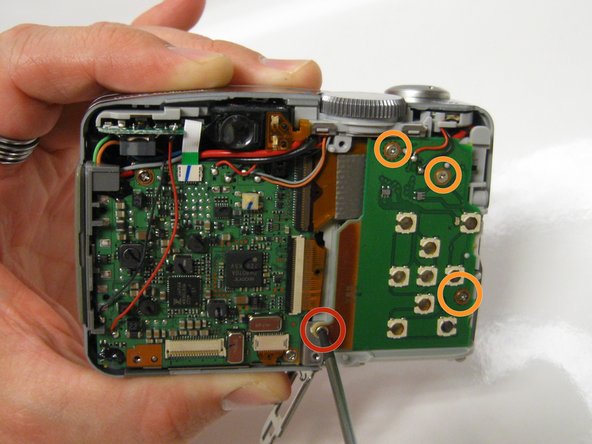
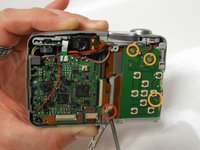
    • Remove the 3 mm Phillips head screw between the circuit boards using the Phillips #00 Precision Screwdriver.

    • The 4 mm screw between the circuit boards was taken off during step five of this guide.

    • Remove the next three 3.5 mm Phillips head screws at the button circuit board using the Phillips #00 Precision Screwdriver.

    Спросите у FixBot
  8. Canon Powershot A720 IS Lens Replacement: шаг 8, изображение 1 из 1
    • Use the spudger to unclip the red and black wires from underneath the shutter button and settings dial housing unit.

    • Be careful not apply too much force on wires with spudger.

    Спросите у FixBot
  9. Canon Powershot A720 IS Lens Replacement: шаг 9, изображение 1 из 2 Canon Powershot A720 IS Lens Replacement: шаг 9, изображение 2 из 2
    • Turn the camera over and unscrew the 4.5 mm Phillips head screw to detach the shutter button and settings dial from the rest of the camera.

    • From the metal frame, unscrew the 3 mm Phillips screw head to begin to detachment of the battery housing unit.

    Спросите у FixBot
  10. Canon Powershot A720 IS Lens Replacement: шаг 10, изображение 1 из 3 Canon Powershot A720 IS Lens Replacement: шаг 10, изображение 2 из 3 Canon Powershot A720 IS Lens Replacement: шаг 10, изображение 3 из 3
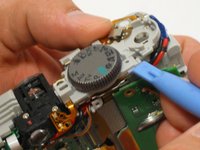
    • Use the plastic opening tool to separate the button circuit board from the shutter button and settings dial housing unit.

    • Carefully disconnect the ribbon cable attached to the user buttons circuit board away from the ZIF connector on the motherboard.

    • Do not rip the ribbon cable out of the ZIF connector when removing.

    • Remove the user button circuit board.

    Спросите у FixBot
  11. Canon Powershot A720 IS Lens Replacement: шаг 11, изображение 1 из 2 Canon Powershot A720 IS Lens Replacement: шаг 11, изображение 2 из 2
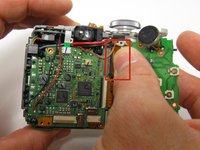
    • Use the spudger to carefully remove the attached ribbon cable from the ZIF connector located on the bottom right of the motherborad.

    • Alternate on both sides of ribbon cable to remove evenly from the ZIF connector every time you use a spudger.

    Спросите у FixBot
  12. Canon Powershot A720 IS Lens Replacement: шаг 12, изображение 1 из 2 Canon Powershot A720 IS Lens Replacement: шаг 12, изображение 2 из 2
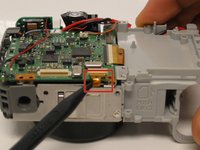
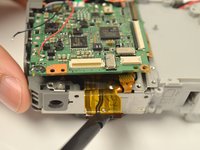
    • Use the spudger to carefully remove the attached ribbon cable from the ZIP connector on the right side of the motherboard.

    • Alternate on both sides of ribbon cable to remove evenly from the ZIF connector every time you use a spudger.

    • Be careful not to rip the ribbon cable out of the ZIF connector while removing.

    Спросите у FixBot
  13. Canon Powershot A720 IS Lens Replacement: шаг 13, изображение 1 из 1
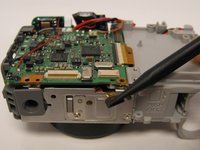
    • Next, use the spudger to remove the green ribbon from the attached ZIF connector.

    • Alternate on both sides of ribbon cable to remove evenly from the ZIF connector every time you use a spudger.

    • Be careful not to rip the ribbon cable out of the ZIF connector while removing.

    Спросите у FixBot
  14. Canon Powershot A720 IS Lens Replacement: шаг 14, изображение 1 из 3 Canon Powershot A720 IS Lens Replacement: шаг 14, изображение 2 из 3 Canon Powershot A720 IS Lens Replacement: шаг 14, изображение 3 из 3
    Инструмент, используемый на этом этапе:
    Tweezers
    $4.99
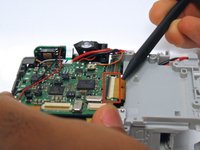
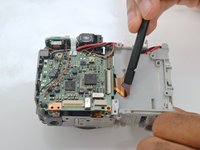
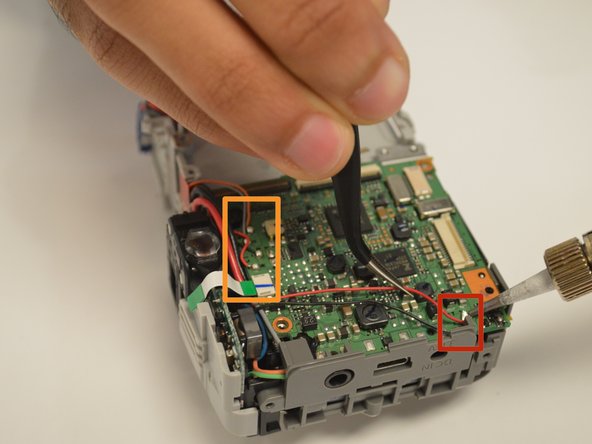
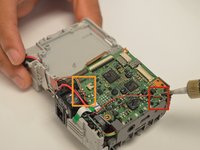
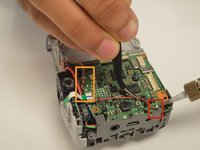
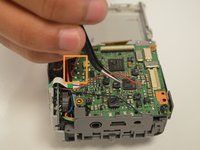
    • Unsolder all of the wires attached to the motherboard and move them aside with the tweezers.

    • Be observant of where you are soldering because you can easily disrupt the power distribution.

    Спросите у FixBot
  15. Canon Powershot A720 IS Lens Replacement: шаг 15, изображение 1 из 3 Canon Powershot A720 IS Lens Replacement: шаг 15, изображение 2 из 3 Canon Powershot A720 IS Lens Replacement: шаг 15, изображение 3 из 3
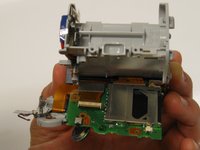
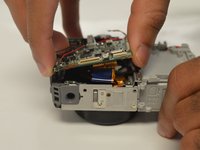
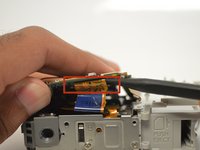
    • After all of ribbons have been disconnected, gently lift the motherboard to expose the ribbon cable that connects the motherboard to the lens.

    • Use the spudger to remove the the ribbon cable attached to the motherboard. Be sure to alternate both sides of ribbon cable to evenly remove.

    • Be careful not to rip the ribbon cable out from the ZIF connector the ribbon cable is attached to.

    Спросите у FixBot
  16. Canon Powershot A720 IS Lens Replacement: шаг 16, изображение 1 из 3 Canon Powershot A720 IS Lens Replacement: шаг 16, изображение 2 из 3 Canon Powershot A720 IS Lens Replacement: шаг 16, изображение 3 из 3
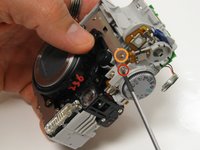
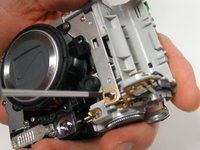
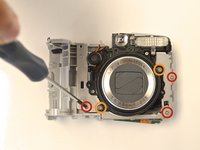
    • Use the screwdriver to remove the three 3 mm Phillips screws from the lens metal frame.

    • Use the screwdriver to remove the two 3.5 mm Phillips screws from the lens metal frame.

    • Pull out the AV DC IN port on the right side of the camera.

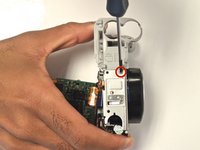
    • Turn the camera over so the bottom is exposed to remove the 3 mm Phillips head screw to disassemble the battery housing unit from the camera.

    Спросите у FixBot
  17. Canon Powershot A720 IS Lens Replacement: шаг 17, изображение 1 из 1
    • Unscrew the two 3 mm Phillips screws from the top of the lens housing unit that connects it to the flash assembly.

    Спросите у FixBot
  18. Canon Powershot A720 IS Lens Replacement: шаг 18, изображение 1 из 3 Canon Powershot A720 IS Lens Replacement: шаг 18, изображение 2 из 3 Canon Powershot A720 IS Lens Replacement: шаг 18, изображение 3 из 3
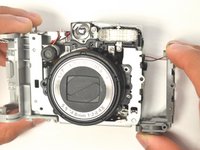
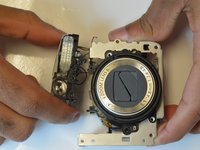
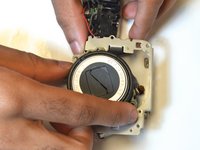
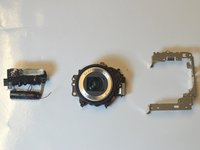
    • Now, the flash assembly and metal frame can be easily pulled away from the lens.

    Спросите у FixBot
Заключение

To reassemble your device, follow these instructions in reverse order.

3 человек успешно провели ремонт по этому руководству.

Jamie

Участник с: 01/22/15

428 Репутация

Автор 3 руководств

Команда

USF Tampa, Team 17-4, Watkins Winter 2015 Участник USF Tampa, Team 17-4, Watkins Winter 2015

USFT-WATKINS-W15S17G4

3 членов

Автор 8 руководств

0 Комментарии к руководству

Добавить комментарий

Статистика просмотров:

За последние 24 часов: 2

За последние 7 дней: 22

За последние 30 дней: 90

За всё время: 3,538