Перейти к основному содержанию
Присоединяйся к сообществу ремонтников - Создай аккаунт

Casio FX-115MS Keyboard Mat Replacement

Выберете то, что вам нужно

  1. Casio FX-115MS  Keyboard Mat Replacement, Back Plate: шаг 1, изображение 1 из 1
    • Remove the 6 screws, which are 5mm long, using a PH1 screwdriver.

    Спросите у FixBot

    Добавить комментарий

  2. Casio FX-115MS  Keyboard Mat Replacement: шаг 2, изображение 1 из 3 Casio FX-115MS  Keyboard Mat Replacement: шаг 2, изображение 2 из 3 Casio FX-115MS  Keyboard Mat Replacement: шаг 2, изображение 3 из 3
    • Use plastic spudger to separate backplate from the front-plate. Place the flat end of the spudger in the seam between the front and back, near one end of the calculator. Then slide the spudger towards the calculator's center. The two sides will pop free from each other as you go through it with the spudger.

    Спросите у FixBot

    Добавить комментарий

  3. Casio FX-115MS  Keyboard Mat Replacement, Battery: шаг 3, изображение 1 из 2 Casio FX-115MS  Keyboard Mat Replacement, Battery: шаг 3, изображение 2 из 2
    • Using the pointed end of the nylon spudger, carefully pry an edge of the battery, and lift the battery from its socket.

    Спросите у FixBot

    Добавить комментарий

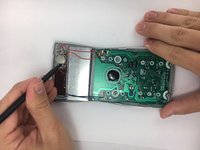
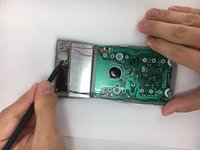
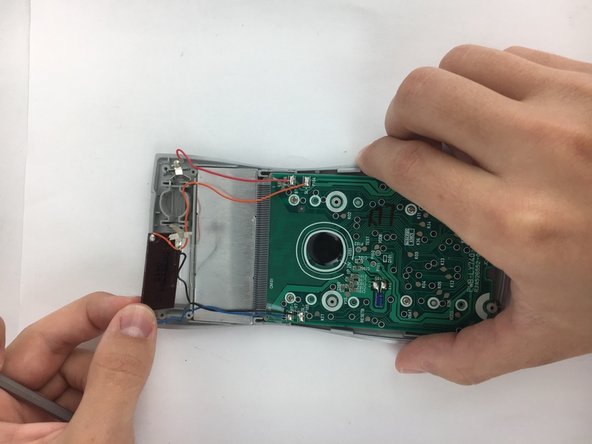
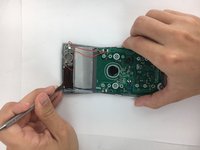
  4. Casio FX-115MS  Keyboard Mat Replacement, Motherboard and Screen: шаг 4, изображение 1 из 2 Casio FX-115MS  Keyboard Mat Replacement, Motherboard and Screen: шаг 4, изображение 2 из 2
    • Using the plastic spudger, carefully pry the battery terminals from the front plate. If the plastic spudger is too weak for prying out the terminals, use the small metal spudger.By Carefully bending and/or prying the little teeth on the terminals upwards you can easily remove them.

    Спросите у FixBot

    Добавить комментарий

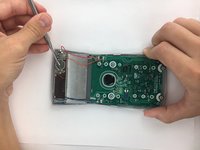
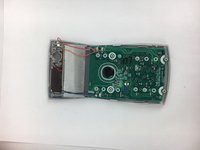
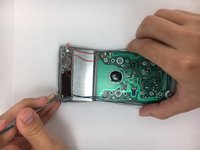
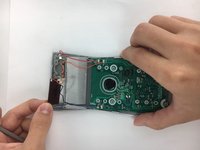
  5. Casio FX-115MS  Keyboard Mat Replacement: шаг 5, изображение 1 из 3 Casio FX-115MS  Keyboard Mat Replacement: шаг 5, изображение 2 из 3 Casio FX-115MS  Keyboard Mat Replacement: шаг 5, изображение 3 из 3
    • Using the small metal spudger. Carefully pry around the edge of the solar panel until it becomes loose. Then simply pull it from its socket using your hands.

    Спросите у FixBot

    Добавить комментарий

  6. Casio FX-115MS  Keyboard Mat Replacement: шаг 6, изображение 1 из 2 Casio FX-115MS  Keyboard Mat Replacement: шаг 6, изображение 2 из 2
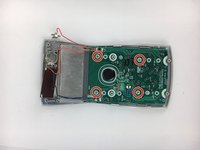
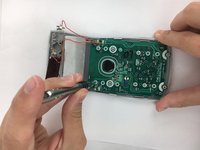
    • Using a PH0 phillips screwdriver, unscrew the four, 4mm, pan head screws from the motherboard.

    Спросите у FixBot

    Добавить комментарий

  7. Casio FX-115MS  Keyboard Mat Replacement: шаг 7, изображение 1 из 3 Casio FX-115MS  Keyboard Mat Replacement: шаг 7, изображение 2 из 3 Casio FX-115MS  Keyboard Mat Replacement: шаг 7, изображение 3 из 3
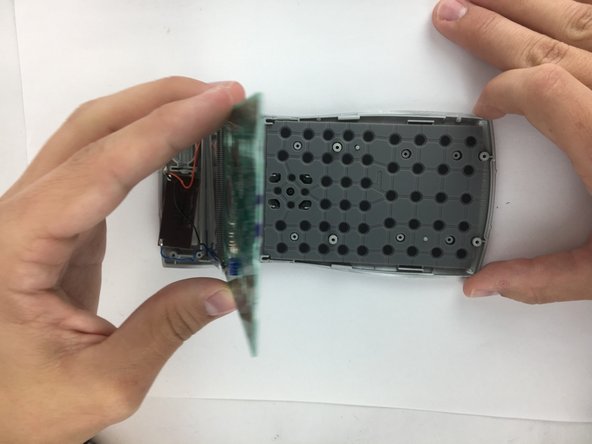
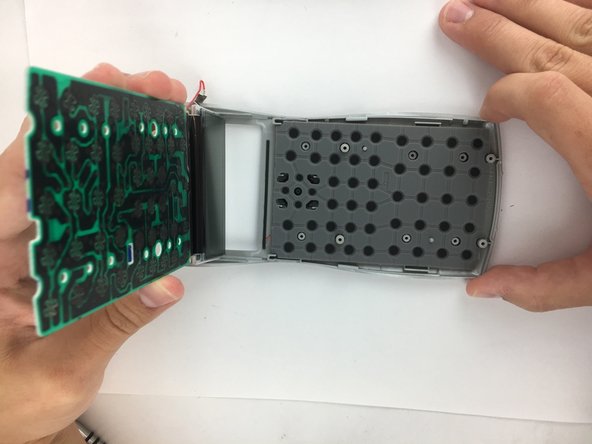
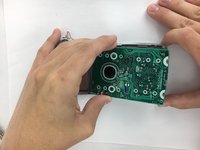
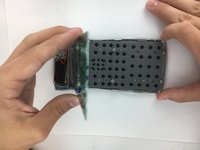
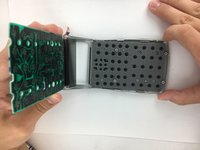
    • Carefully lift the motherboard, screen, solar panel, and battery terminal combination from the front plate. Start from the motherboard and lift at an angle toward the solar panel.

    Спросите у FixBot

    Добавить комментарий

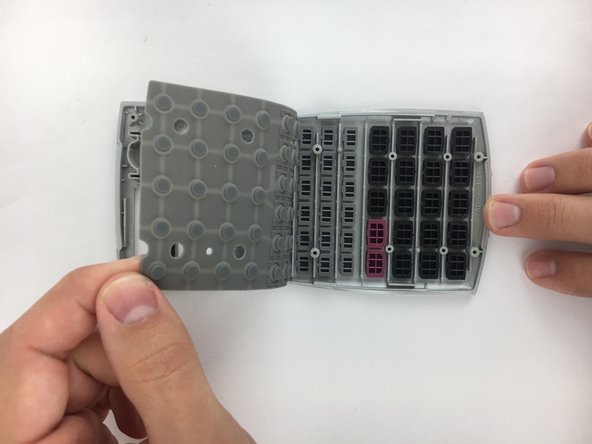
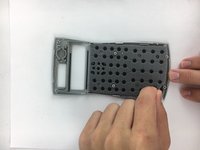
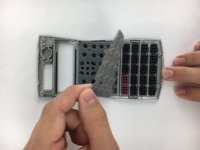
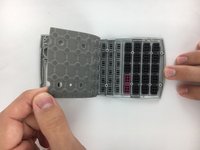
  8. Casio FX-115MS  Keyboard Mat Replacement, Keyboard Mat: шаг 8, изображение 1 из 3 Casio FX-115MS  Keyboard Mat Replacement, Keyboard Mat: шаг 8, изображение 2 из 3 Casio FX-115MS  Keyboard Mat Replacement, Keyboard Mat: шаг 8, изображение 3 из 3
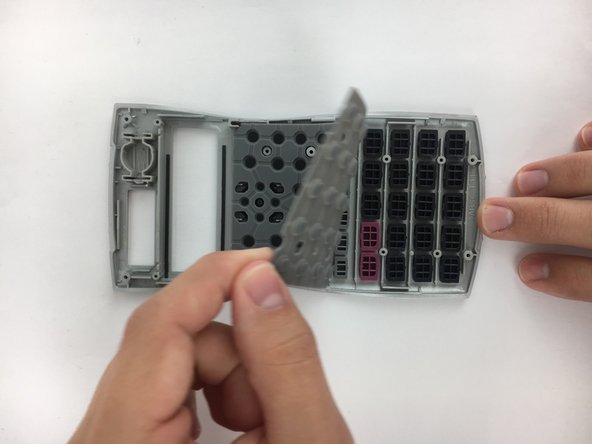
    • Starting from one corner of the keyboard mat, slowly peel the mat from the front plate and individual keys.

    Спросите у FixBot

    Добавить комментарий

Заключение

To reassemble your device, follow these instructions in reverse order.

Отменить: Я не выполнил это руководство.

Fady Baskharoun

Участник с: 10/04/16

274 Репутация

Автор 2 руководств

Команда

USF Tampa, Team 2-2, Nance Fall 2016 Участник USF Tampa, Team 2-2, Nance Fall 2016

USFT-NANCE-F16S2G2

4 членов

Автор 15 руководств

0 Комментарии к руководству

Добавить комментарий

Статистика просмотров:

За последние 24 часов: 2

За последние 7 дней: 7

За последние 30 дней: 58

За всё время: 879