Этот перевод был сделан машиной и пока не проверен человеком. Говорите на этом языке? Просмотрите его.

Разборка Fitbit Charge 3

ShellingRook27 и 6 другие участники
Последнее обновление 15 авг 2026 г.
Просмотров: 13 тыс.
Просмотр статистики:
- За последние 24 часа:
- 4
- За последние 7 дней:
- 23
- За последние 30 дней:
- 99
- За все время:
- 12 613
Комментарии: 19
7 комментариев к шагам, 12 комментариев к инструкции.
Перейти к комментариям инструкцииЗавершено: 4 5
4 пользователей отметили эту инстркукцию как "завершенное". Вы будете следующим?
5 пользователей отметили эту инструкцию как "завершенное". В том числе и Вы — отличная работа!
Избранные: 3 4
3 эта инструкция понравилась многим пользователям (и они подписались на нее). Вы будете следующим?
4 эта инструкция понравилось многим пользователям (и они подписались на нее), в том числе и Вам!
Руководство, предоставленное сообществом
Это руководство было создано членом нашего сообщества. Сотрудники iFixit не имеют к нему отношения.
Выберете то, что Вам нужно
Инструменты
-
-
Лезвие бритвы
A thin spudger would also work


-
-
-
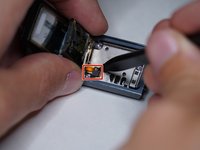
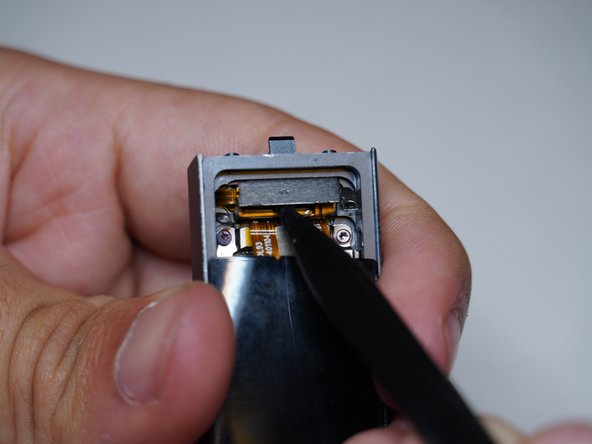
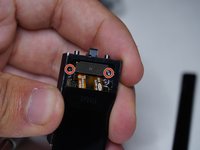
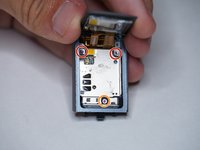
Открутите оба винта T3
-
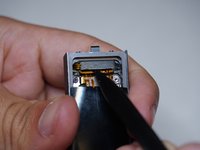
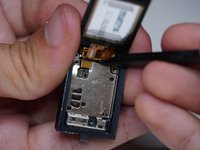
Сдвиньте пластиковую деталь, приподняв её, а затем потянув вверх
-
Снимите пластиковый узел с пружиной, сдвинув его с направляющей
 Спросите у FixBot
-
-
-
Нагрейте стеклянный экран феном, чтобы размягчить клей
-
Вставьте лезвие бритвы между стеклом и корпусом
-
Продолжайте движение по периметру дисплея, пока он не отсоединится
-
-
-
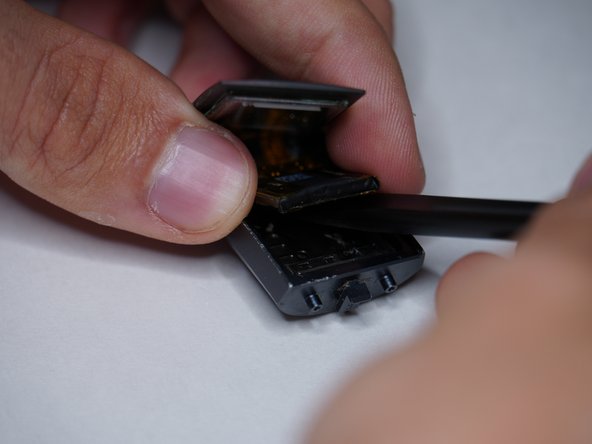
Осторожно поднимите дисплей
-
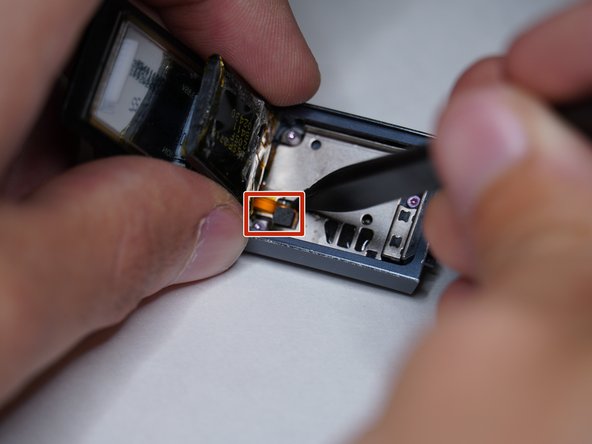
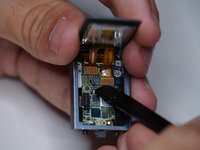
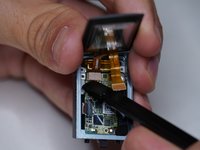
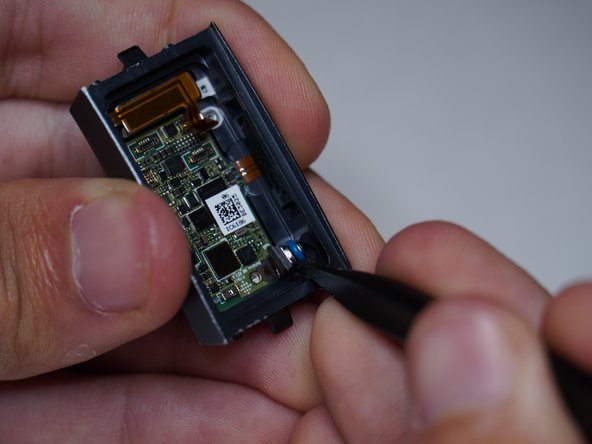
Отсоедините разъем аккумулятора
-
-
-
Открутите оба винта T2
-
Снимите металлическую экранирующую пластину
-
-
-
Выкрутите два винта T2
-
Выкрутите винт T3
-
Снимите металлический экран
-
-
-
-
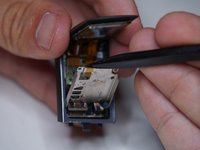
Отсоедините вибромотор
-
Отсоедините разъем датчика пульса и зарядки
-
Снимите высотомер
-
-
-
Извлеките блок кнопок из корпуса
-
Извлеките вибромотор
-
-
-
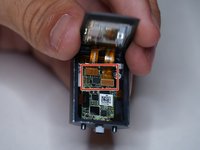
Извлечение материнской платы
-
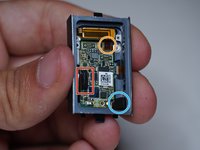
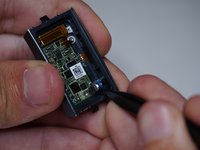
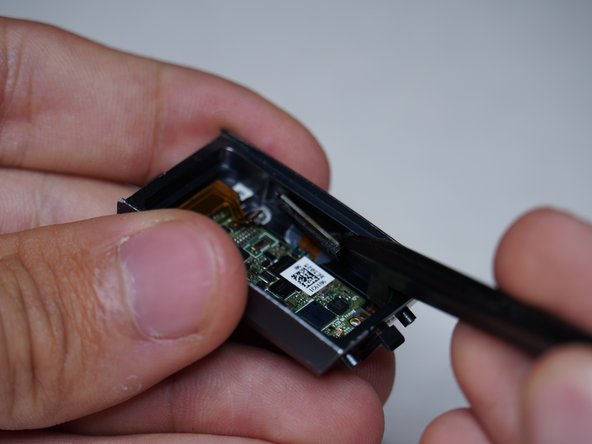
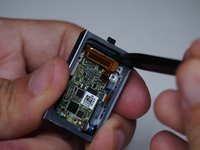
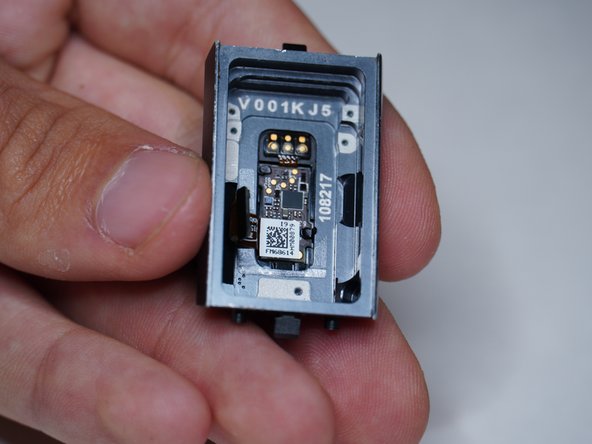
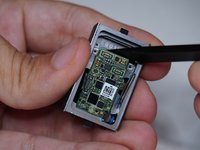
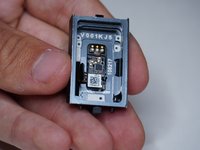
Похоже, датчик частоты сердечных сокращений и контакты для зарядки впрессованы в корпус, поэтому мне не удалось их извлечь
-
-











Отменить: Я не выполнил это руководство.
4 человек успешно провели ремонт по этому руководству.

Команду

12 Комментарии к руководству
The tear down pictures are great, but in my Charge 3 I needed a T-1 and a T-2 driver
Same, my ifixit pro kit only had a driver for the external screws and did not come with a small enough driver to remove the screws inside the charge 3 unit. I'll need to get the smaller bit from a different kit.
Which step in the teardown guide needed the T1 driver?
Great job on this tear-down. Thank you, it really helped in my screen replacement.
This tear down was very easy to follow. The heart rate monitor was also sealed in with some adhesive for me too but a little heat gun took it right off. I had suspected water leaked in and that in fact was the culprit after inspecting the connection. corrosion all around the HR monitor.
