Перейти к основному содержанию
Присоединяйся к сообществу ремонтников - Создай аккаунт

Cirago M9030 Hard Drive Replacement

Выберете то, что вам нужно

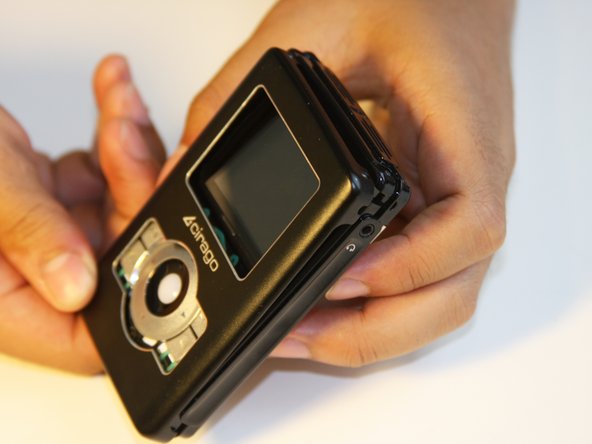
    1. Cirago M9030 Hard Drive Replacement, Cover: шаг 1, изображение 1 из 1
      • Use a Phillips #00 screwdriver to unscrew the four 1.1mm long screws on each corner located at the top of the cover.

      Спросите у FixBot

      Добавить комментарий

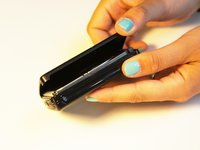
    2. Cirago M9030 Hard Drive Replacement: шаг 2, изображение 1 из 1
      • Similar to the last step, flip the cover over and use a Phillips #00 screwdriver to unscrew the four 1.1mm long screws on each corner located at the bottom of the cover.

      • Remove the warranty sticker across the bottom.

      Спросите у FixBot

      Добавить комментарий

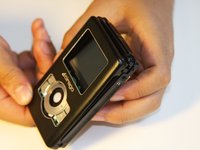
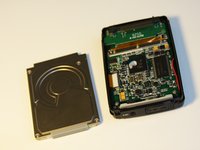
    3. Cirago M9030 Hard Drive Replacement: шаг 3, изображение 1 из 2 Cirago M9030 Hard Drive Replacement: шаг 3, изображение 2 из 2
      • Gently take the cover apart using your hands separating the top and bottom.

      • The outer shell is expected to easily come apart.

      Спросите у FixBot

      Добавить комментарий

    1. Cirago M9030 Hard Drive Replacement, Hard Drive: шаг 4, изображение 1 из 1
      • Make sure that the screen of the device is facing down.

      Спросите у FixBot

      Добавить комментарий

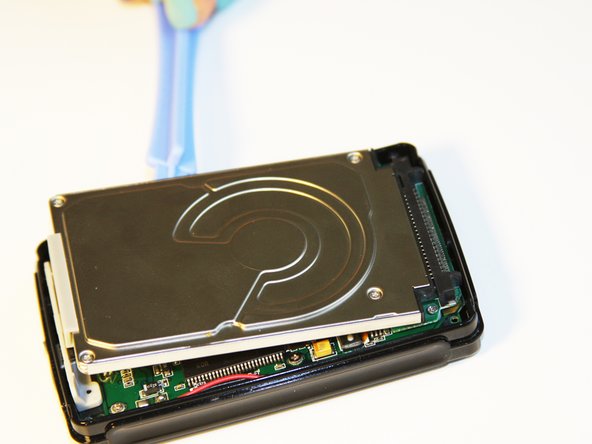
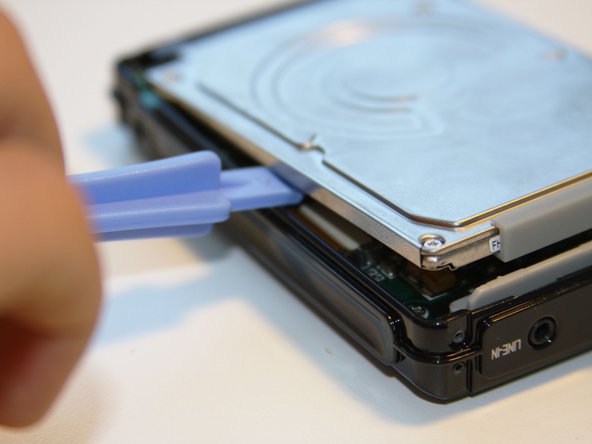
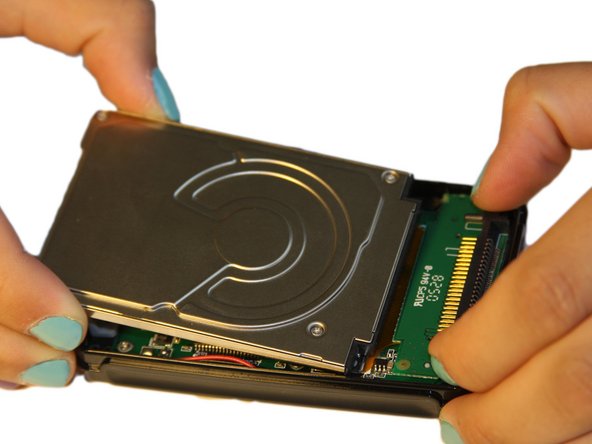
    2. Cirago M9030 Hard Drive Replacement: шаг 5, изображение 1 из 3 Cirago M9030 Hard Drive Replacement: шаг 5, изображение 2 из 3 Cirago M9030 Hard Drive Replacement: шаг 5, изображение 3 из 3
      • Using the plastic opening tool, wedge the tool underneath the bottom left edge of the hard drive.

      • Raise the bottom edge of the hard drive 15 degrees up from the device.

      Спросите у FixBot

      Добавить комментарий

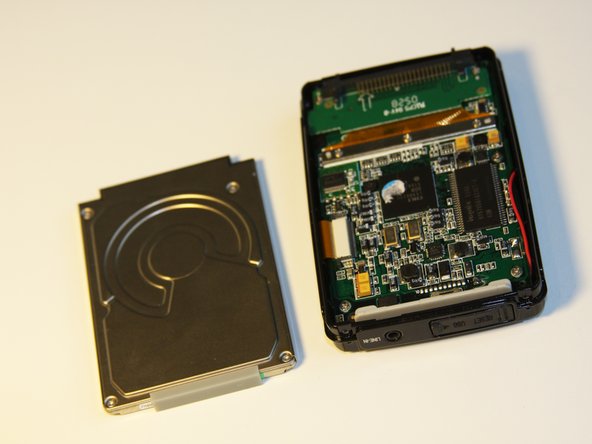
    3. Cirago M9030 Hard Drive Replacement: шаг 6, изображение 1 из 3 Cirago M9030 Hard Drive Replacement: шаг 6, изображение 2 из 3 Cirago M9030 Hard Drive Replacement: шаг 6, изображение 3 из 3
      • Place fingers on the IDE connectors gently picking up and sliding the hard drive out from the IDE module.

      Спросите у FixBot

      Добавить комментарий

Заключение

To reassemble your device, follow these instructions in reverse order.

Отменить: Я не выполнил это руководство.

Еще один человек закончил это руководство.

Ryan Sutardji

Участник с: 06/29/12

171 Репутация

Автор 7 руководств

Команда

Cal Poly, Team 1-4, Regan SU 2012 Участник Cal Poly, Team 1-4, Regan SU 2012

CPSU-REGAN-SU12S1G4

4 членов

Автор 35 руководств

0 Комментарии к руководству

Добавить комментарий

Статистика просмотров:

За последние 24 часов: 1

За последние 7 дней: 3

За последние 30 дней: 26

За всё время: 1,224