Перейти к основному содержанию
Присоединяйся к сообществу ремонтников - Создай аккаунт

Craig CMP801 LCD Screen Replacement

Выберете то, что вам нужно

    1. Craig CMP801 LCD Screen Replacement, Back Cover: шаг 1, изображение 1 из 2 Craig CMP801 LCD Screen Replacement, Back Cover: шаг 1, изображение 2 из 2
      • Locate the opening line between the cover and the device. Then locate the groove near the charging port.

      Спросите у FixBot

      Добавить комментарий

    2. Craig CMP801 LCD Screen Replacement: шаг 2, изображение 1 из 2 Craig CMP801 LCD Screen Replacement: шаг 2, изображение 2 из 2
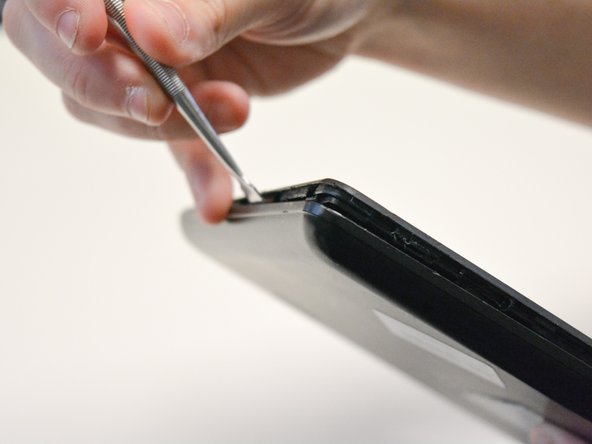
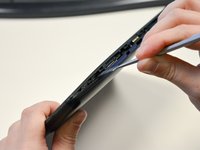
      • Use a metal spudger to separate the back cover from the front touch screen.

      • To do this, place the metal spudger in between the groove near the charging port of the device to unlatch the first clip.

      Спросите у FixBot

      Добавить комментарий

    3. Craig CMP801 LCD Screen Replacement: шаг 3, изображение 1 из 2 Craig CMP801 LCD Screen Replacement: шаг 3, изображение 2 из 2
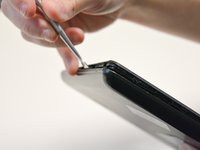
      • Continue to separate all of the clips around the device until the back cover comes off completely.

      Спросите у FixBot

      Добавить комментарий

    1. Craig CMP801 LCD Screen Replacement, Volume Controls: шаг 4, изображение 1 из 2 Craig CMP801 LCD Screen Replacement, Volume Controls: шаг 4, изображение 2 из 2
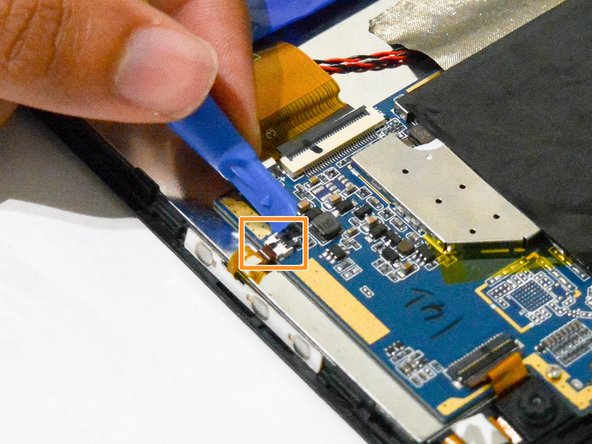
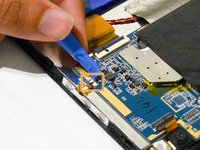
      • After taking out the back cover, locate the black flap.

      • Open the black flap with the plastic opening tools.

      • Be careful not to break the flap when you open it.

      Спросите у FixBot

      Добавить комментарий

    2. Craig CMP801 LCD Screen Replacement: шаг 5, изображение 1 из 2 Craig CMP801 LCD Screen Replacement: шаг 5, изображение 2 из 2
      Инструмент, используемый на этом этапе:
      Tweezers
      $3.99
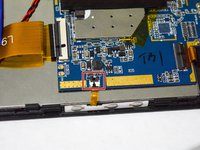
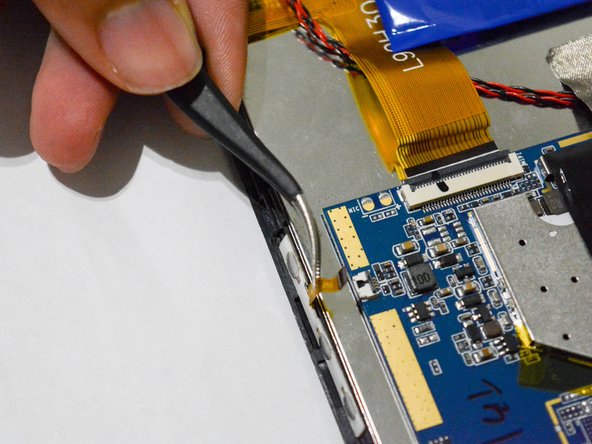
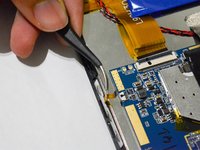
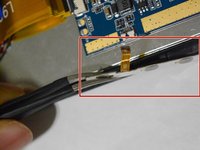
      • Once the tab is released, use the angled tweezers to take out the tab.

      • Be careful not to scratch the tab.

      Спросите у FixBot

      Добавить комментарий

    3. Craig CMP801 LCD Screen Replacement: шаг 6, изображение 1 из 2 Craig CMP801 LCD Screen Replacement: шаг 6, изображение 2 из 2
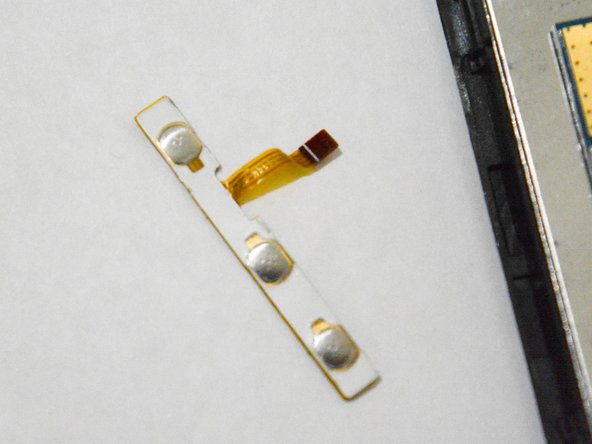
      • Use the angled tweezers to pull the volume controls out and replace it with a new one.

      Спросите у FixBot

      Добавить комментарий

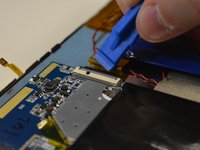
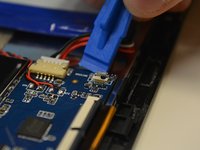
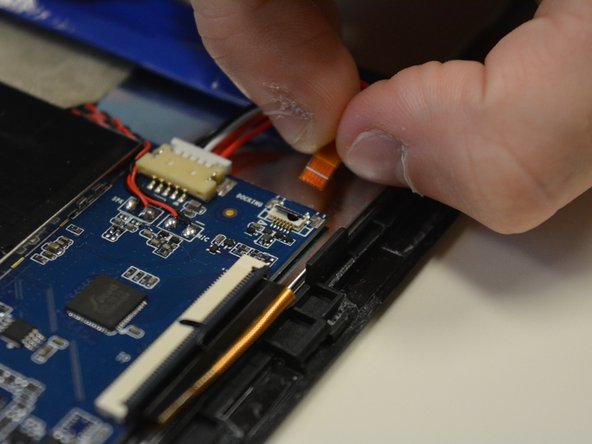
    1. Craig CMP801 LCD Screen Replacement, Battery: шаг 7, изображение 1 из 3 Craig CMP801 LCD Screen Replacement, Battery: шаг 7, изображение 2 из 3 Craig CMP801 LCD Screen Replacement, Battery: шаг 7, изображение 3 из 3
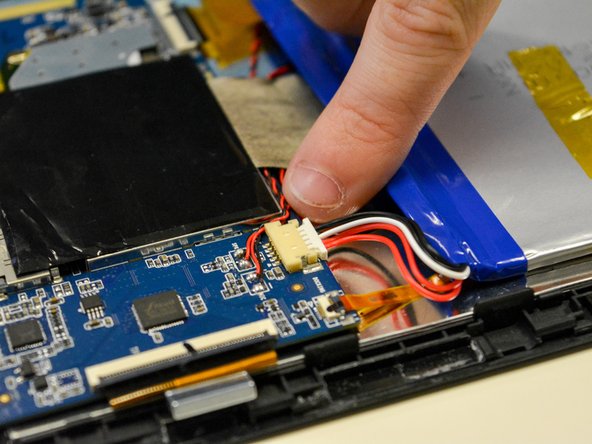
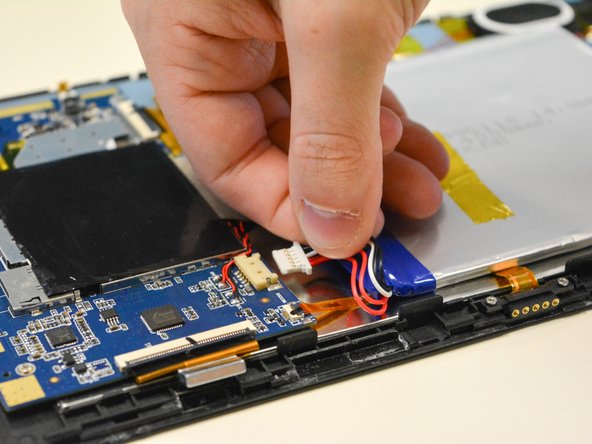
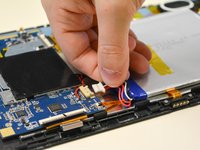
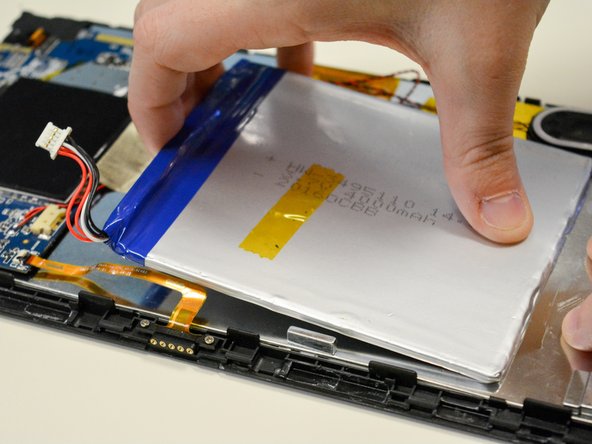
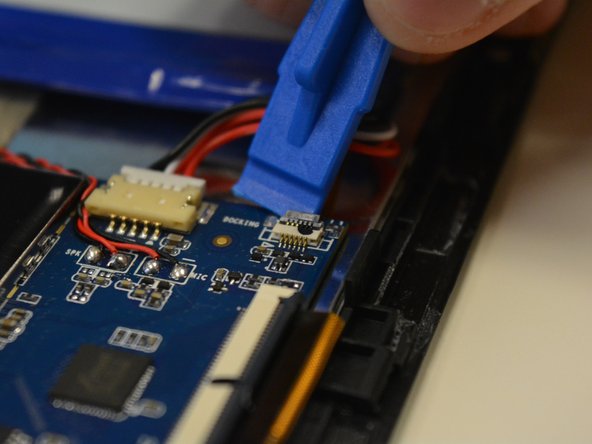
      • Locate the white plug next to the battery.

      • Use your fingers to pull off white plug that connected to the battery.

      • Be careful not to pull or break the wires on the bottom.

      Спросите у FixBot

      Добавить комментарий

    2. Craig CMP801 LCD Screen Replacement: шаг 8, изображение 1 из 3 Craig CMP801 LCD Screen Replacement: шаг 8, изображение 2 из 3 Craig CMP801 LCD Screen Replacement: шаг 8, изображение 3 из 3
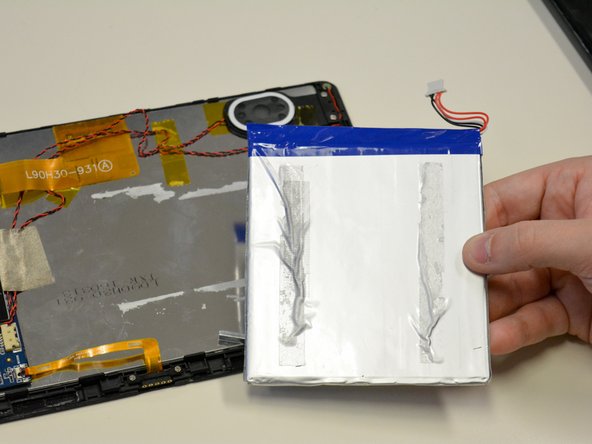
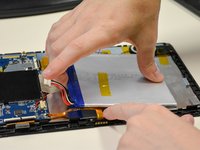
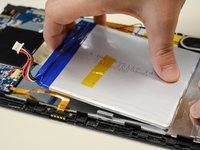
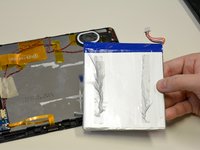
      • The battery should only be connected to the LCD by adhesive tape.

      • Using force, carefully remove the battery while holding the LCD in place.

      Спросите у FixBot

      Добавить комментарий

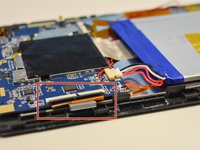
    1. Craig CMP801 LCD Screen Replacement, LCD Screen: шаг 9, изображение 1 из 3 Craig CMP801 LCD Screen Replacement, LCD Screen: шаг 9, изображение 2 из 3 Craig CMP801 LCD Screen Replacement, LCD Screen: шаг 9, изображение 3 из 3
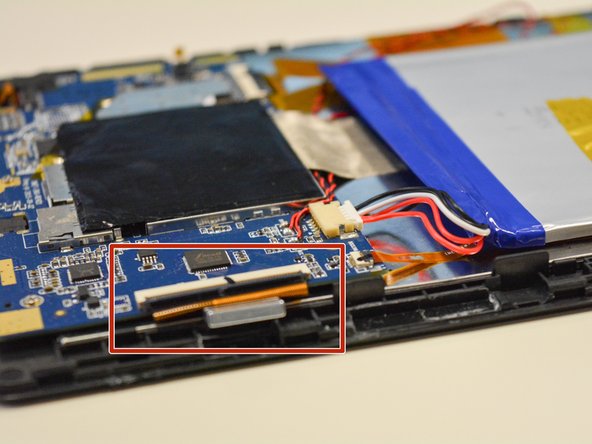
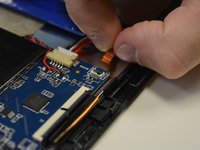
      • Open the three black flaps located on each side of the motherboard.

      Спросите у FixBot

      Добавить комментарий

    2. Craig CMP801 LCD Screen Replacement: шаг 10, изображение 1 из 2 Craig CMP801 LCD Screen Replacement: шаг 10, изображение 2 из 2
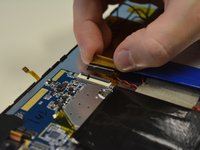
      • Then detach each of the three tabs from the LCD screen.

      Спросите у FixBot

      Добавить комментарий

    3. Craig CMP801 LCD Screen Replacement: шаг 11, изображение 1 из 2 Craig CMP801 LCD Screen Replacement: шаг 11, изображение 2 из 2
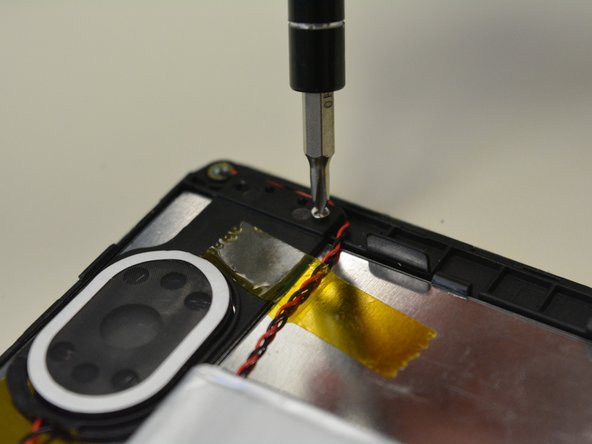
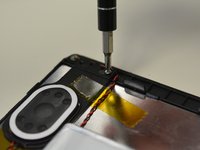
      • Using a Philips 0 Screwdriver, remove the screws connecting the speaker to the motherboard.

      • Remove black plastic speaker holder.

      Спросите у FixBot

      Добавить комментарий

    4. Craig CMP801 LCD Screen Replacement: шаг 12, изображение 1 из 1
      • Remove the gray tape connecting the motherboard to the metal slate.

      • Use a spudger to separate the metal slate from the front touch screen.

      Спросите у FixBot

      Добавить комментарий

    5. Craig CMP801 LCD Screen Replacement: шаг 13, изображение 1 из 2 Craig CMP801 LCD Screen Replacement: шаг 13, изображение 2 из 2
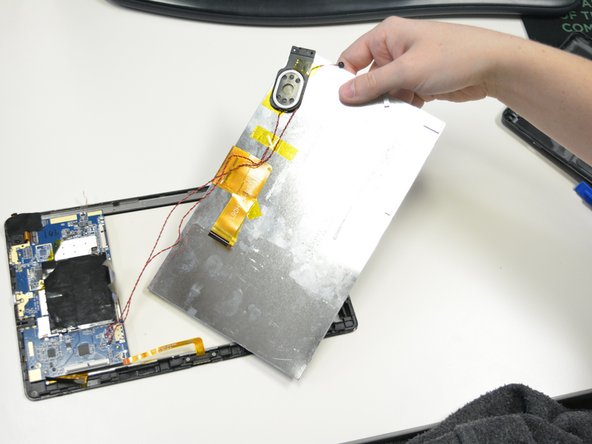
      • Carefully slide out the metal slate and LCD screen from underneath the motherboard.

      Спросите у FixBot

      Добавить комментарий

    6. Craig CMP801 LCD Screen Replacement: шаг 14, изображение 1 из 1
      • Flip over the metal slate and separate the LCD screen from it.

      Спросите у FixBot

      Добавить комментарий

Заключение

To reassemble your device, follow these instructions in reverse order.

Отменить: Я не выполнил это руководство.

Еще один человек закончил это руководство.

Anh

Участник с: 09/25/17

319 Репутация

1 руководство автора

Команда

University of North Texas, Team S2-G2, Thompson Fall 2017 Участник University of North Texas, Team S2-G2, Thompson Fall 2017

UNT-THOMPSON-F17S2G2

4 членов

Автор 5 руководств

0 Комментарии к руководству

Добавить комментарий

Статистика просмотров:

За последние 24 часов: 1

За последние 7 дней: 9

За последние 30 дней: 50

За всё время: 1,539