Введение
The motherboard is the main hub of the router. It is responsible for all the functions of the router. Problems like a lack of connection, water spillage on router, fire on router, will all require a replacement of the mother board.
Выберете то, что вам нужно
-
-
Peel off the four rubber rectangular feet with your fingers.
 Спросите у FixBot
-
-
-
Unscrew the 5mm screws in each corner using the Phillips #1 screwdriver.
-
-
-
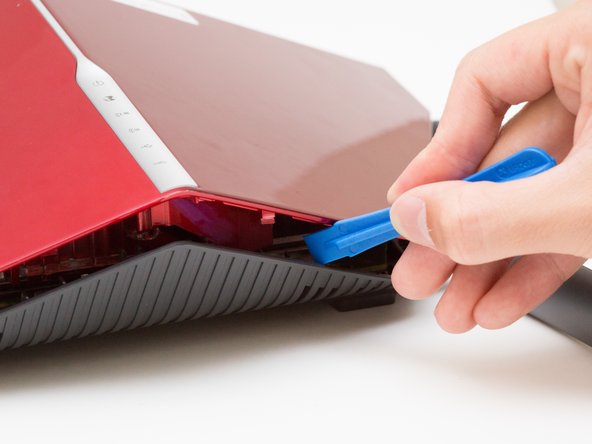
Wedge the opening tool between the red top panel and the gray bottom panel.
-
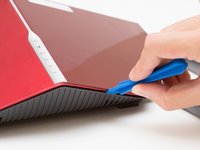
Twist the opening tool to separate the panels. Work your way around the case until both of the panels are separated.
-
-
-
-
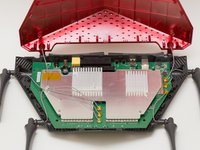
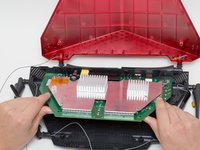
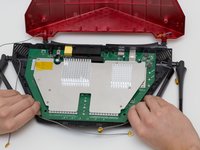
Orient the router so the narrow end of the router faces you and the ports face away from you.
-
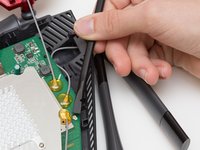
The six, hot-glued antenna connections are in the middle and at the top right of the motherboard.
-
-
Инструмент, используемый на этом этапе:Heavy-Duty Spudger$4.99
-
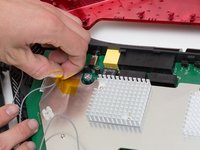
Pry off the antenna connectors using a heavy-duty spudger.
-
-
-
Continue to pry off the last three antenna connections on the upper right portion of the motherboard.
-
-
-
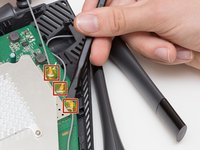
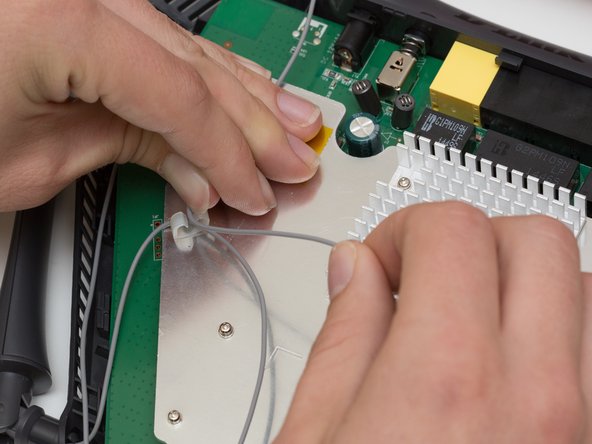
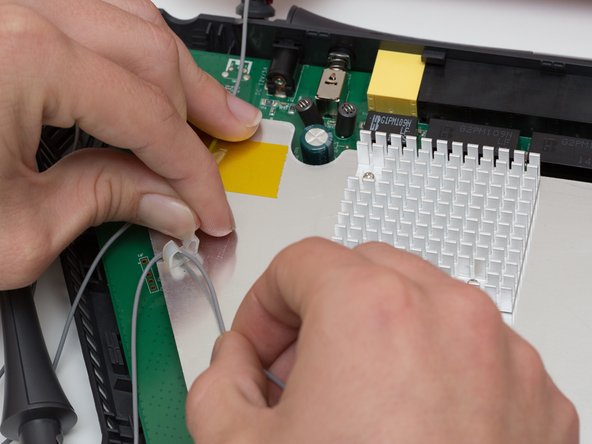
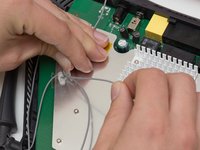
Open the plastic bracket enclosing the three antenna wires and pull the wires out with your hands.
-
-
-
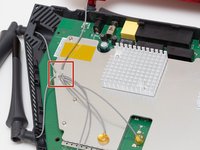
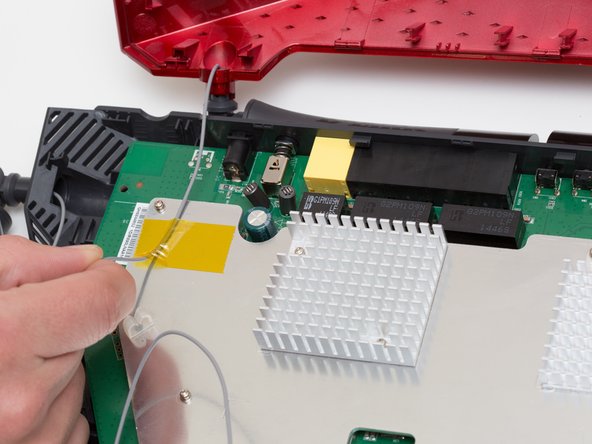
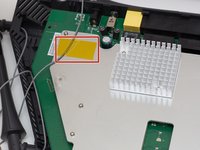
Pull the yellow tape off of the motherboard to release the final antenna wire.
-
-
-
Pull the the motherboard away from the case to remove it. Start on the side closest to you, and pull up and out.
-


To reassemble your device, follow these instructions in reverse order.
Отменить: Я не выполнил это руководство.
3 человек успешно провели ремонт по этому руководству.
Команда

Cal Poly, Team 10-7, Livingston Fall 2016 Участник Cal Poly, Team 10-7, Livingston Fall 2016
CPSU-LIVINGSTON-F16S10G7
4 членов
Автор 12 руководств