Введение
The butt of the Carbine is a main component and is critical for aiming properly and safety. If the butt of your carbine is worn or cracked and it is affecting your aim, it is time to replace it. CAUTION: The butt of the Carbine is held together will small pieces that can easily be lost. Be sure to have a clean and clear space to set pieces while replacing.
Выберете то, что вам нужно
-
-
-
Place the carbine with the saddle ring and leather thong facing upwards.
-
Locate the screw head on the cocking lever.
-
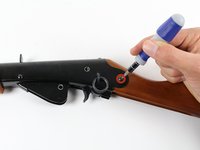
Place a #2 Phillips Screwdriver in the 11/16ths of an inch, matte black screw on the cocking lever assembly. Twist with a counter-clockwise motion.
-
Completely remove the screws.
 Спросите у FixBot
-
-
-
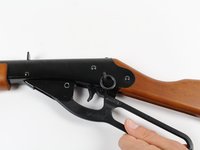
Remove the cocking lever by placing your dominant hand’s fingers through the cocking lever handle.
-
With your fingers in the handle, slide the lever towards the butt of the carbine.
-
Finally, pull the cocking lever and carbine in opposite directions to replace the cocking lever.
-
-
-
-
-
-
Once the cocking lever is removed, place the carbine with the saddle ring facing upwards.
-
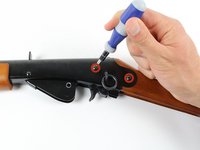
Locate the screws on either side of the saddle ring.
-
Using a #2 Phillips Screwdriver, twist in a counter-clockwise motion.
-
Completely remove the two screws.
-
-
-
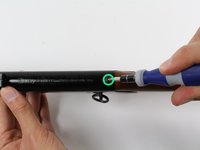
Now rotate your carbine so the top of the carbine is visible.
-
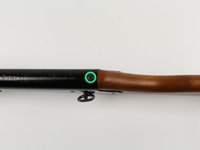
Locate the screw located above the saddle ring where the black metal meets the wooden butt.
-
Using the same #2 Phillips Screwdriver, twist in a counter-clockwise motion.
-
Completely remove the screw.
-
-
-
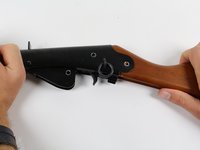
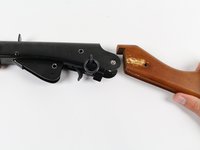
Place your dominant hand on the wooden butt and your other hand on the metal barrel.
-
Slide the butt away from the Carbine until it is free of the metal tongs.
-
-








To reassemble your device, follow these instructions in reverse order.

