Перейти к основному содержанию
Присоединяйся к сообществу ремонтников - Создай аккаунт

Dell Inspiron 9100 Keyboard Replacement

Выберете то, что вам нужно

  1. Dell Inspiron 9100 Keyboard Replacement, Battery: шаг 1, изображение 1 из 3 Dell Inspiron 9100 Keyboard Replacement, Battery: шаг 1, изображение 2 из 3 Dell Inspiron 9100 Keyboard Replacement, Battery: шаг 1, изображение 3 из 3
    • Unplug the laptop from the power adapter and turn the power off.

    • Failure to unplug laptop before proceeding could result in risk of electric shock!

    Спросите у FixBot

    Добавить комментарий

  2. Dell Inspiron 9100 Keyboard Replacement: шаг 2, изображение 1 из 3 Dell Inspiron 9100 Keyboard Replacement: шаг 2, изображение 2 из 3 Dell Inspiron 9100 Keyboard Replacement: шаг 2, изображение 3 из 3
    • Slide the battery-lock tab and hold.

    • Flip the battery away from the chassis to remove it.

    Спросите у FixBot

    Добавить комментарий

  3. Dell Inspiron 9100 Keyboard Replacement, Keyboard: шаг 3, изображение 1 из 1
    • Turn the laptop around.

    Спросите у FixBot

    Добавить комментарий

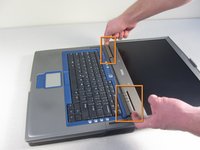
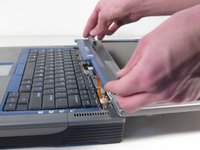
  4. Dell Inspiron 9100 Keyboard Replacement: шаг 4, изображение 1 из 3 Dell Inspiron 9100 Keyboard Replacement: шаг 4, изображение 2 из 3 Dell Inspiron 9100 Keyboard Replacement: шаг 4, изображение 3 из 3
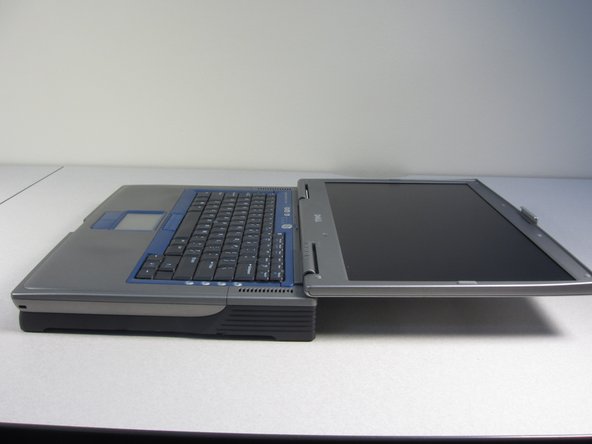
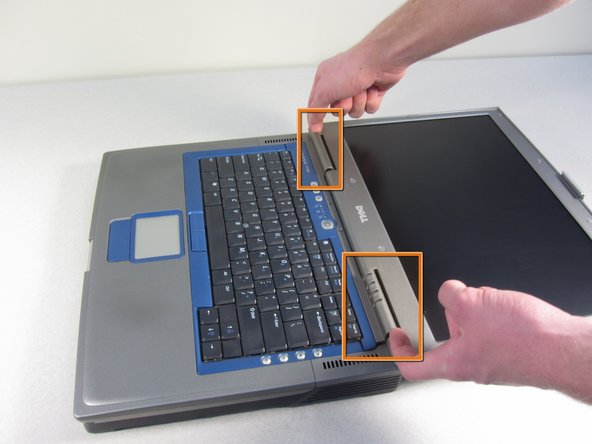
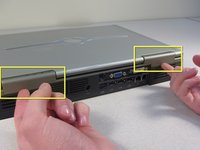
    • Use your fingers to gently pull up on the hinge covers. They will release with an audible snap.

    • Fold the screen back to 180 degrees.

    • Using your index fingers, pull up the hinge cover.

    Спросите у FixBot

    Добавить комментарий

  5. Dell Inspiron 9100 Keyboard Replacement: шаг 5, изображение 1 из 3 Dell Inspiron 9100 Keyboard Replacement: шаг 5, изображение 2 из 3 Dell Inspiron 9100 Keyboard Replacement: шаг 5, изображение 3 из 3
    • After the hinges pop, pull the hinge cover gently.

    • Pull the clear tab on the right side of the laptop up. This tab will disconnect the hinge cover from the laptop.

    Спросите у FixBot

    Добавить комментарий

  6. Dell Inspiron 9100 Keyboard Replacement: шаг 6, изображение 1 из 1
    • Remove the two 3mm screws on the top of the keyboard (nearest to the screen)

    Спросите у FixBot

    Добавить комментарий

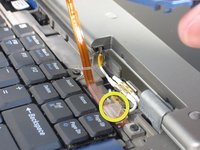
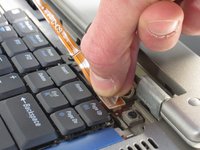
  7. Dell Inspiron 9100 Keyboard Replacement: шаг 7, изображение 1 из 3 Dell Inspiron 9100 Keyboard Replacement: шаг 7, изображение 2 из 3 Dell Inspiron 9100 Keyboard Replacement: шаг 7, изображение 3 из 3
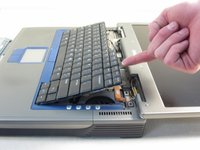
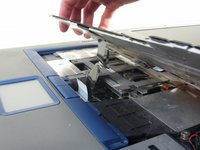
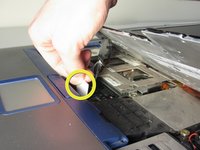
    • Tilt the keyboard away from the screen.

    • Pull up on the white tab underneath the keyboard to release the keyboard.

    Спросите у FixBot

    Добавить комментарий

Заключение

To reassemble your device, follow these instructions in reverse order.

Отменить: Я не выполнил это руководство.

Еще один человек закончил это руководство.

Ana

Участник с: 01/11/11

111 Репутация

1 руководство автора

Команда

Cal Poly, Team 13-2, Forte Winter 2011 Участник Cal Poly, Team 13-2, Forte Winter 2011

CPSU-FORTE-W11S13G2

5 членов

Автор 8 руководств

0 Комментарии к руководству

Добавить комментарий

Статистика просмотров:

За последние 24 часов: 3

За последние 7 дней: 8

За последние 30 дней: 38

За всё время: 4,356