Перейти к основному содержанию
Присоединяйся к сообществу ремонтников - Создай аккаунт

Dell OptiPlex FX170 CMOS Battery Replacement

Выберете то, что вам нужно

    1. Dell OptiPlex FX170 CMOS Battery Replacement, Case: шаг 1, изображение 1 из 1
      • With the base stand facing upwards, unscrew the 6mm Phillips #2 screw.

      • Pull the base stand straight up from the device.

      Спросите у FixBot

      Добавить комментарий

    2. Dell OptiPlex FX170 CMOS Battery Replacement: шаг 2, изображение 1 из 2 Dell OptiPlex FX170 CMOS Battery Replacement: шаг 2, изображение 2 из 2
      • Unscrew and remove the eight 4mm Phillips #0 screws (four on top, four on bottom) from the top and bottom of the device.

      Спросите у FixBot

      Добавить комментарий

    3. Dell OptiPlex FX170 CMOS Battery Replacement: шаг 3, изображение 1 из 3 Dell OptiPlex FX170 CMOS Battery Replacement: шаг 3, изображение 2 из 3 Dell OptiPlex FX170 CMOS Battery Replacement: шаг 3, изображение 3 из 3
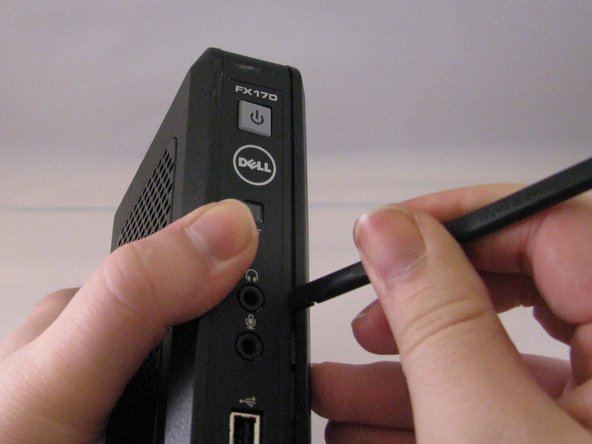
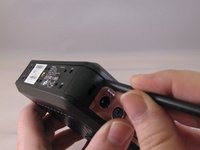
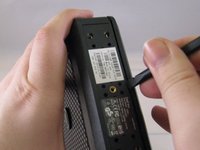
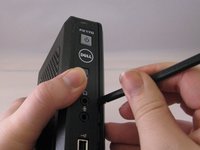
      • Run the flat side of the spudger along the entire line of the case starting from the back where the power plug and a small screw are located.

      • Use care to not apply excessive force that could damage retaining clips while running the spudger along the case.

      Спросите у FixBot

      Добавить комментарий

    4. Dell OptiPlex FX170 CMOS Battery Replacement: шаг 4, изображение 1 из 2 Dell OptiPlex FX170 CMOS Battery Replacement: шаг 4, изображение 2 из 2
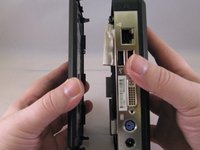
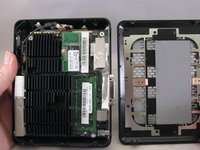
      • Once the clips have been released, gently disengage the cover from the rest of case by pulling in opposite directions.

      Спросите у FixBot

      Добавить комментарий

    1. Dell OptiPlex FX170 CMOS Battery Replacement, Memory Board: шаг 5, изображение 1 из 1
      • Using the spudger, gently push on the underside of the memory board to loosen it. Gently grasp each side and pull up to release the memory board.

      Спросите у FixBot

      Добавить комментарий

    1. Dell OptiPlex FX170 CMOS Battery Replacement, CMOS Battery: шаг 6, изображение 1 из 1
      • To remove the battery, pull up on the connector that is plugged into the motherboard.

      Спросите у FixBot

      Добавить комментарий

Заключение

To reassemble your device, follow these instructions in reverse order.

Отменить: Я не выполнил это руководство.

Frank Pecka

Участник с: 01/13/15

340 Репутация

Автор 3 руководств

Команда

Eastern Washington University, Team 1-4, Carnegie Winter 2015 Участник Eastern Washington University, Team 1-4, Carnegie Winter 2015

EWU-CARNEGIE-W15S1G4

3 членов

Автор 56 руководств

0 Комментарии к руководству

Добавить комментарий

Статистика просмотров:

За последние 24 часов: 1

За последние 7 дней: 6

За последние 30 дней: 24

За всё время: 1,391