Перейти к основному содержанию
Присоединяйся к сообществу ремонтников - Создай аккаунт

Dell Photo Printer 540 Power Switch Replacement

Выберете то, что вам нужно

  1. Dell Photo Printer 540 Power Switch Replacement, Case: шаг 1, изображение 1 из 1
    • Rotate the photo printer so that the bottom of the case faces upward.

    Спросите у FixBot
  2. Dell Photo Printer 540 Power Switch Replacement: шаг 2, изображение 1 из 1
    • Use a Phillips #2 screwdriver to remove the three 5.65 mm screws on the bottom panel of the case in a counter-clockwise fashion.

    Спросите у FixBot
  3. Dell Photo Printer 540 Power Switch Replacement: шаг 3, изображение 1 из 1
    • Rotate the device so that it is upright again. Under the LCD Panel there is a 9.62 mm screw, unscrew using a Phillips #2 screwdriver.

    Спросите у FixBot
  4. Dell Photo Printer 540 Power Switch Replacement: шаг 4, изображение 1 из 1
    • Remove the back panel of the case by pulling directly back.

    • Some carefully applied force may be required to remove this part.

    Спросите у FixBot
  5. Dell Photo Printer 540 Power Switch Replacement: шаг 5, изображение 1 из 1
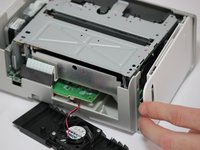
    • Rotate the photo printer so that the bottom panel faces up once again. Now lift off the bottom panel of the case to access all internal components.

    Спросите у FixBot
  6. Dell Photo Printer 540 Power Switch Replacement: шаг 6, изображение 1 из 2 Dell Photo Printer 540 Power Switch Replacement: шаг 6, изображение 2 из 2
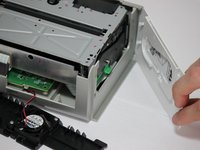
    • Finally remove the side panel with the ink-cartridge door by holding the right side and pulling backwards with the left side.

    • Caution! The side panel is held in by tabs; don't break these.

    Спросите у FixBot
  7. Dell Photo Printer 540 Power Switch Replacement, Cooling Fan: шаг 7, изображение 1 из 1
    • Carefully remove the inner components of the device by lifting the inner components up and out of the casing.

    Спросите у FixBot
  8. Dell Photo Printer 540 Power Switch Replacement: шаг 8, изображение 1 из 1
    • Locate the red and black cable that is connecting the fan to the top of the logic board.

    Спросите у FixBot
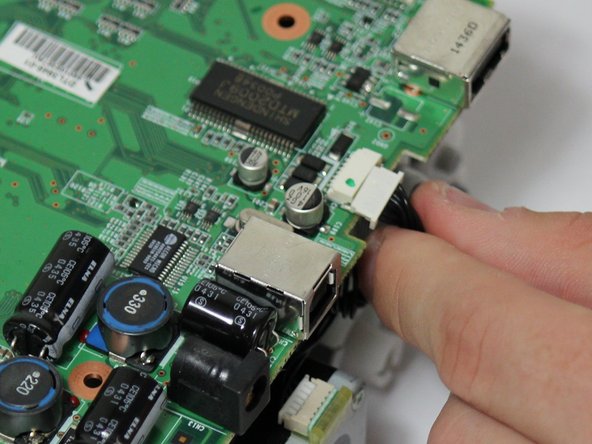
  9. Dell Photo Printer 540 Power Switch Replacement: шаг 9, изображение 1 из 1
    • Carefully, remove the red and black cable from the logic board by pulling gently in order to isolate the cooling fan from the device.

    Спросите у FixBot
  10. Dell Photo Printer 540 Power Switch Replacement, Mother Board: шаг 10, изображение 1 из 3 Dell Photo Printer 540 Power Switch Replacement, Mother Board: шаг 10, изображение 2 из 3 Dell Photo Printer 540 Power Switch Replacement, Mother Board: шаг 10, изображение 3 из 3
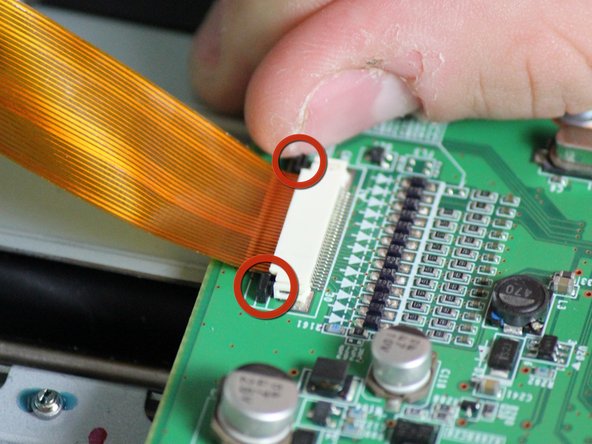
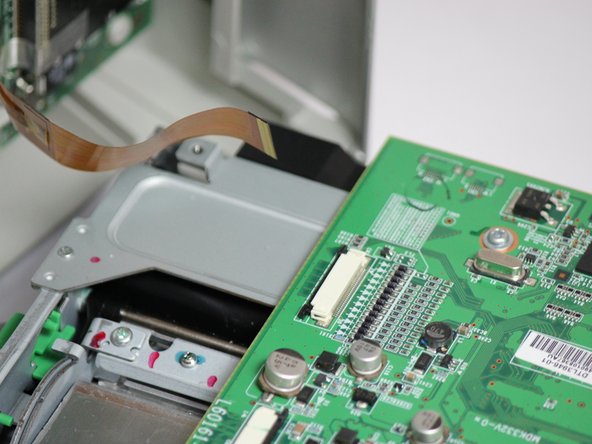
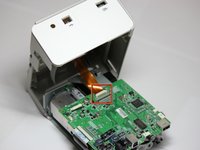
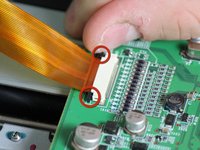
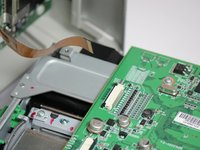
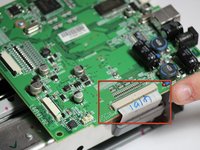
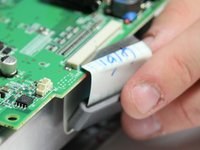
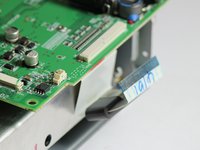
    • Locate the data ribbon that connects the LCD panel to the mother board.

    • Loosen the fasteners next to the ribbon by carefully pushing them away from the white ribbon holder.

    • Once the fasteners are loosened the ribbon should easily slide away from the motherboard.

    Спросите у FixBot
  11. Dell Photo Printer 540 Power Switch Replacement: шаг 11, изображение 1 из 3 Dell Photo Printer 540 Power Switch Replacement: шаг 11, изображение 2 из 3 Dell Photo Printer 540 Power Switch Replacement: шаг 11, изображение 3 из 3
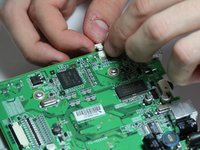
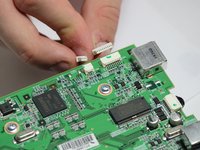
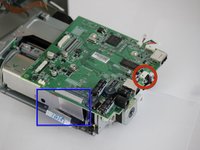
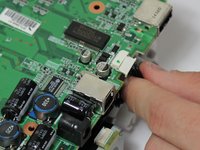
    • Locate the clips with multi-colored wires that connect the motherboard to the printing unit.

    • Disconnect both of them by gently pulling them away from the motherboard.

    Спросите у FixBot
  12. Dell Photo Printer 540 Power Switch Replacement: шаг 12, изображение 1 из 3 Dell Photo Printer 540 Power Switch Replacement: шаг 12, изображение 2 из 3 Dell Photo Printer 540 Power Switch Replacement: шаг 12, изображение 3 из 3
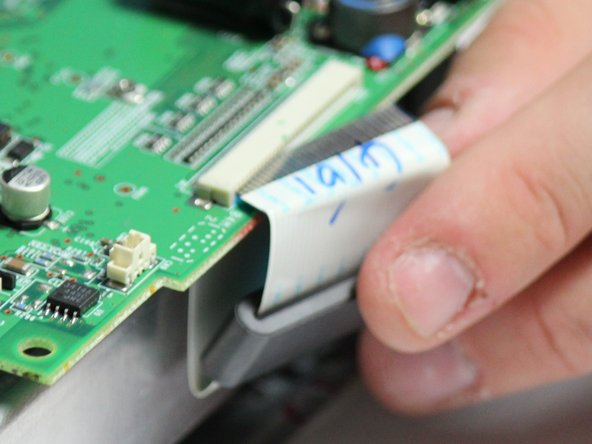
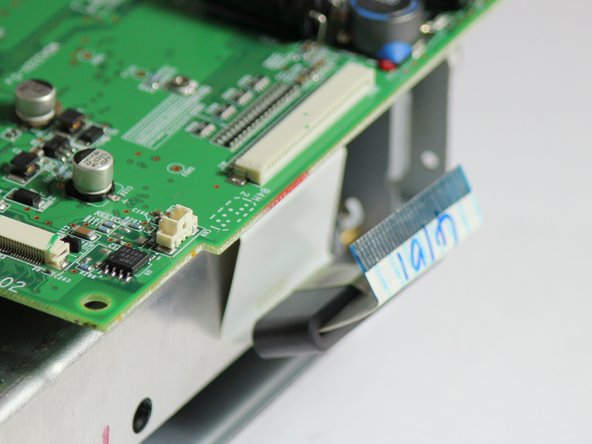
    • Locate the white ribbon that connects the motherboard to the printing feed.

    • Disconnect the ribbon by gently pulling the ribbon away from the motherboard.

    Спросите у FixBot
  13. Dell Photo Printer 540 Power Switch Replacement: шаг 13, изображение 1 из 2 Dell Photo Printer 540 Power Switch Replacement: шаг 13, изображение 2 из 2
    • The mother board has changed orientation. Notice the new orientation based on the white data ribbon we removed in the previous step.

    • Locate the black data ribbon that connects the mother board to the printing motors.

    • Disconnect it from the logic board, by gently pulling the wire away from the mother board.

    Спросите у FixBot
  14. Dell Photo Printer 540 Power Switch Replacement: шаг 14, изображение 1 из 1
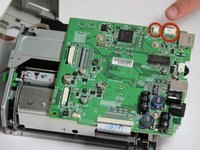
    • Now unscrew the three screws 7.89mm (counter-clockwise) using a Phillips #1 screwdriver.

    Спросите у FixBot
  15. Dell Photo Printer 540 Power Switch Replacement: шаг 15, изображение 1 из 1
    • Once screws and ribbons are disconnected, you can pull mother board away from the printing unit.

    Спросите у FixBot
  16. Dell Photo Printer 540 Power Switch Replacement, Removal of the Control Panel Motherboard: шаг 16, изображение 1 из 1
    • Gain access to the bottom of the top case with a thin horizontal control panel motherboard attached to the bottom.

    • Remove the front panel.

    • The dell top casing should now only have two sides.

    Спросите у FixBot
  17. Dell Photo Printer 540 Power Switch Replacement: шаг 17, изображение 1 из 2 Dell Photo Printer 540 Power Switch Replacement: шаг 17, изображение 2 из 2
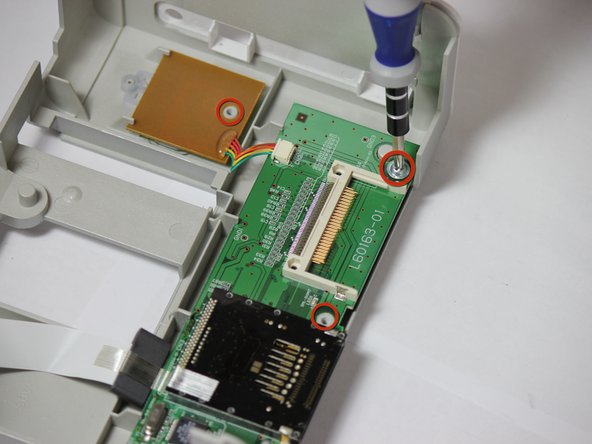
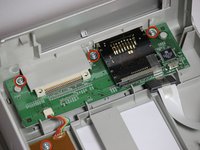
    • Locate the four 7.85 mm screws attaching the control panel motherboard to the top face casing.

    • Use a Phillips Head #1 screw driver to remove the four highlighted screws.

    • NOTE: Make sure removal of front face plate is completed.

    Спросите у FixBot
  18. Dell Photo Printer 540 Power Switch Replacement: шаг 18, изображение 1 из 1
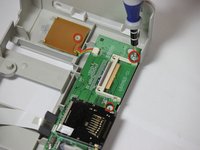
    • Gently lift the horizontal control panel motherboard and square power switch board.

    • Completely detach the motherboard from the face casing.

    • NOTE: Leave the power switch control attached to the main control panel motherboard.

    Спросите у FixBot
  19. Dell Photo Printer 540 Power Switch Replacement, Power Switch: шаг 19, изображение 1 из 2 Dell Photo Printer 540 Power Switch Replacement, Power Switch: шаг 19, изображение 2 из 2
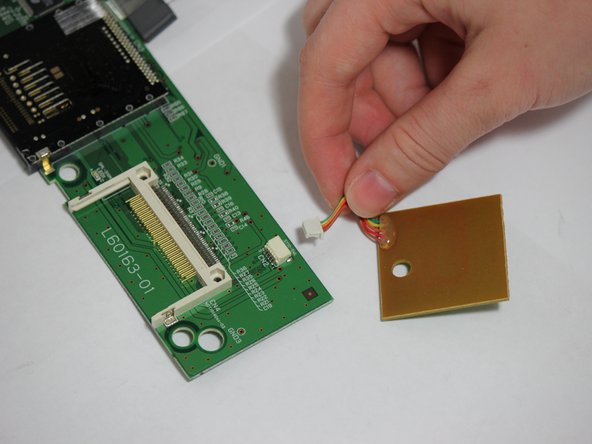
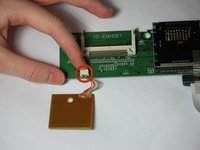
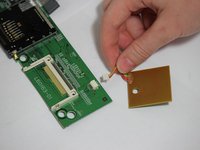
    • Locate the multi-colored cable that connects the power switch to the control panel motherboard.

    • Detach the cable, power switch is now accessible.

    Спросите у FixBot
Финишная прямая

Jonathan Mintz

Участник с: 04/04/12

11 Репутация

Автор 3 руководств

Команда

Cal Poly, Team 14-7, Forte Spring 2012 Участник Cal Poly, Team 14-7, Forte Spring 2012

CPSU-FORTE-S12S14G7

4 членов

Автор 12 руководств

0 Комментарии к руководству

Добавить комментарий

Статистика просмотров:

За последние 24 часов: 2

За последние 7 дней: 14

За последние 30 дней: 85

За всё время: 867