Введение
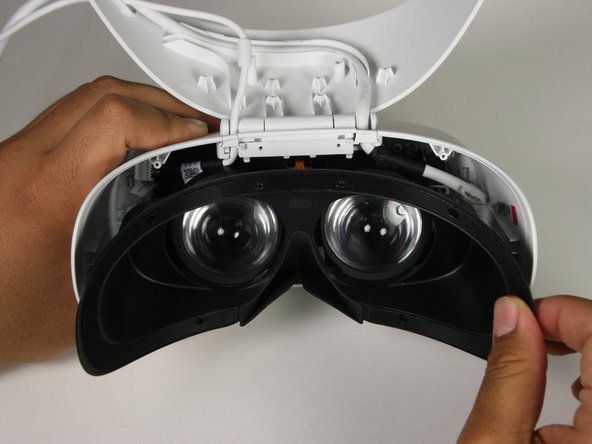
If your Dell VRP100 headset has a cracked, scratched or broken lens you are definitely going to want to replace it. This guide has all the steps for you need replace those beat up lenses with new ones. You will need a metal spudger for parts of this guide.
Выберете то, что вам нужно
-
-
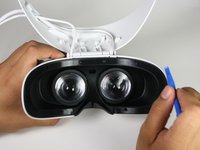
Remove the black foam padding by peeling away slowly.
-
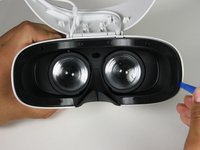
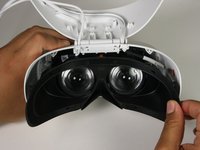
Remove the front and back padding from the headset by peeling away slowly.
 Спросите у FixBot
-
-
-
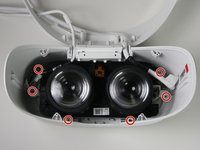
Remove the six 5.5mm PH000 screws from the cover by rotating counter-clockwise.
-
-
-
Remove the cover using one of the plastic opening tools, and then carefully pull it from the casing.
-
-
-
-
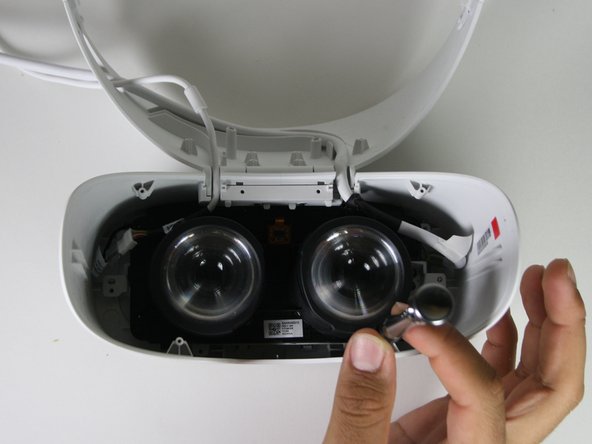
Remove the six 5.5mm PH000 screws from the cover by rotating counter-clockwise.
-
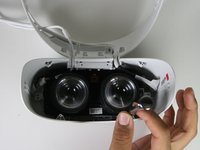
Carefully remove the lens and motherboard assembly from the white casing.
-
-
-
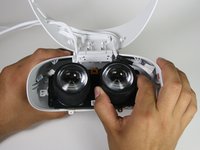
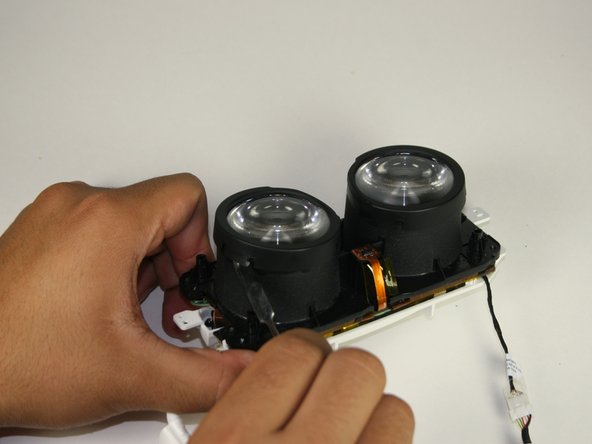
Deattach the black cover from the lens with a metal spudger.
-
-
-
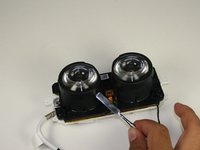
Gently insert the metal spudger between the lens and the lens casing.
-
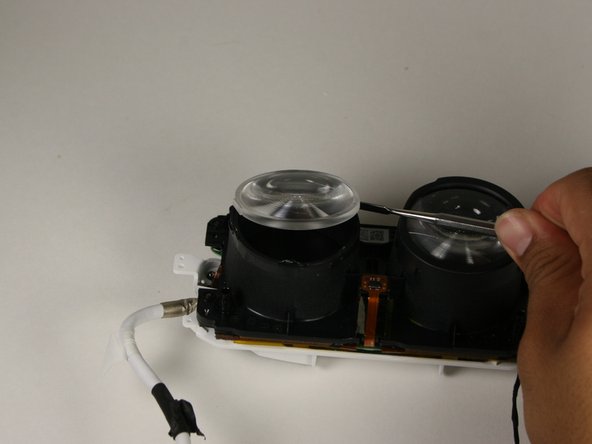
Rotate the spudger around the exterior of the lens and lens housing, separating them.
-
-
-
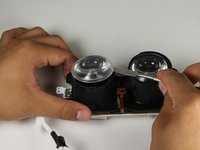
Holding the lens around the outside, gently lift it out of its housing.
-


To reassemble your device, follow these instructions in reverse order.
Отменить: Я не выполнил это руководство.
Еще один человек закончил это руководство.
Команда

Cal Poly, Team S17-G1, White Fall 2018 Участник Cal Poly, Team S17-G1, White Fall 2018
CPSU-WHITE-F18S17G1
4 членов
Автор 18 руководств