Перейти к основному содержанию
Присоединяйся к сообществу ремонтников - Создай аккаунт

Dell XPS 13 L321X Screen Replacement

Выберете то, что вам нужно

    1. Dell XPS 13 L321X Screen Replacement, Screen: шаг 1, изображение 1 из 2 Dell XPS 13 L321X Screen Replacement, Screen: шаг 1, изображение 2 из 2
      • Remove ten 3mm screws from the back cover with a "T5" screwdriver.

      Спросите у FixBot

      Добавить комментарий

    2. Dell XPS 13 L321X Screen Replacement: шаг 2, изображение 1 из 1
      • Remove the ribbons from both sides with a plastic iFixit opening tool.

      Спросите у FixBot

      Добавить комментарий

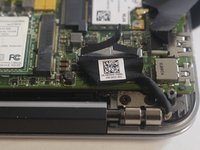
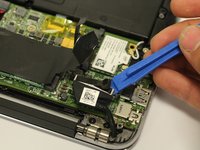
    3. Dell XPS 13 L321X Screen Replacement: шаг 3, изображение 1 из 2 Dell XPS 13 L321X Screen Replacement: шаг 3, изображение 2 из 2
      • Remove the black wire that connects the screen to the motherboard by pulling up with a plastic iFixit opening tool.

      Спросите у FixBot

      Добавить комментарий

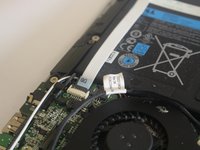
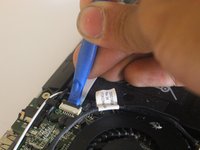
    4. Dell XPS 13 L321X Screen Replacement: шаг 4, изображение 1 из 2 Dell XPS 13 L321X Screen Replacement: шаг 4, изображение 2 из 2
      • Disconnect the ribbon cable with a plastic iFixit opening tool by lifting up the black clip and pulling the white ribbon off.

      • Pull aside the ribbon cable.

      Спросите у FixBot

      Добавить комментарий

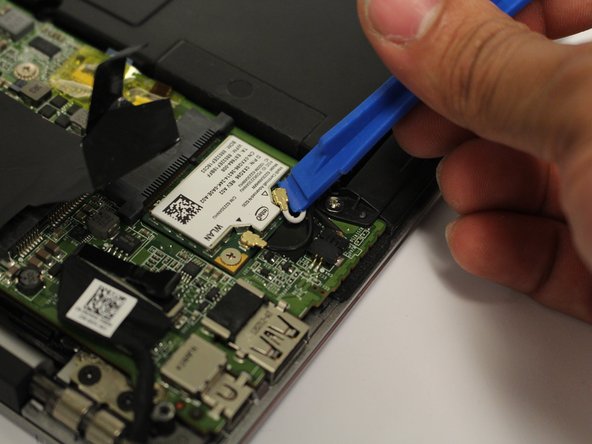
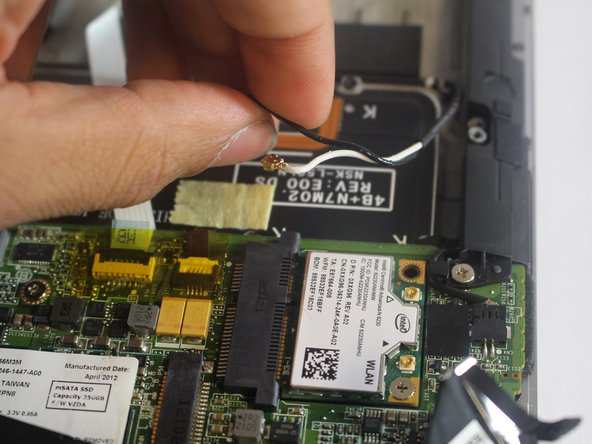
    5. Dell XPS 13 L321X Screen Replacement: шаг 5, изображение 1 из 3 Dell XPS 13 L321X Screen Replacement: шаг 5, изображение 2 из 3 Dell XPS 13 L321X Screen Replacement: шаг 5, изображение 3 из 3
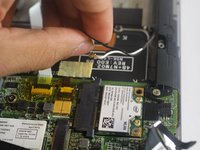
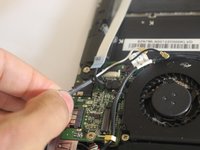
      • Disconnect the wire that is connected to the wireless card with a plastic iFixit opening tool by lifting up slowly, then pulling the wires aside.

      Спросите у FixBot

      Добавить комментарий

    6. Dell XPS 13 L321X Screen Replacement: шаг 6, изображение 1 из 1
      • Use a PH00 size screwdriver to remove the 8 screws that secure the battery.

      • Six 3mm screws.

      • Two 5mm screws.

      Спросите у FixBot

      Добавить комментарий

    7. Dell XPS 13 L321X Screen Replacement: шаг 7, изображение 1 из 2 Dell XPS 13 L321X Screen Replacement: шаг 7, изображение 2 из 2
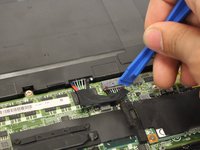
      • Insert a plastic iFixit opening tool in between the port and the wires to remove the battery cable.

      Спросите у FixBot

      Добавить комментарий

    8. Dell XPS 13 L321X Screen Replacement: шаг 8, изображение 1 из 3 Dell XPS 13 L321X Screen Replacement: шаг 8, изображение 2 из 3 Dell XPS 13 L321X Screen Replacement: шаг 8, изображение 3 из 3
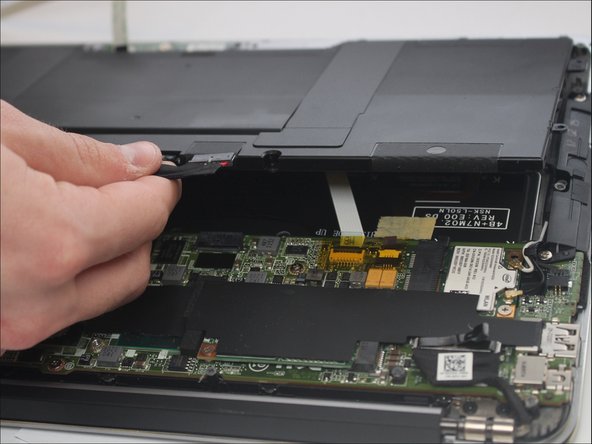
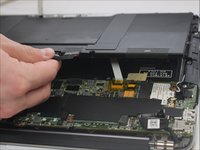
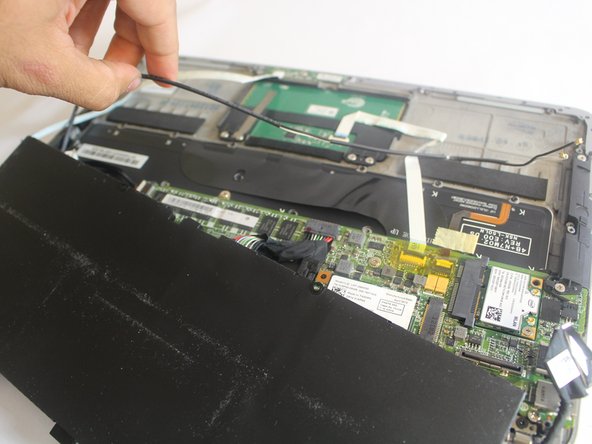
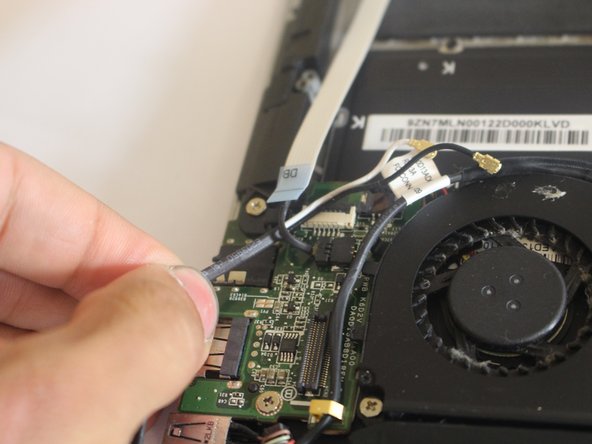
      • After removing the battery, start to remove the wireless wire and making it through the other wires connected under the battery.

      Спросите у FixBot

      Добавить комментарий

    9. Dell XPS 13 L321X Screen Replacement: шаг 9, изображение 1 из 2 Dell XPS 13 L321X Screen Replacement: шаг 9, изображение 2 из 2
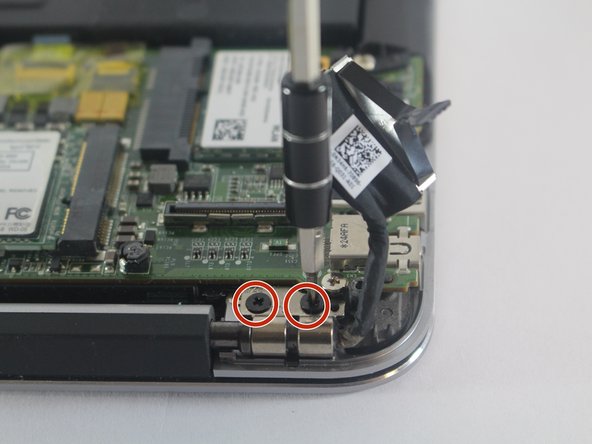
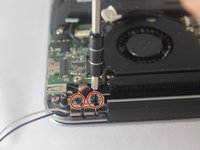
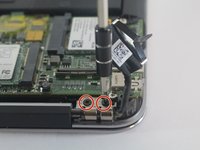
      • Remove the screws with a PH1 size screwdriver.

      • Each side of the brackets that are holding the screen down are going to have two 3mm screws in each side.

      Спросите у FixBot

      Добавить комментарий

    10. Dell XPS 13 L321X Screen Replacement: шаг 10, изображение 1 из 3 Dell XPS 13 L321X Screen Replacement: шаг 10, изображение 2 из 3 Dell XPS 13 L321X Screen Replacement: шаг 10, изображение 3 из 3
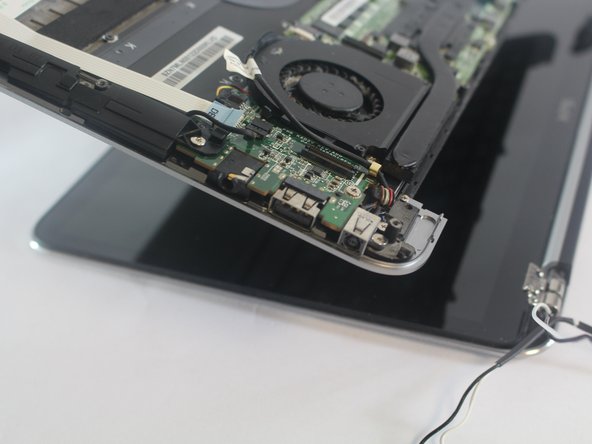
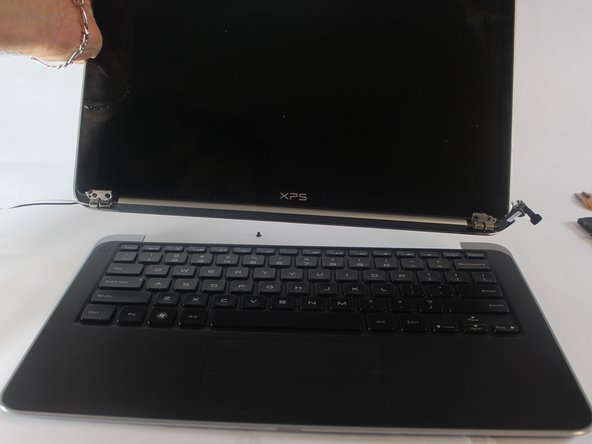
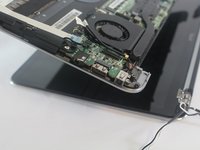
      • Open the laptop by separating the screen from the actual laptop and take it apart.

      Спросите у FixBot

      Добавить комментарий

Финишная прямая

Отменить: Я не выполнил это руководство.

2 человек успешно провели ремонт по этому руководству.

Molly Skinner

Участник с: 02/15/17

270 Репутация

Автор 2 руководств

Команда

USF Tampa, Team S6-G3, Lacy Spring 2017 Участник USF Tampa, Team S6-G3, Lacy Spring 2017

USFT-LACY-S17S6G3

4 членов

Автор 49 руководств

2 Комментарии к руководству

That would be the guide to take off the upper DISPLAY ASSEMBLY, not the screen.

I was expecting you to bring iOpeners and get the actual glass LCD out …

But it’s a good guide.

Xavier Jiang - Ответить Поделиться
Is there a way only the screen can be replaced on Dell XPS 13, not the entire display assembly. From what I have got so far, the entire panel above the keyboard is a single unit

Abhi B - Ответить Поделиться
Добавить комментарий

Статистика просмотров:

За последние 24 часов: 1

За последние 7 дней: 9

За последние 30 дней: 37

За всё время: 4,870