Введение
I did this to replace part of the screen assembly.
It's not as detailed as it should be, but I hope it will help you out a bit /give you an idea of what you are doing.
Make sure to read the entire guide before starting to give yourself an idea of what's where etc.
There are several fragile connectors and ribbon cables. You also do not want to pry the copper heatsink off of the processor.
Выберете то, что вам нужно
-
-
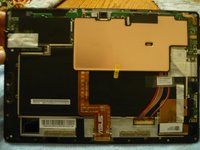
Case back removed from tablet
-
Remove the back with your fingernails, popping it open between the black border, and the plastic backing.
-
Be careful near the buttons and headphone jack.
-
-
-
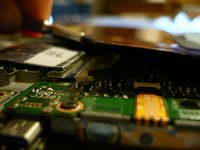
Start by taking the screws from around the frame off.
-
Then remove the screws from this PCB
-
If you are replacing screen components, skip to step 7
-
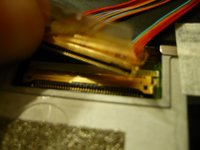
Remove the little foam pads from the two connectors on the PCB These are for the digitizer
-
Flip up the releases on the plugs to pull out the ribbon cable. (I will show some more detailed pictures of the same process on other connectors.
-
-
-
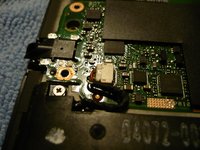
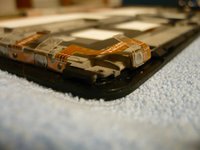
Note the large copper heatsink. DO NOT pull this off.
-
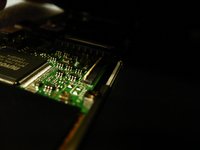
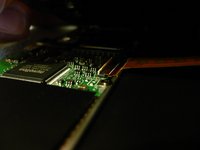
There are a couple connectors underneath you will have to detach. They have flip up releases, hopefully you can see it.
-
-
-
-
Overview
-
Disconnect Sound connector.
-
Unscrew remaining PCBs
-
carefully unplug battery connector (under copper plate)
-
-
-
You'll have to (CAREFULLY) pop the power button (and maybe volume button) out of place so you do not rip the ribbon cable when removing the PCB. I used a tiny flat-head screwdriver.
-
-
-
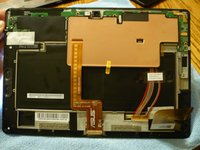
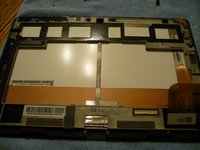
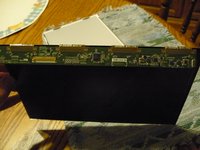
Pic 1 - PCBs removed. Screen assembly and frame only.
-
Pic 2 - Screen assembly only.
-
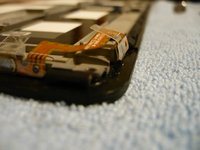
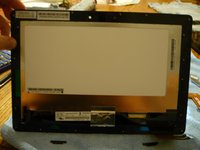
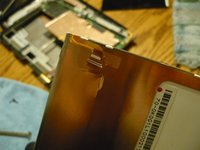
Carefully peel silver tape off of black tape.
-
Starting at the right (in the picture) peel up the black tape. Be careful! The power ribbon cable for the backlight is hidden under at the left side. See next step for location of connection.
-
-
-
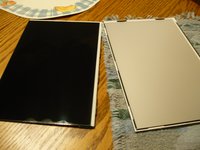
Pic 1 - LCD (left) backlight panel (right)
-
Pic 2 - LCD PCB, note backlight connector at right
-
Pic 3 - Backlight panel connector.
-
-
-
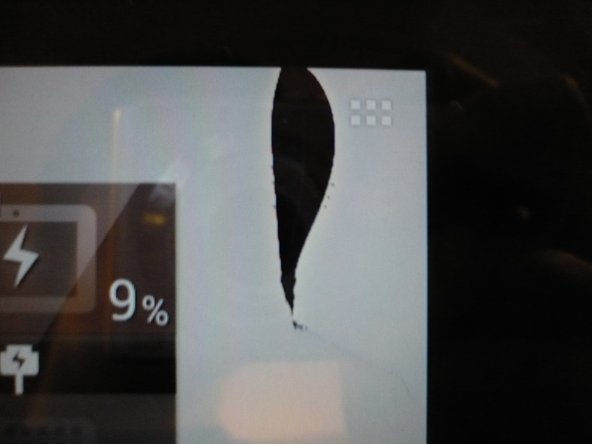
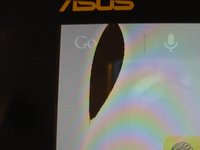
Be careful when removing LCD and when reassembling tablet. not sure when it happened, but apparently I was not careful enough when putting it back together, and this happened. Works perfectly fine otherwise. (Heat gun was not used).
-


To reassemble your device, follow these instructions in reverse order.
Hope this helped a bit.
I Could not find a guide, so I figured I'd make my own.
Отменить: Я не выполнил это руководство.
17 человек успешно провели ремонт по этому руководству.
30 Комментарии к руководству
How can i take off the digitizer from the LCD ? I cant take it off ?
So you are on step 7?
The digitizer is the whole front panel. The LCD is sandwiched between that and the backlight. (The big white panel)
Around the edge, the backlight sort of clips into the frame. Try using a small blade screwdriver to pop the clips.
OK i found the problem an done the rest but the tablet didnt start. I think ther is a problem with the cabel´s but i can´t find it. When i push 2 cabels on the backside the screen works but the Touch didn´t work . What is the Problem ? I have buyed this Part
http://www.ebay.de/itm/321001110973?ssPa... . It is the right part for my Asus TF 300 but why zhe touch doesent work
Did you connect the ribbon cables to the main board?
Yes i connected the ribbon cabels to the Mainboard. I think one cabel is damaged . It is possibel that the cabels from the digitizer are not working , because the LCD is working when i push on one connector but the digitizer doesnt work .