Перейти к основному содержанию
Присоединяйся к сообществу ремонтников - Создай аккаунт
Disassembling Ericsson CF 388 Circuit Board

Выберете то, что вам нужно

    1. Disassembling Ericsson CF 388 Circuit Board, Disassembling Ericsson CF 388 Battery: шаг 1, изображение 1 из 3 Disassembling Ericsson CF 388 Circuit Board, Disassembling Ericsson CF 388 Battery: шаг 1, изображение 2 из 3 Disassembling Ericsson CF 388 Circuit Board, Disassembling Ericsson CF 388 Battery: шаг 1, изображение 3 из 3
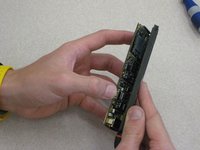
      • To remove the battery from the casing, grab the front panel and back panel with opposite hands (as shown). The back panel is the same as the battery.

      • With your index finger, push in the button on the bottom of the battery to release it.

      • Pull the battery away from the phone.

      Спросите у FixBot

      Добавить комментарий

    1. Disassembling Ericsson CF 388 Circuit Board, Phone Casing: шаг 2, изображение 1 из 3 Disassembling Ericsson CF 388 Circuit Board, Phone Casing: шаг 2, изображение 2 из 3 Disassembling Ericsson CF 388 Circuit Board, Phone Casing: шаг 2, изображение 3 из 3
      • After removing the battery, the front phone casing becomes accessible.

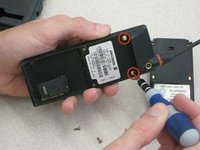
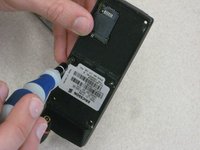
      • Locate the two star-shaped T6 screws on the bottom end of the rear of the phone, underneath the battery, as indicated by the red circles.

      • Remove these two screws using the Torx T6 Screwdriver.

      Спросите у FixBot

      Добавить комментарий

    2. Disassembling Ericsson CF 388 Circuit Board: шаг 3, изображение 1 из 3 Disassembling Ericsson CF 388 Circuit Board: шаг 3, изображение 2 из 3 Disassembling Ericsson CF 388 Circuit Board: шаг 3, изображение 3 из 3
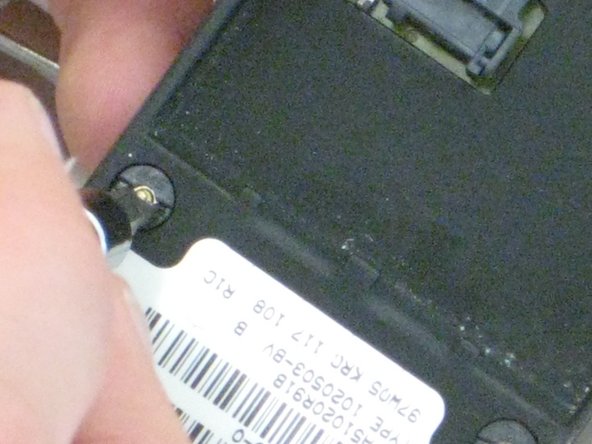
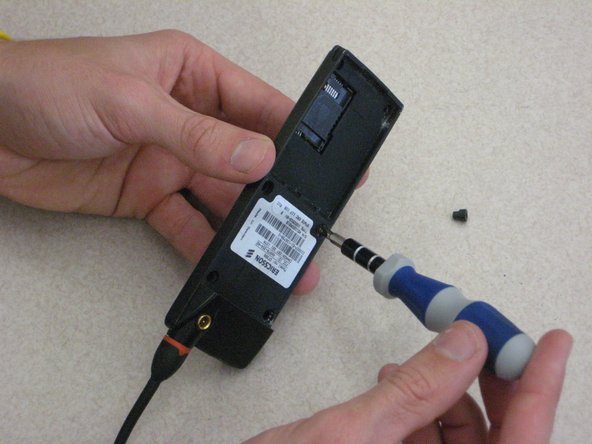
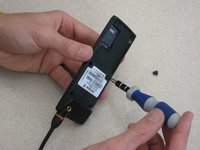
      • Locate the top two U-shaped screws on the back of the phone, as shown by the red circles.

      • Remove these two screws with a SP 2.6 screw driver.

      • Note: Remove gray plastic grommets with screws.

      Спросите у FixBot

      Добавить комментарий

    3. Disassembling Ericsson CF 388 Circuit Board: шаг 4, изображение 1 из 2 Disassembling Ericsson CF 388 Circuit Board: шаг 4, изображение 2 из 2
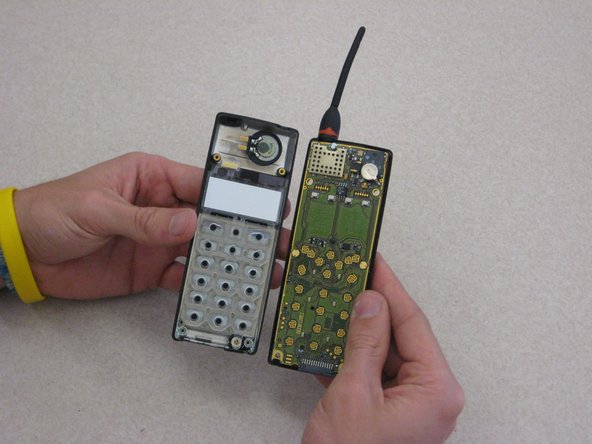
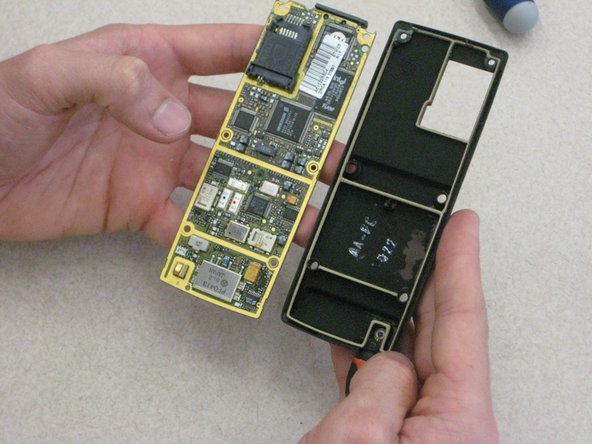
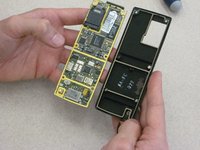
      • Grab opposite panels of the phone casing and carefully open and pull apart the phone, as shown in the image.

      • Note: Be careful not to damage the circuit board and components as you as open the casing.

      Спросите у FixBot

      Добавить комментарий

    1. Disassembling Ericsson CF 388 Circuit Board, Circuit Board: шаг 5, изображение 1 из 1
      • Locate the circuit board on the rear side of the front phone casing (right side of image).

      • Locate the mounting screws (indicated by red circles), which attach the board to the rear side of the front phone casing.

      Спросите у FixBot

      Добавить комментарий

    2. Disassembling Ericsson CF 388 Circuit Board: шаг 6, изображение 1 из 3 Disassembling Ericsson CF 388 Circuit Board: шаг 6, изображение 2 из 3 Disassembling Ericsson CF 388 Circuit Board: шаг 6, изображение 3 из 3
      Инструмент, используемый на этом этапе:
      Tweezers
      $4.99
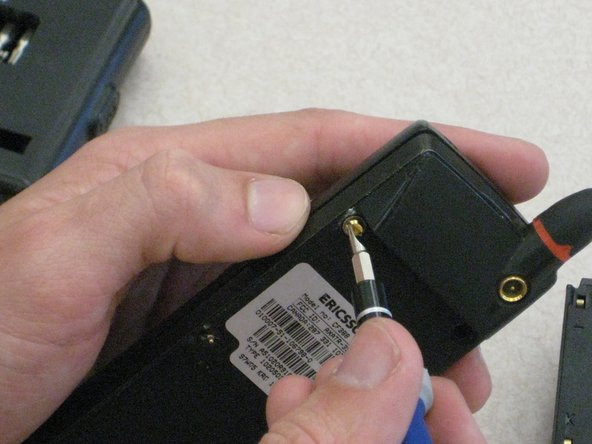
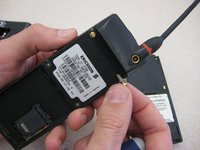
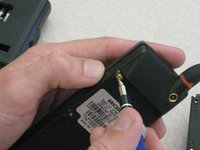
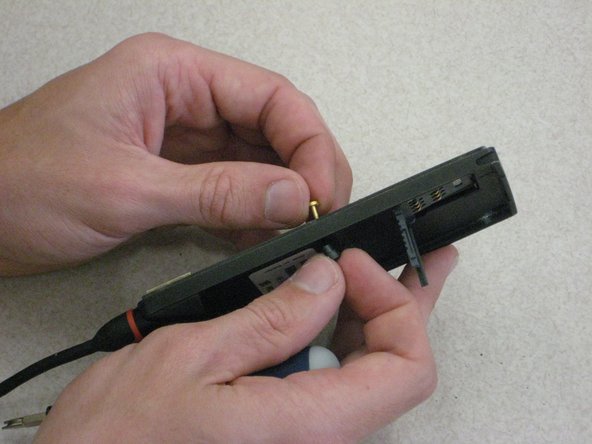
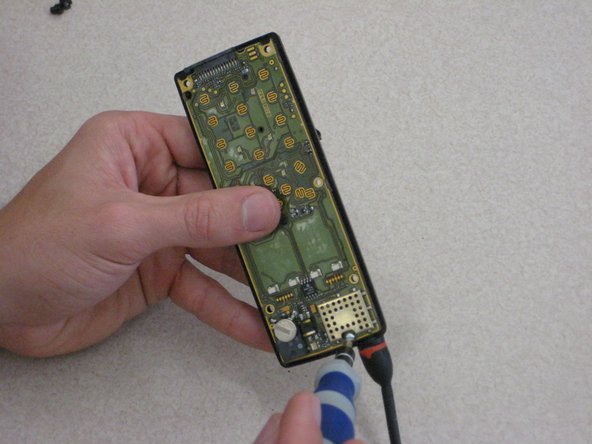
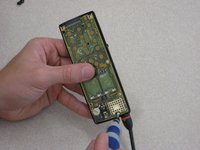
      • Using the SP2.6 u-shaped screw driver in one hand, loosen and remove both center screws. Hold the back part of the screw with the metal tweezers.

      Спросите у FixBot

      Добавить комментарий

    3. Disassembling Ericsson CF 388 Circuit Board: шаг 7, изображение 1 из 2 Disassembling Ericsson CF 388 Circuit Board: шаг 7, изображение 2 из 2
      • Completely remove the two center screw as shown.

      • Note: the hand not holding the screw driver is holding the back part of the screw and the panel in place.

      Спросите у FixBot

      Добавить комментарий

    4. Disassembling Ericsson CF 388 Circuit Board: шаг 8, изображение 1 из 2 Disassembling Ericsson CF 388 Circuit Board: шаг 8, изображение 2 из 2
      • Locate the final screw at the top of the phone near the antenna, as shown by the red circle.

      • Using the U-shaped screw driver, remove the top screw.

      Спросите у FixBot

      Добавить комментарий

    5. Disassembling Ericsson CF 388 Circuit Board: шаг 9, изображение 1 из 2 Disassembling Ericsson CF 388 Circuit Board: шаг 9, изображение 2 из 2
      • With one hand on the circuit board and one hand on the phone casing, carefully pull apart the circuit board from the front panel casing.

      Спросите у FixBot

      Добавить комментарий

Заключение

To reassemble your device, follow these instructions in reverse order.

Отменить: Я не выполнил это руководство.

Niccolas Tones

Участник с: 03/09/12

60 Репутация

Автор 9 руководств

Команда

Clemson, Team 1-1, Benson Spring 2012 Участник Clemson, Team 1-1, Benson Spring 2012

CLEM-BENSON-S12S1G1

3 членов

Автор 77 руководств

0 Комментарии к руководству

Добавить комментарий

Статистика просмотров:

За последние 24 часов: 2

За последние 7 дней: 11

За последние 30 дней: 30

За всё время: 1,688