Перейти к основному содержанию
Присоединяйся к сообществу ремонтников - Создай аккаунт

Disassembling Microtek ScanMaker 5900 Outer Scanner Chassis

Выберете то, что вам нужно

    1. Disassembling Microtek ScanMaker 5900 Outer Scanner Chassis, Remove serial port connection: шаг 1, изображение 1 из 3 Disassembling Microtek ScanMaker 5900 Outer Scanner Chassis, Remove serial port connection: шаг 1, изображение 2 из 3 Disassembling Microtek ScanMaker 5900 Outer Scanner Chassis, Remove serial port connection: шаг 1, изображение 3 из 3
      • Loosen the screws on the serial port by turning them counter clockwise by hand.

      • After loosening the screws, pull the serial port out.

      Спросите у FixBot

      Добавить комментарий

    2. Disassembling Microtek ScanMaker 5900 Outer Scanner Chassis, Remove Lid: шаг 2, изображение 1 из 3 Disassembling Microtek ScanMaker 5900 Outer Scanner Chassis, Remove Lid: шаг 2, изображение 2 из 3 Disassembling Microtek ScanMaker 5900 Outer Scanner Chassis, Remove Lid: шаг 2, изображение 3 из 3
      • Lift lid to its vertical position.

      • Pull lid straight up to remove it from the scanner.

      Спросите у FixBot

      Добавить комментарий

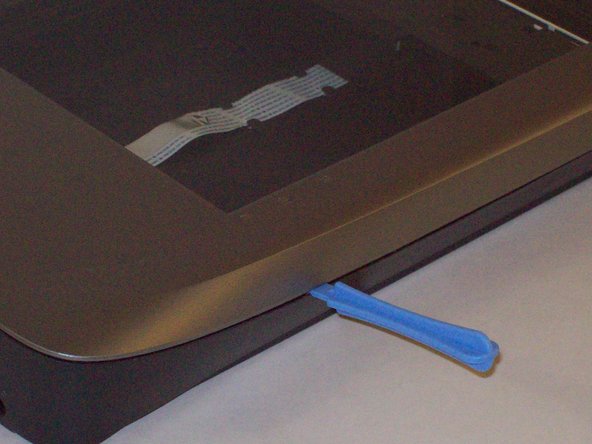
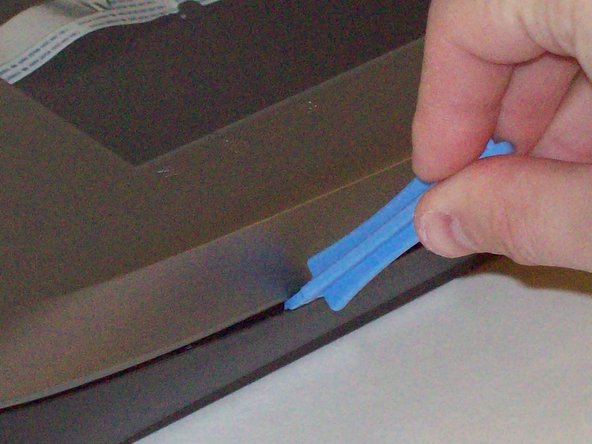
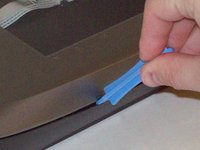
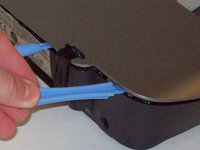
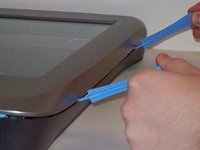
    1. Disassembling Microtek ScanMaker 5900 Outer Scanner Chassis, Detach plastic latches: шаг 3, изображение 1 из 3 Disassembling Microtek ScanMaker 5900 Outer Scanner Chassis, Detach plastic latches: шаг 3, изображение 2 из 3 Disassembling Microtek ScanMaker 5900 Outer Scanner Chassis, Detach plastic latches: шаг 3, изображение 3 из 3
      • Push the plastic opening tools into the crack between the top and the bottom of the chassis.

      Спросите у FixBot

      Добавить комментарий

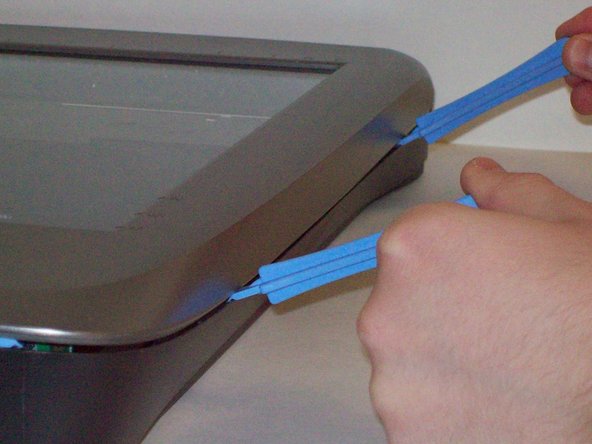
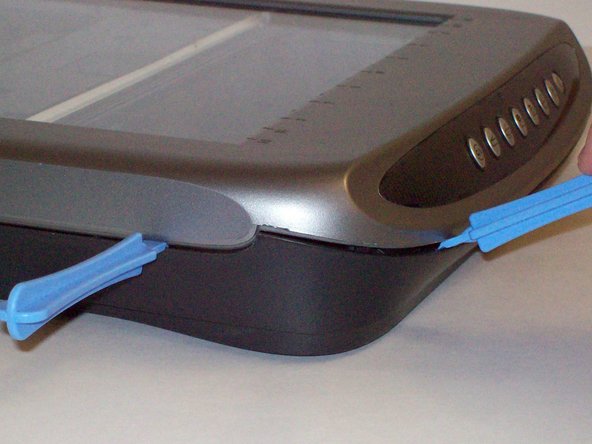
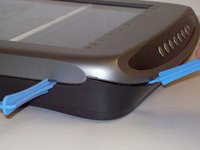
    2. Disassembling Microtek ScanMaker 5900 Outer Scanner Chassis, Continue latch detachment: шаг 4, изображение 1 из 3 Disassembling Microtek ScanMaker 5900 Outer Scanner Chassis, Continue latch detachment: шаг 4, изображение 2 из 3 Disassembling Microtek ScanMaker 5900 Outer Scanner Chassis, Continue latch detachment: шаг 4, изображение 3 из 3
      • After placing one plastic opening tool into the slit, slide other plastic opening tools along the slit to detach the top from the bottom of the chassis.

      • Go all the way along the chassis until you can lift the upper lid.

      Спросите у FixBot

      Добавить комментарий

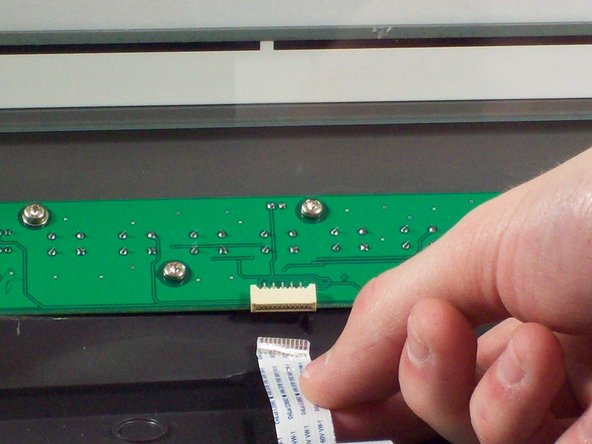
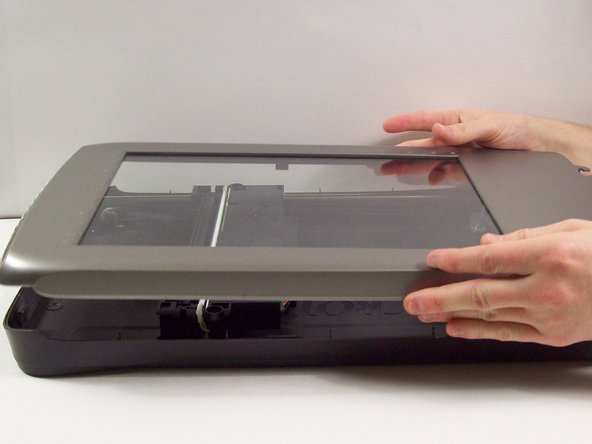
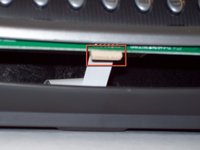
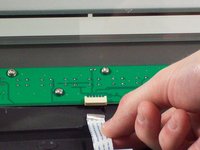
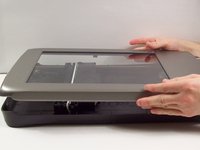
    3. Disassembling Microtek ScanMaker 5900 Outer Scanner Chassis, Fully remove the upper lid: шаг 5, изображение 1 из 3 Disassembling Microtek ScanMaker 5900 Outer Scanner Chassis, Fully remove the upper lid: шаг 5, изображение 2 из 3 Disassembling Microtek ScanMaker 5900 Outer Scanner Chassis, Fully remove the upper lid: шаг 5, изображение 3 из 3
      • Do not fully remove the lid until you remove the ribbon cable attached to the front of the upper lid.

      • Do this by grabbing the upper lid from the sides and rotating it ninety degrees so it is perpendicular to the bottom lid.

      • Grab the ribbon cable and gently pull it out of its slot with your fingers.

      • The upper lid can now safely be removed from the bottom lid.

      Спросите у FixBot

      Добавить комментарий

Заключение

To reassemble your device, follow these instructions in reverse order.

Отменить: Я не выполнил это руководство.

Taylor Nesheim

Участник с: 10/11/11

59 Репутация

Автор 7 руководств

Команда

Cal Poly, Team 6-9, Regan Fall 2011 Участник Cal Poly, Team 6-9, Regan Fall 2011

CPSU-REGAN-F11S6G9

2 членов

Автор 22 руководств

0 Комментарии к руководству

Добавить комментарий

Статистика просмотров:

За последние 24 часов: 2

За последние 7 дней: 11

За последние 30 дней: 33

За всё время: 2,439