Перейти к основному содержанию
Присоединяйся к сообществу ремонтников - Создай аккаунт

Disassembling Power Mac G4 M5183 DVD-ROM Drive

Выберете то, что вам нужно

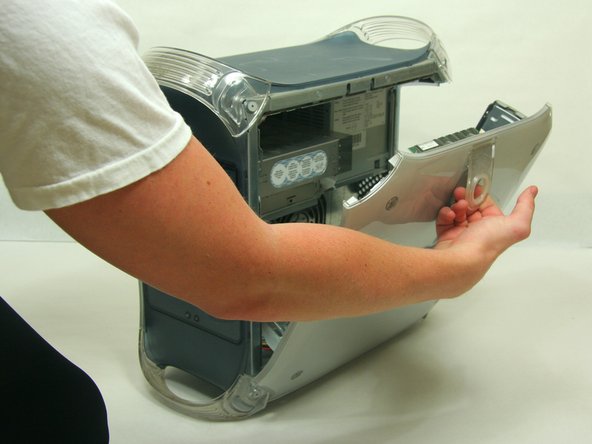
    1. Disassembling Power Mac G4 M5183 DVD-ROM Drive, Opening PowerMac G4 M5183 Case: шаг 1, изображение 1 из 2 Disassembling Power Mac G4 M5183 DVD-ROM Drive, Opening PowerMac G4 M5183 Case: шаг 1, изображение 2 из 2
      • Pull on outer latch.

      • Lower door until it is level with your work surface.

      • Before working on the computer make sure it is not plugged into a power supply, then touch a metal object. This discharges static electricity, which could damage the computer.

      Спросите у FixBot

      Добавить комментарий

    1. Disassembling Power Mac G4 M5183 DVD-ROM Drive, DVD-ROM Drive: шаг 2, изображение 1 из 2 Disassembling Power Mac G4 M5183 DVD-ROM Drive, DVD-ROM Drive: шаг 2, изображение 2 из 2
      • Removing the faceplate.

      • On the inside of the case, find the two plastic tabs.

      • While depressing the tabs, remove the faceplate by pulling and rotating outward.

      Спросите у FixBot

      Добавить комментарий

    2. Disassembling Power Mac G4 M5183 DVD-ROM Drive: шаг 3, изображение 1 из 1
      • Remove the two screws on the front of the drive with the Phillips #1 screwdriver.

      Спросите у FixBot

      Добавить комментарий

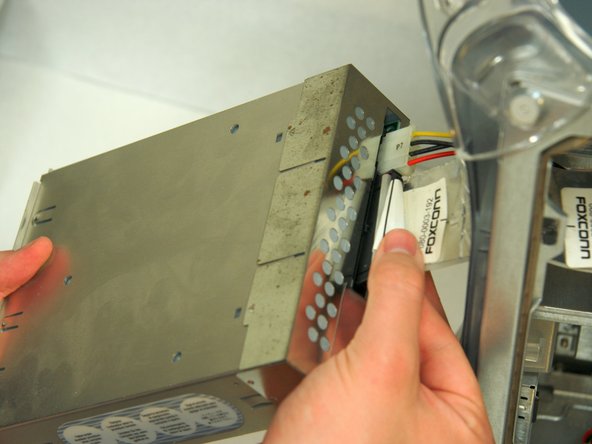
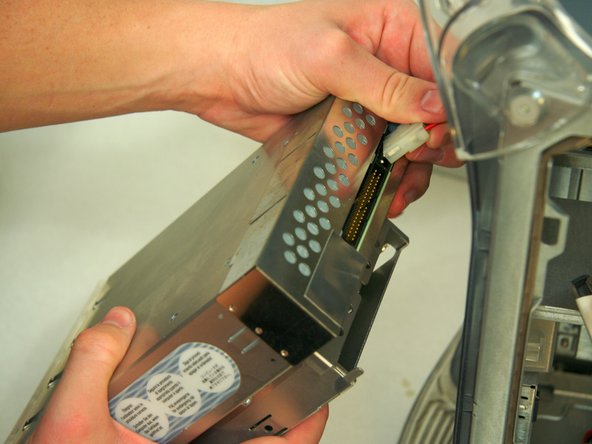
    3. Disassembling Power Mac G4 M5183 DVD-ROM Drive: шаг 4, изображение 1 из 3 Disassembling Power Mac G4 M5183 DVD-ROM Drive: шаг 4, изображение 2 из 3 Disassembling Power Mac G4 M5183 DVD-ROM Drive: шаг 4, изображение 3 из 3
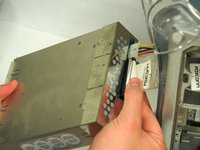
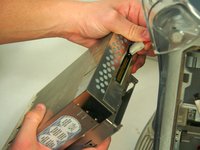
      • Pull the drive out to allow access to the power and ribbon cables. Do not fully remove.

      • Remove both the power and ribbon cable.

      Спросите у FixBot

      Добавить комментарий

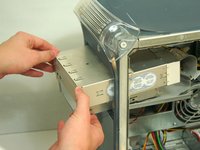
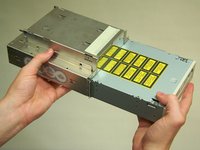
    1. Disassembling Power Mac G4 M5183 DVD-ROM Drive, DVD-ROM Drive: шаг 5, изображение 1 из 3 Disassembling Power Mac G4 M5183 DVD-ROM Drive, DVD-ROM Drive: шаг 5, изображение 2 из 3 Disassembling Power Mac G4 M5183 DVD-ROM Drive, DVD-ROM Drive: шаг 5, изображение 3 из 3
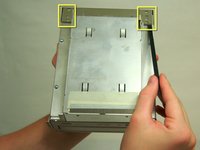
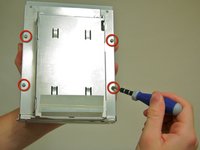
      • Remove DVD drive from the drive bay.

      • Lift the two metal tabs on the back of the shielding and remove.

      • Remove the four screws on the bottom of the drive with the Phillips #1 screwdriver.

      • Slide out DVD drive.

      Спросите у FixBot

      Добавить комментарий

Заключение

To reassemble your device, follow these instructions in reverse order.

Отменить: Я не выполнил это руководство.

12 человек успешно провели ремонт по этому руководству.

Stephen Scruggs

Участник с: 01/20/10

2 283 Репутация

Автор 2 руководств

Команда

Cal Poly, Team 13-24, Maness Winter 2010 Участник Cal Poly, Team 13-24, Maness Winter 2010

CPSU-MANESS-W10S13G24

4 членов

Автор 50 руководств

0 Комментарии к руководству

Добавить комментарий

Статистика просмотров:

За последние 24 часов: 0

За последние 7 дней: 20

За последние 30 дней: 60

За всё время: 12,282