Перейти к основному содержанию
Присоединяйся к сообществу ремонтников - Создай аккаунт

Disassembling Samsung NX3000

Выберете то, что вам нужно

  1. Disassembling Samsung NX3000, Battery: шаг 1, изображение 1 из 3 Disassembling Samsung NX3000, Battery: шаг 1, изображение 2 из 3 Disassembling Samsung NX3000, Battery: шаг 1, изображение 3 из 3
    • Turn the camera upside down. Only remove the lens if you have to in order to access the battery compartment, as dust particles could easily enter the main body and fall onto the delicate sensor.

    • Slide the button to the left to open the battery compartment.

    • Push the blue button up to release the battery.

    • The battery is not shown in these photos.

    Спросите у FixBot
  2. Disassembling Samsung NX3000, Disassembling Samsung NX3000: шаг 2, изображение 1 из 2 Disassembling Samsung NX3000, Disassembling Samsung NX3000: шаг 2, изображение 2 из 2
    Инструмент, используемый на этом этапе:
    Tweezers
    $4.99
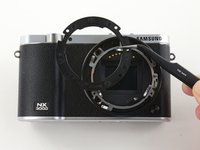
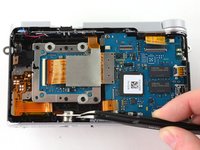
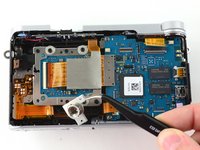
    • Remove the four 7.3 mm Phillips screws from the front of the lens assembly.

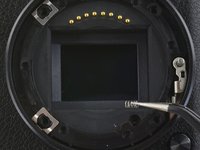
    • Remove the silver ring with tweezers.

    Спросите у FixBot
  3. Disassembling Samsung NX3000: шаг 3, изображение 1 из 2 Disassembling Samsung NX3000: шаг 3, изображение 2 из 2
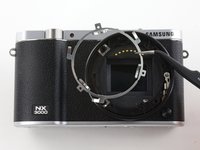
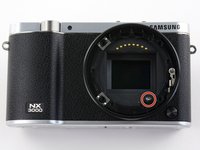
    • Use tweezers to remove the black plastic ring and small metal ring inside the lens assembly.

    Спросите у FixBot
  4. Disassembling Samsung NX3000: шаг 4, изображение 1 из 3 Disassembling Samsung NX3000: шаг 4, изображение 2 из 3 Disassembling Samsung NX3000: шаг 4, изображение 3 из 3
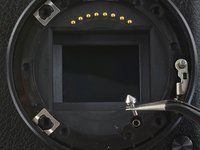
    • Use tweezers to remove the pin and small spring from the lens assembly.

    Спросите у FixBot
  5. Disassembling Samsung NX3000: шаг 5, изображение 1 из 2 Disassembling Samsung NX3000: шаг 5, изображение 2 из 2
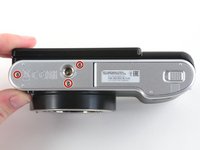
    • Remove the three 4.3 mm Phillips screws from the bottom of the camera.

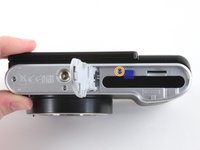
    • Remove the 4.3 mm Phillips screw hiding inside the battery compartment.

    Спросите у FixBot
  6. Disassembling Samsung NX3000: шаг 6, изображение 1 из 2 Disassembling Samsung NX3000: шаг 6, изображение 2 из 2
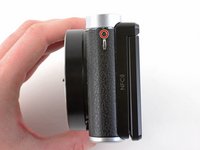
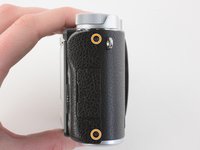
    • Remove the 4.2 mm Phillips screw from the left handgrip.

    • Remove the two 4.2 mm Phillips screws from the right handgrip.

    Спросите у FixBot
  7. Disassembling Samsung NX3000: шаг 7, изображение 1 из 2 Disassembling Samsung NX3000: шаг 7, изображение 2 из 2
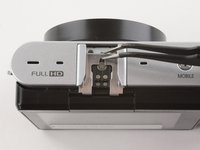
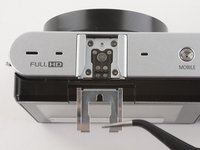
    • Use tweezers to pull the metal shield straight out of the external flash mount.

    Спросите у FixBot
  8. Disassembling Samsung NX3000: шаг 8, изображение 1 из 1
    • Remove the four 5 mm Phillips screws from the external flash mount .

    Спросите у FixBot
  9. Disassembling Samsung NX3000: шаг 9, изображение 1 из 2 Disassembling Samsung NX3000: шаг 9, изображение 2 из 2
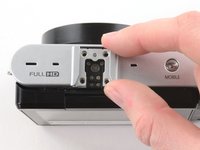
    • Remove the external flash mount.

    Спросите у FixBot
  10. Disassembling Samsung NX3000: шаг 10, изображение 1 из 2 Disassembling Samsung NX3000: шаг 10, изображение 2 из 2
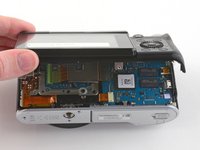
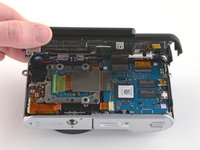
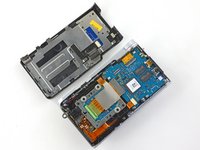
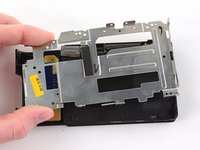
    • Slowly pull the bottom of the back case away from the camera.

    • Do not attempt to remove the back case as it is attached to the motherboard by a ribbon cable.

    Спросите у FixBot
  11. Disassembling Samsung NX3000: шаг 11, изображение 1 из 3 Disassembling Samsung NX3000: шаг 11, изображение 2 из 3 Disassembling Samsung NX3000: шаг 11, изображение 3 из 3
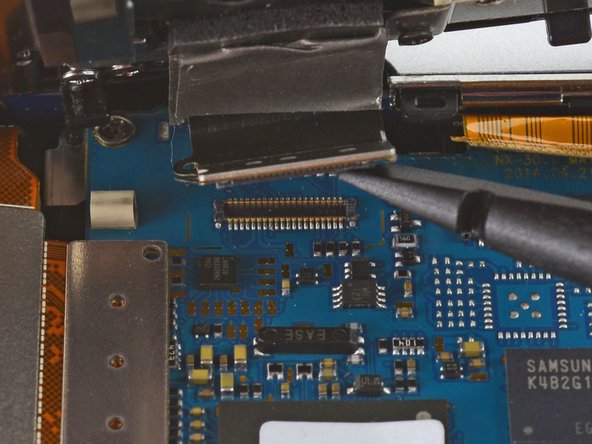
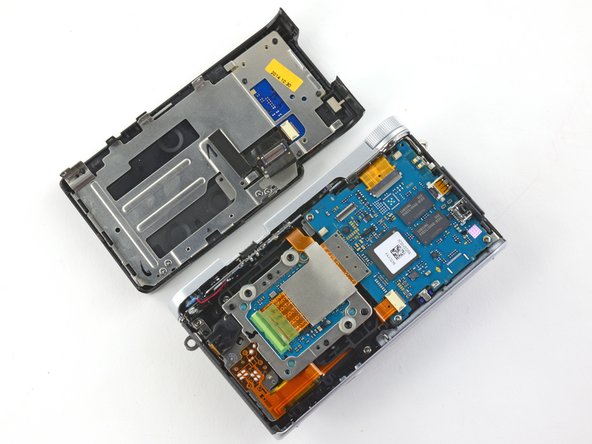
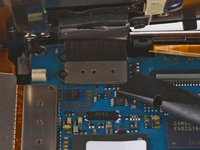
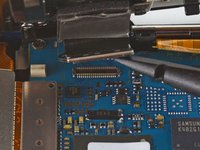
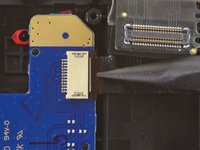
    • Use the flat end of a spudger to pry the flat topped connector straight up from the motherboard.

    • Remove the back case.

    Спросите у FixBot
  12. Disassembling Samsung NX3000: шаг 12, изображение 1 из 3 Disassembling Samsung NX3000: шаг 12, изображение 2 из 3 Disassembling Samsung NX3000: шаг 12, изображение 3 из 3
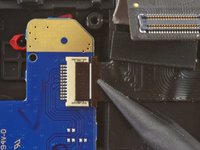
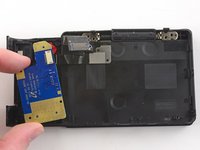
    • Use the pointed end of a spudger to lift the ribbon cable straight out of the black clip located near the left handgrip.

    Спросите у FixBot
  13. Disassembling Samsung NX3000: шаг 13, изображение 1 из 2 Disassembling Samsung NX3000: шаг 13, изображение 2 из 2
    • Use tweezers to pull the tripod mount out of the front case.

    Спросите у FixBot
  14. Disassembling Samsung NX3000: шаг 14, изображение 1 из 3 Disassembling Samsung NX3000: шаг 14, изображение 2 из 3 Disassembling Samsung NX3000: шаг 14, изображение 3 из 3
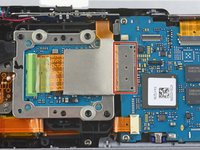
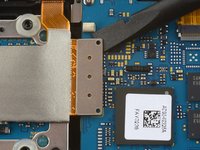
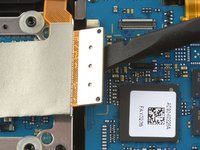
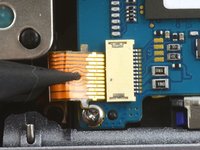
    • Use the flat end of a spudger to disconnect the large ribbon cable by prying its metal connector straight up from the motherboard.

    Спросите у FixBot
  15. Disassembling Samsung NX3000: шаг 15, изображение 1 из 3 Disassembling Samsung NX3000: шаг 15, изображение 2 из 3 Disassembling Samsung NX3000: шаг 15, изображение 3 из 3
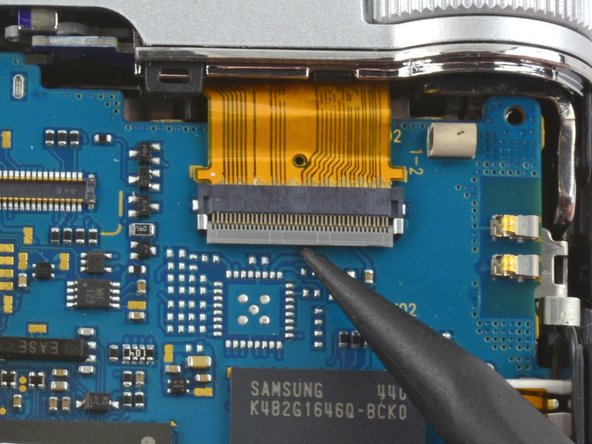
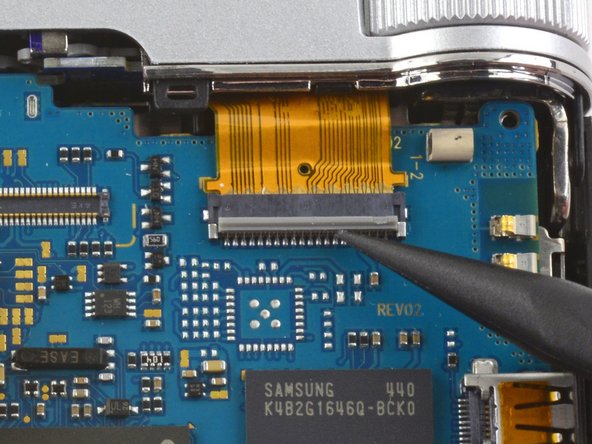
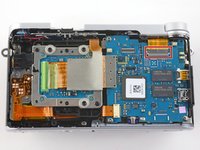
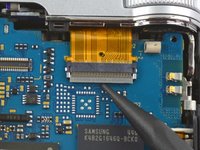
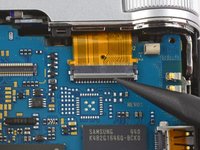
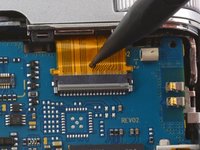
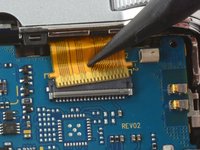
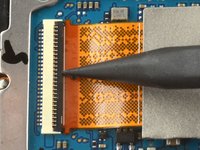
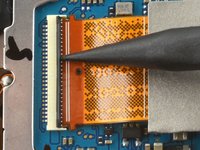
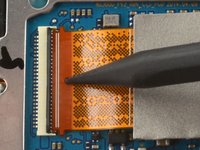
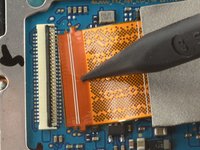
    • Use the pointed tip of a spudger to unlock the ZIF connector by flipping the black bar straight up from the motherboard.

    Спросите у FixBot
  16. Disassembling Samsung NX3000: шаг 16, изображение 1 из 2 Disassembling Samsung NX3000: шаг 16, изображение 2 из 2
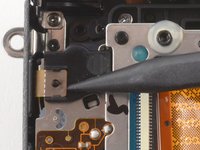
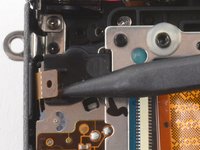
    • Insert the pointed end of a spudger into the hole on the ribbon cable.

    • Pull the ribbon cable straight out of the ZIF connector.

    Спросите у FixBot
  17. Disassembling Samsung NX3000: шаг 17, изображение 1 из 3 Disassembling Samsung NX3000: шаг 17, изображение 2 из 3 Disassembling Samsung NX3000: шаг 17, изображение 3 из 3
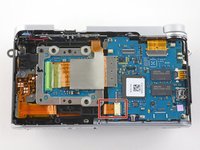
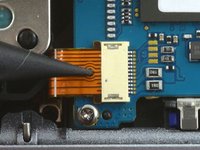
    • Insert the pointed end of a spudger into the hole on the ribbon cable in the bottom left corner of the motherboard.

    • Pull the ribbon straight out of the connector.

    Спросите у FixBot
  18. Disassembling Samsung NX3000: шаг 18, изображение 1 из 3 Disassembling Samsung NX3000: шаг 18, изображение 2 из 3 Disassembling Samsung NX3000: шаг 18, изображение 3 из 3
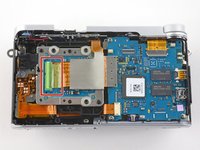
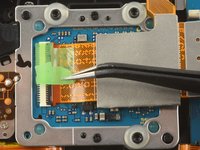
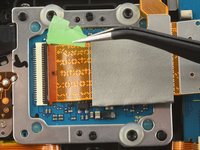
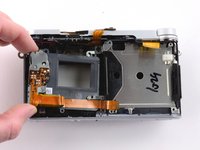
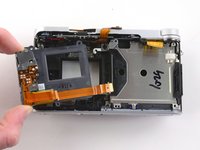
    • Use tweezers to remove the green tape covering the ribbon cable on the image sensor.

    Спросите у FixBot
  19. Disassembling Samsung NX3000: шаг 19, изображение 1 из 2 Disassembling Samsung NX3000: шаг 19, изображение 2 из 2
    • Use the pointed tip of a spudger to flip the black bar on the ZIF connector straight up from the ribbon cable.

    Спросите у FixBot
  20. Disassembling Samsung NX3000: шаг 20, изображение 1 из 2 Disassembling Samsung NX3000: шаг 20, изображение 2 из 2
    • Insert the pointed end of a spudger into the hole on the ribbon cable.

    • Pull the ribbon cable straight out of the connector.

    Спросите у FixBot
  21. Disassembling Samsung NX3000: шаг 21, изображение 1 из 1
    • Use a spudger to peel back the large ribbon cable on the sensor assembly.

    • The ribbon cable may be attached with adhesive.

    Спросите у FixBot
  22. Disassembling Samsung NX3000: шаг 22, изображение 1 из 1
    • Remove the two black 3.8 mm Phillips screws on the sensor assembly.

    Спросите у FixBot
  23. Disassembling Samsung NX3000: шаг 23, изображение 1 из 1
    • Remove the three 5.3 mm Phillips screws holding the sensor assembly in place.

    Спросите у FixBot
  24. Disassembling Samsung NX3000: шаг 24, изображение 1 из 1
    • Remove the image sensor.

    Спросите у FixBot
  25. Disassembling Samsung NX3000: шаг 25, изображение 1 из 3 Disassembling Samsung NX3000: шаг 25, изображение 2 из 3 Disassembling Samsung NX3000: шаг 25, изображение 3 из 3
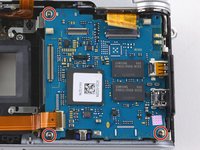
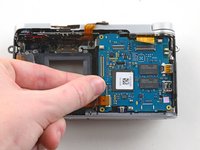
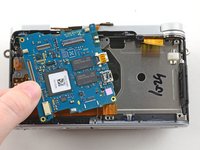
    • Remove the three 4.3 mm Phillips screws from the motherboard.

    • Remove the motherboard from the camera.

    Спросите у FixBot
  26. Disassembling Samsung NX3000: шаг 26, изображение 1 из 3 Disassembling Samsung NX3000: шаг 26, изображение 2 из 3 Disassembling Samsung NX3000: шаг 26, изображение 3 из 3
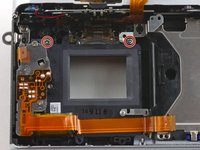
    • Remove the two 5.3 mm Phillips screws holding the sensor frame to the case.

    • Remove the sensor frame.

    Спросите у FixBot
  27. Disassembling Samsung NX3000: шаг 27, изображение 1 из 2 Disassembling Samsung NX3000: шаг 27, изображение 2 из 2
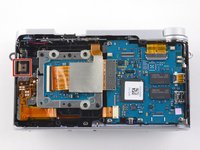
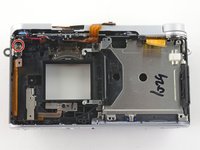
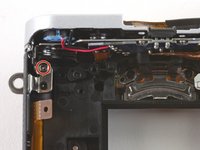
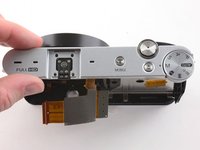
    • Remove the 4.3 mm Phillips screw in the upper left corner that secures the top plate to the front case

    Спросите у FixBot
  28. Disassembling Samsung NX3000: шаг 28, изображение 1 из 2 Disassembling Samsung NX3000: шаг 28, изображение 2 из 2
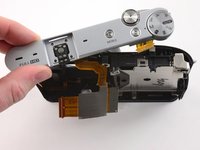
    • Remove the top plate.

    Спросите у FixBot
  29. Disassembling Samsung NX3000: шаг 29, изображение 1 из 3 Disassembling Samsung NX3000: шаг 29, изображение 2 из 3 Disassembling Samsung NX3000: шаг 29, изображение 3 из 3
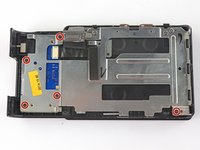
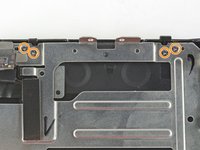
    • To remove the metal shield on the back case, remove the following screws:

    • Five black 4.2 mm Phillips screws .

    • Four silver 5.3 mm Phillips screws.

    Спросите у FixBot
  30. Disassembling Samsung NX3000: шаг 30, изображение 1 из 3 Disassembling Samsung NX3000: шаг 30, изображение 2 из 3 Disassembling Samsung NX3000: шаг 30, изображение 3 из 3
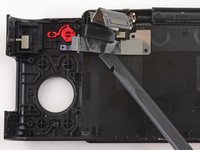
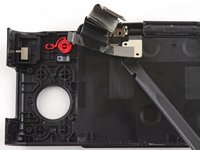
    • Use the pointed end of a spudger to remove the ribbon cable attaching the button panel to the back case.

    • Remove the button panel.

    Спросите у FixBot
  31. Disassembling Samsung NX3000: шаг 31, изображение 1 из 2 Disassembling Samsung NX3000: шаг 31, изображение 2 из 2
    • Use a spudger to peel back the LCD ribbon from the back case.

    • The ribbon is held in place by adhesive.

    Спросите у FixBot
  32. Disassembling Samsung NX3000: шаг 32, изображение 1 из 2 Disassembling Samsung NX3000: шаг 32, изображение 2 из 2
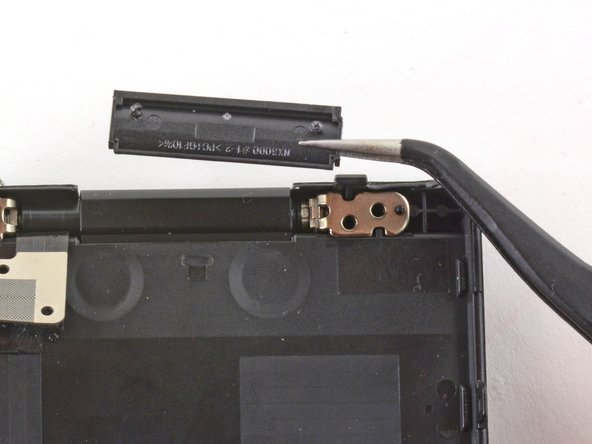
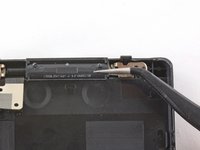
    • Use tweezers to remove the plastic cover on the LCD hinge.

    Спросите у FixBot
  33. Disassembling Samsung NX3000: шаг 33, изображение 1 из 2 Disassembling Samsung NX3000: шаг 33, изображение 2 из 2
    • Tilt the LCD so it lays flat against the back case.

    • Wiggle the LCD joints and pull the LCD away from the back case.

    Спросите у FixBot
  34. Disassembling Samsung NX3000: шаг 34, изображение 1 из 1
    • You have successfully disassembled the Samsung NX 3000!

    Спросите у FixBot
Заключение

To reassemble your device, follow these instructions in reverse order.

9 человек успешно провели ремонт по этому руководству.

Kelsea Weber

Участник с: 11/12/15

21 280 Репутация

Автор 32 руководств

11 Комментарии к руководству

Excellent photo documentation.

ernestlaisa - Ответить Поделиться
Thank you ernestliasa!

Kelsea Weber - Ответить Поделиться

Where can I found the camera's microphone?

william_oliveira87 - Ответить Поделиться

Hi dude. I did all the steps and disassembled the camera and I removed the IR filter from the sensor. All is good until that point. And then I assembled the camera in reverse order but now there is no display on screen. In my first attempt I got the menu working but I got no live view display or photo. Then I re-opened and assembled again. This time there is just nothing. Camera turns on but no display, no messages. the zoom button, on/off and even the video record button works all well but no display.. Any thoughts on this pls?

PS: This is an excellent tutorial by the way. I must have done smth. wrong, otherwise I had no issues on disassembly.

edayi - Ответить Поделиться

Thanks for the perfect instructions!

I was able to fix “random mode switching” glitch.

Went up to step 16 (skipping steps 12 and 14). Then removed the top panel.

Extracted the scheme and put it into a cup filled with 91% alcohol for 10 minutes. Meantime opened up the plastic part of the mode switcher and applied 2 drops of universal oil. Then took the scheme out of the cup and carefully cleaned it with cotton swabs and alcohol. Sprayed it with cleaning duster. Assembled everything back and so far the glitch is fixed.

Dim - Ответить Поделиться

Добавить комментарий

Статистика просмотров:

За последние 24 часов: 3

За последние 7 дней: 14

За последние 30 дней: 99

За всё время: 8,045