Перейти к основному содержанию
Присоединяйся к сообществу ремонтников - Создай аккаунт

Disassembling Siemens A56 Motherboard from Keypad Interface

Выберете то, что вам нужно

    1. Disassembling Siemens A56 Motherboard from Keypad Interface, Battery: шаг 1, изображение 1 из 1
      • Press down on the grooved area firmly in the direction of arrow #1.

      • While maintaining the downwards pressure, push the back cover in the direction of arrow #2 until the back cover slides off.

      • Photos taken from: http://theinformr.com/uploads/manuals/si...

      Спросите у FixBot

      Добавить комментарий

    2. Disassembling Siemens A56 Motherboard from Keypad Interface: шаг 2, изображение 1 из 1
      • Turn off the phone before removing the battery to avoid damage.

      • Press the latch on the battery in the direction of arrow #3.

      • Lift battery at the cutout on the side of the phone, then tilt upwards and remove.

      • It may be necessary to use the tip of a fingernail or a plastic lifting tool to remove the battery.

      • Photos taken from: http://theinformr.com/uploads/manuals/si...

      Спросите у FixBot

      Добавить комментарий

    1. Disassembling Siemens A56 Motherboard from Keypad Interface, Front Plate: шаг 3, изображение 1 из 3 Disassembling Siemens A56 Motherboard from Keypad Interface, Front Plate: шаг 3, изображение 2 из 3 Disassembling Siemens A56 Motherboard from Keypad Interface, Front Plate: шаг 3, изображение 3 из 3
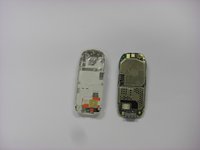
      • Firmly grasp the white casing of the phone with one hand and the blue cover with the other hand as seen in the first picture.

      • Pull up on the two plastic clips at the top of the phone.

      • While the clips are pulled up, pull the blue cover away from the white casing to remove it.

      Спросите у FixBot

      Добавить комментарий

    1. Disassembling Siemens A56 Motherboard from Keypad Interface, Back Plastic Cover: шаг 4, изображение 1 из 3 Disassembling Siemens A56 Motherboard from Keypad Interface, Back Plastic Cover: шаг 4, изображение 2 из 3 Disassembling Siemens A56 Motherboard from Keypad Interface, Back Plastic Cover: шаг 4, изображение 3 из 3
      • Along the side of the metal frame of the phone, locate the six screws.

      • Using a T5 screwdriver bit, unscrew the six 1/4 inch screws and store them in a safe place.

      • The screws are very small and can strip easily, so proper care is required when removing and storing the screws.

      Спросите у FixBot

      Добавить комментарий

    2. Disassembling Siemens A56 Motherboard from Keypad Interface: шаг 5, изображение 1 из 3 Disassembling Siemens A56 Motherboard from Keypad Interface: шаг 5, изображение 2 из 3 Disassembling Siemens A56 Motherboard from Keypad Interface: шаг 5, изображение 3 из 3
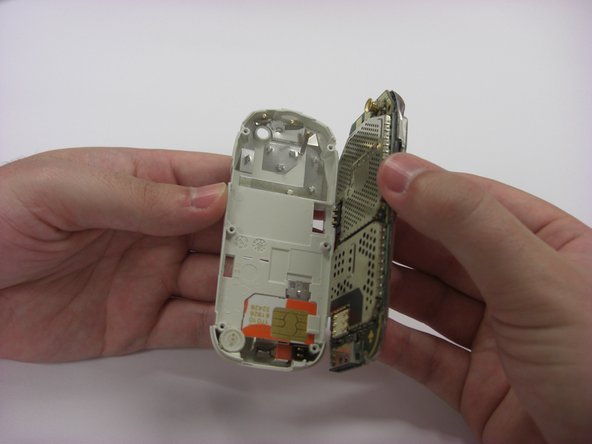
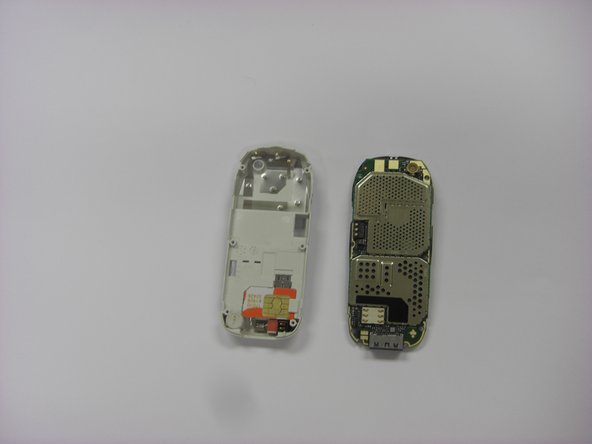
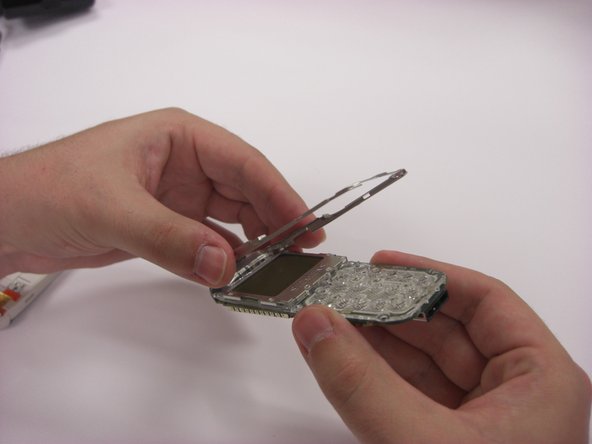
      • To remove the back plastic cover, grasp the device with both hands as seen in the first picture.

      • Gently remove the motherboard from the back plastic cover.

      • The motherboard is fragile, so proper care is necessary when handling and storing in order to prevent damage.

      Спросите у FixBot

      Добавить комментарий

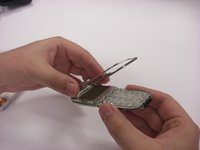
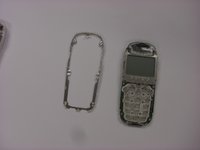
    1. Disassembling Siemens A56 Motherboard from Keypad Interface, Motherboard Metal Frame: шаг 6, изображение 1 из 3 Disassembling Siemens A56 Motherboard from Keypad Interface, Motherboard Metal Frame: шаг 6, изображение 2 из 3 Disassembling Siemens A56 Motherboard from Keypad Interface, Motherboard Metal Frame: шаг 6, изображение 3 из 3
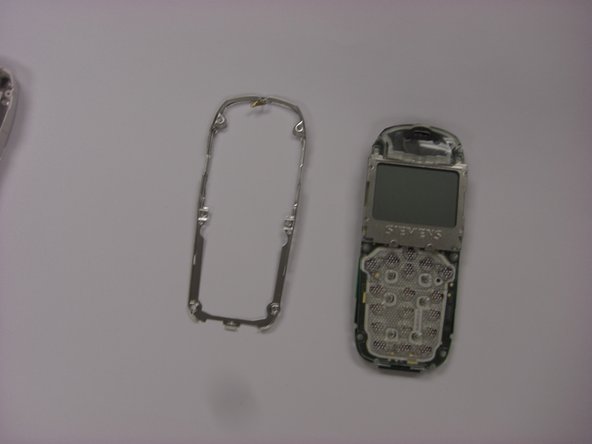
      • Turn over the keypad interface and using the blue plastic opening tool, gently pry the bottom of the metal frame.

      • Once loosened, the metal frame should be able to be lifted from the motherboard.

      Спросите у FixBot

      Добавить комментарий

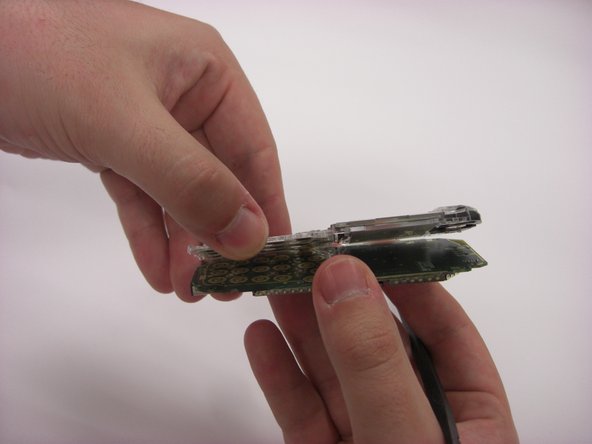
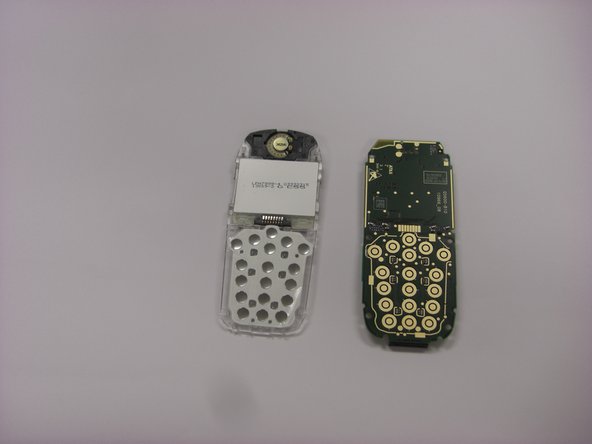
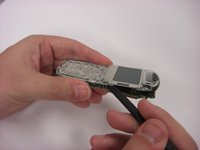
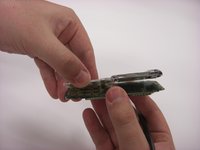
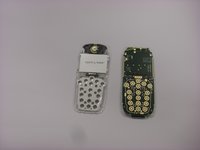
    1. Disassembling Siemens A56 Motherboard from Keypad Interface, Motherboard from Keypad Interface: шаг 7, изображение 1 из 3 Disassembling Siemens A56 Motherboard from Keypad Interface, Motherboard from Keypad Interface: шаг 7, изображение 2 из 3 Disassembling Siemens A56 Motherboard from Keypad Interface, Motherboard from Keypad Interface: шаг 7, изображение 3 из 3
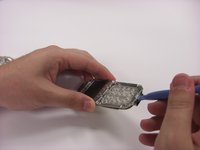
      • Insert the fine-tipped spudger in between the motherboard and the keypad interface.

      • Gently work the spudger across the length of the motherboard.

      • An adhesive exists between the motherboard and the keypad interface.

      • Once loosened, the motherboard should easily separate from the keypad interface.

      Спросите у FixBot

      Добавить комментарий

Заключение

To reassemble your device, follow these instructions in reverse order.

Отменить: Я не выполнил это руководство.

Joseph Casey

Участник с: 03/26/14

414 Репутация

Автор 4 руководств

Команда

Clemson, Team 6-6, Benson Spring 2014 Участник Clemson, Team 6-6, Benson Spring 2014

CLEM-BENSON-S14S6G6

4 членов

Автор 63 руководств

0 Комментарии к руководству

Добавить комментарий

Статистика просмотров:

За последние 24 часов: 1

За последние 7 дней: 9

За последние 30 дней: 28

За всё время: 574