Перейти к основному содержанию

DualSense Controller v2 Motherboard Replacement

Выберете то, что вам нужно

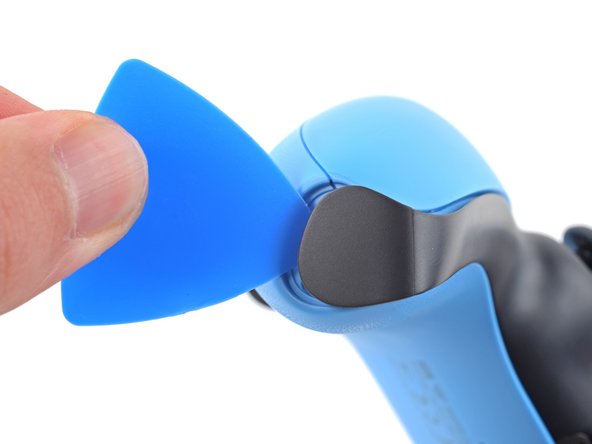
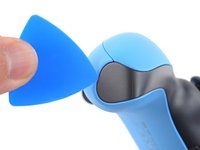
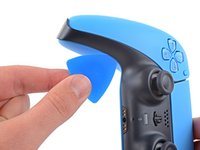
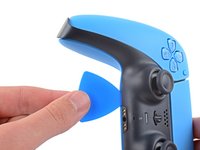
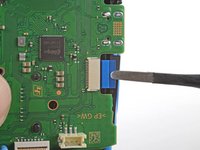
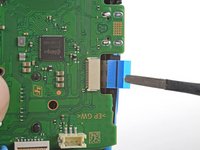
  1. DualSense Controller v2 Motherboard Replacement, Unclip the right end of the middle trim: шаг 1, изображение 1 из 2 DualSense Controller v2 Motherboard Replacement, Unclip the right end of the middle trim: шаг 1, изображение 2 из 2
    • Disconnect and power down your controller before you begin.

    • Insert an opening pick underneath the middle trim at the bottom-right corner of the controller to release the clips securing it to the case.

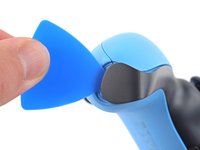
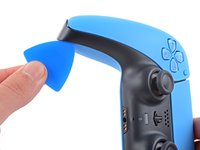
  2. DualSense Controller v2 Motherboard Replacement, Unclip the lower-right edge of the middle trim: шаг 2, изображение 1 из 3 DualSense Controller v2 Motherboard Replacement, Unclip the lower-right edge of the middle trim: шаг 2, изображение 2 из 3 DualSense Controller v2 Motherboard Replacement, Unclip the lower-right edge of the middle trim: шаг 2, изображение 3 из 3
    • Slide the opening pick along the lower-right edge of the middle trim to release the clips securing it to the case.

  3. DualSense Controller v2 Motherboard Replacement, Unclip the left end of the middle trim: шаг 3, изображение 1 из 2 DualSense Controller v2 Motherboard Replacement, Unclip the left end of the middle trim: шаг 3, изображение 2 из 2
    • Insert an opening pick underneath the middle trim at the bottom-left corner of the controller to release the clips securing it to the case.

  4. DualSense Controller v2 Motherboard Replacement, Unclip the lower-left edge of the middle trim: шаг 4, изображение 1 из 3 DualSense Controller v2 Motherboard Replacement, Unclip the lower-left edge of the middle trim: шаг 4, изображение 2 из 3 DualSense Controller v2 Motherboard Replacement, Unclip the lower-left edge of the middle trim: шаг 4, изображение 3 из 3
    • Slide the opening pick along the lower-left edge of the middle trim to release the clips securing it to the case.

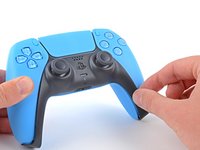
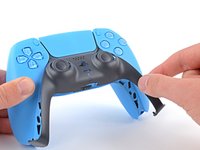
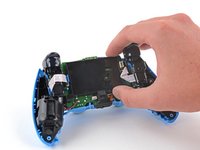
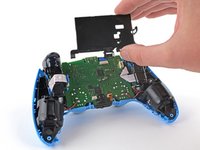
  5. DualSense Controller v2 Motherboard Replacement, Remove the middle trim: шаг 5, изображение 1 из 3 DualSense Controller v2 Motherboard Replacement, Remove the middle trim: шаг 5, изображение 2 из 3 DualSense Controller v2 Motherboard Replacement, Remove the middle trim: шаг 5, изображение 3 из 3
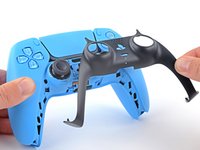
    • Use your fingers to lift up the bottom edge of the middle trim to release the remaining clips.

    • Lift the middle trim over the joysticks to remove it.

    • During reassembly, position the middle trim into place and press along all edges to engage the clips securing it to the controller.

  6. DualSense Controller v2 Motherboard Replacement, Remove the L1 button: шаг 6, изображение 1 из 3 DualSense Controller v2 Motherboard Replacement, Remove the L1 button: шаг 6, изображение 2 из 3 DualSense Controller v2 Motherboard Replacement, Remove the L1 button: шаг 6, изображение 3 из 3
    • Insert the flat end of your spudger into the gap above the L1 button.

    • Cover the button with your thumb to prevent it from ejecting across the room.

    • Pry the spudger upward to remove the L1 button.

  7. DualSense Controller v2 Motherboard Replacement, Remove the R1 button: шаг 7, изображение 1 из 3 DualSense Controller v2 Motherboard Replacement, Remove the R1 button: шаг 7, изображение 2 из 3 DualSense Controller v2 Motherboard Replacement, Remove the R1 button: шаг 7, изображение 3 из 3
    • Insert the flat end of your spudger into the gap above the R1 button.

    • Cover the button with your thumb to prevent it from ejecting across the room.

    • Pry the spudger upward to remove the R1 button.

  8. DualSense Controller v2 Motherboard Replacement, Remove the case screws: шаг 8, изображение 1 из 1
    • Use a Phillips screwdriver to remove the two 6.5 mm screws securing the bottom corners of the lower case.

  9. DualSense Controller v2 Motherboard Replacement: шаг 9, изображение 1 из 1
    • Use a Phillips screwdriver to remove the two 6.5 mm screws behind the L1 and R1 buttons.

  10. DualSense Controller v2 Motherboard Replacement, Unclip the rear case: шаг 10, изображение 1 из 3 DualSense Controller v2 Motherboard Replacement, Unclip the rear case: шаг 10, изображение 2 из 3 DualSense Controller v2 Motherboard Replacement, Unclip the rear case: шаг 10, изображение 3 из 3
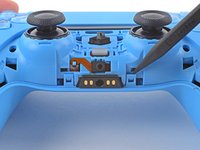
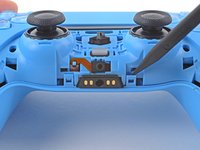
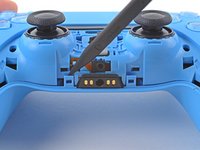
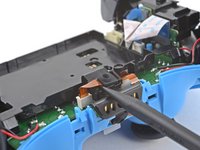
    • Use the pointed edge of a spudger to unclip the two clips on either side of the headset jack.

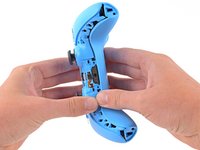
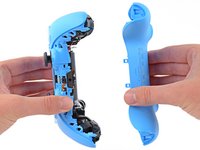
  11. DualSense Controller v2 Motherboard Replacement, Remove the rear case: шаг 11, изображение 1 из 2 DualSense Controller v2 Motherboard Replacement, Remove the rear case: шаг 11, изображение 2 из 2
    • Use your hands to carefully pull the rear case off of the controller.

    • During reassembly, make sure the red and black vibration motor wires are not pinched between the front and rear case.

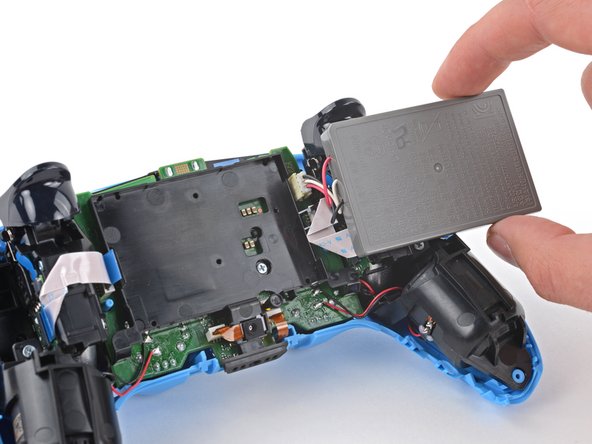
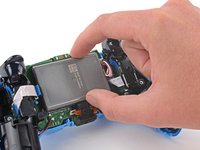
  12. DualSense Controller v2 Motherboard Replacement, Reposition the battery: шаг 12, изображение 1 из 2 DualSense Controller v2 Motherboard Replacement, Reposition the battery: шаг 12, изображение 2 из 2
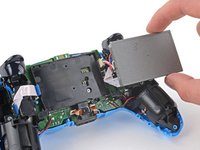
    • Lift the battery out of its bracket and reposition it to the right for better access to the battery connector.

    • Don't strain the battery cables.

  13. DualSense Controller v2 Motherboard Replacement, Disconnect the battery: шаг 13, изображение 1 из 2 DualSense Controller v2 Motherboard Replacement, Disconnect the battery: шаг 13, изображение 2 из 2
    Инструмент, используемый на этом этапе:
    Tweezers
    $4.99
    Купить
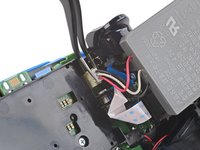
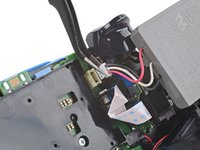
    • Use a pair of tweezers or your fingers to disconnect the battery from the motherboard.

    • Don't pull on the wires to disconnect the battery.

  14. DualSense Controller v2 Motherboard Replacement, Remove the battery: шаг 14, изображение 1 из 1
    • Remove the battery.

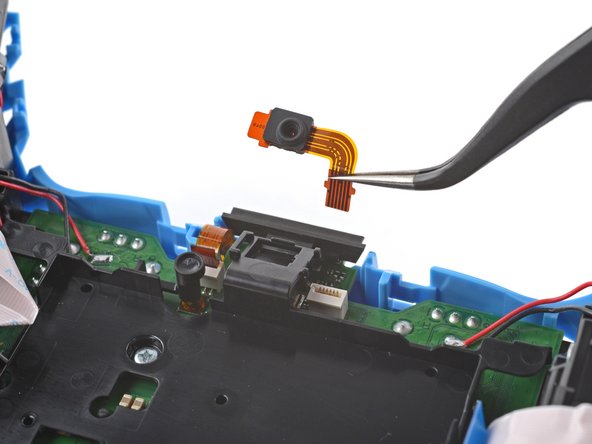
  15. DualSense Controller v2 Motherboard Replacement, Remove the lower microphone: шаг 15, изображение 1 из 2 DualSense Controller v2 Motherboard Replacement, Remove the lower microphone: шаг 15, изображение 2 из 2
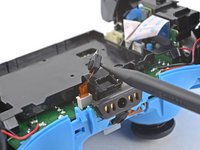
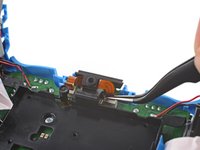
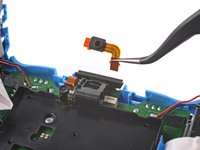
    • Use the pointed end of your spudger to remove the lower microphone from its bracket next to the battery.

    • During reassembly, make sure the end of the microphone's ribbon cable is slotted into the bracket.

  16. DualSense Controller v2 Motherboard Replacement: шаг 16, изображение 1 из 2 DualSense Controller v2 Motherboard Replacement: шаг 16, изображение 2 из 2
    Инструмент, используемый на этом этапе:
    Tweezers
    $4.99
    Купить
    • Grab the lower microphone ribbon cable pull tab with your fingers or a pair of tweezers and disconnect it from the motherboard.

  17. DualSense Controller v2 Motherboard Replacement, Remove the battery bracket: шаг 17, изображение 1 из 1
    • Use a Phillips screwdriver to remove the 6.5 mm screw securing the battery bracket.

  18. DualSense Controller v2 Motherboard Replacement: шаг 18, изображение 1 из 2 DualSense Controller v2 Motherboard Replacement: шаг 18, изображение 2 из 2
    • Lift the battery bracket off of the motherboard.

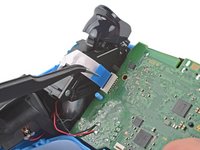
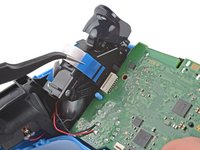
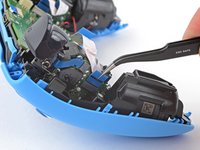
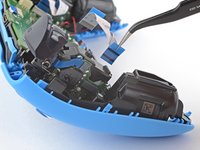
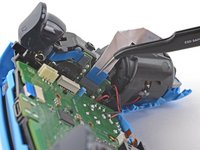
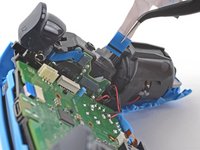
  19. DualSense Controller v2 Motherboard Replacement, Disconnect the right trigger assembly: шаг 19, изображение 1 из 2 DualSense Controller v2 Motherboard Replacement, Disconnect the right trigger assembly: шаг 19, изображение 2 из 2
    • Grip the right trigger assembly cable with a pair of tweezers or your fingers and disconnect it from the motherboard.

    • Use the pull tab to disconnect the cable. Don't pull on the cable itself.

    • Don't completely remove the ribbon cable yet.

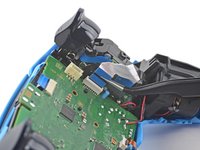
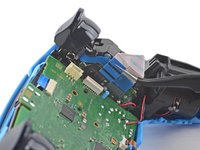
  20. DualSense Controller v2 Motherboard Replacement: шаг 20, изображение 1 из 2 DualSense Controller v2 Motherboard Replacement: шаг 20, изображение 2 из 2
    • Grip the right trigger assembly cable with a pair of tweezers or your fingers, and disconnect it from the trigger assembly.

    • Use the pull tab to disconnect the cable. Don't pull on the cable itself.

    • Remove the ribbon cable.

  21. DualSense Controller v2 Motherboard Replacement, Disconnect the left trigger assembly: шаг 21, изображение 1 из 2 DualSense Controller v2 Motherboard Replacement, Disconnect the left trigger assembly: шаг 21, изображение 2 из 2
    • Grip the left trigger assembly cable with a pair of tweezers or your fingers to disconnect it from the motherboard.

    • Use the pull tab to disconnect the cable. Don't pull on the cable itself.

    • Don't completely remove the ribbon cable yet.

  22. DualSense Controller v2 Motherboard Replacement: шаг 22, изображение 1 из 2 DualSense Controller v2 Motherboard Replacement: шаг 22, изображение 2 из 2
    • Grip the left trigger assembly cable with a pair of tweezers or your fingers to disconnect it from the trigger assembly.

    • Use the pull tab to disconnect the cable. Don't pull on the cable itself.

    • Remove the ribbon cable.

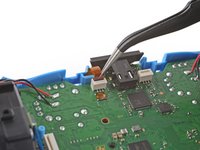
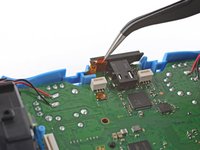
  23. DualSense Controller v2 Motherboard Replacement, Disconnect the upper microphone: шаг 23, изображение 1 из 2 DualSense Controller v2 Motherboard Replacement, Disconnect the upper microphone: шаг 23, изображение 2 из 2
    • Use a pair of tweezers or your fingers to disconnect the upper microphone from the motherboard.

    • Use the pull tab to disconnect the cable. Don't pull on the cable itself.

  24. DualSense Controller v2 Motherboard Replacement, Disconnect the touchpad: шаг 24, изображение 1 из 2 DualSense Controller v2 Motherboard Replacement, Disconnect the touchpad: шаг 24, изображение 2 из 2
    • Use a pair of tweezers or your fingers to disconnect the touchpad cable from the motherboard.

    • Use the pull tab to disconnect the cable. Don't pull on the cable itself.

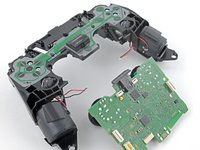
  25. DualSense Controller v2 Motherboard Replacement, Lift out the motherboard: шаг 25, изображение 1 из 3 DualSense Controller v2 Motherboard Replacement, Lift out the motherboard: шаг 25, изображение 2 из 3 DualSense Controller v2 Motherboard Replacement, Lift out the motherboard: шаг 25, изображение 3 из 3
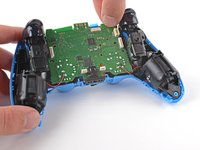
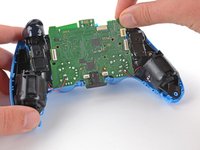
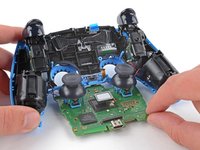
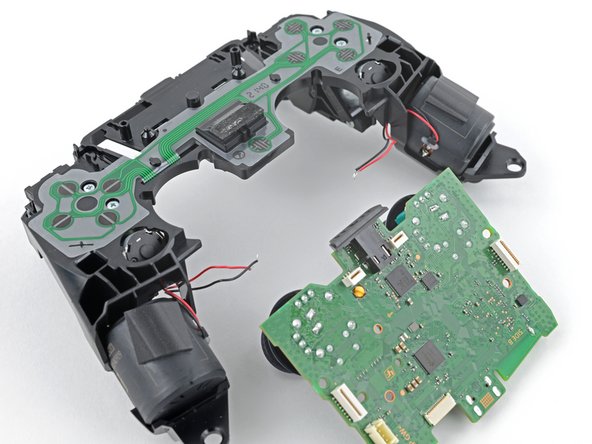
    • Carefully guide the joysticks through the front case and lift the motherboard out.

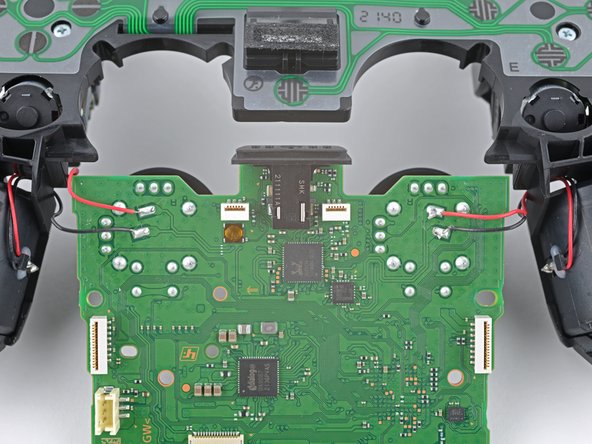
    • Don't strain the four soldered wires tethering the motherboard to the vibration motors.

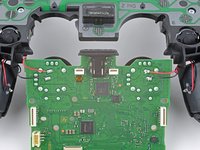
  26. DualSense Controller v2 Motherboard Replacement, Desolder the vibration motor wires: шаг 26, изображение 1 из 3 DualSense Controller v2 Motherboard Replacement, Desolder the vibration motor wires: шаг 26, изображение 2 из 3 DualSense Controller v2 Motherboard Replacement, Desolder the vibration motor wires: шаг 26, изображение 3 из 3
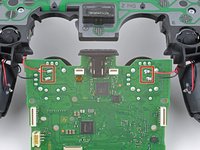
    • Flip the motherboard and midframe over to access the red and black vibration motor wires.

    • Use a soldering iron to disconnect the vibration motor wires from the motherboard.

    • During reassembly, refer to this photo to ensure the wires are soldered back to their correct positions.

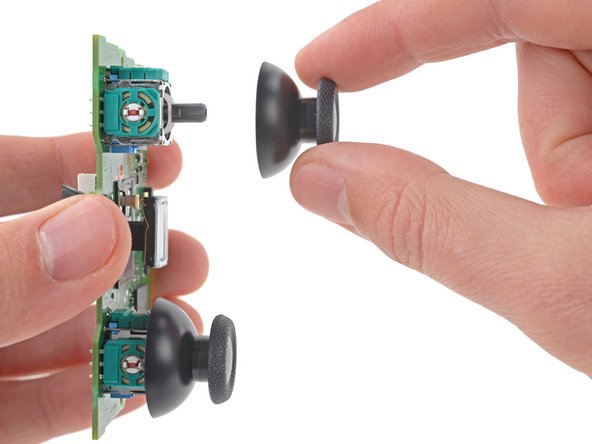
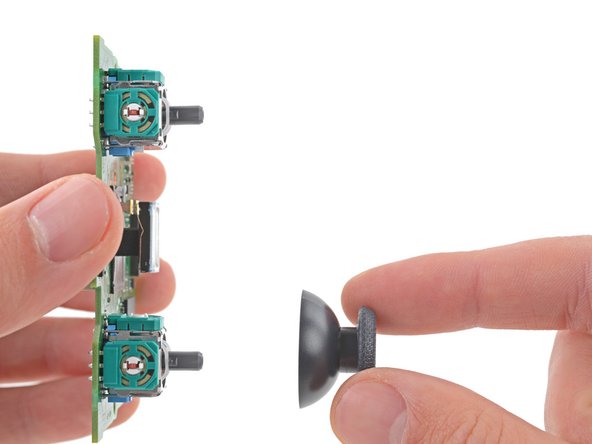
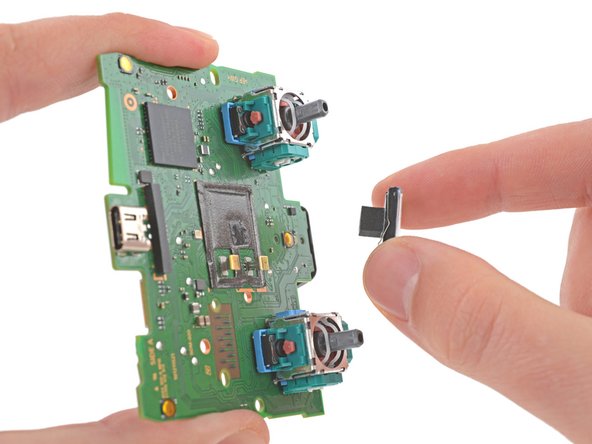
  27. DualSense Controller v2 Motherboard Replacement, Remove the joystick covers: шаг 27, изображение 1 из 3 DualSense Controller v2 Motherboard Replacement, Remove the joystick covers: шаг 27, изображение 2 из 3 DualSense Controller v2 Motherboard Replacement, Remove the joystick covers: шаг 27, изображение 3 из 3
    • Use your fingers to remove the left and right joystick covers from the motherboard.

    • During reassembly, transfer the joystick covers onto the new motherboard.

  28. DualSense Controller v2 Motherboard Replacement, Remove the speaker: шаг 28, изображение 1 из 2 DualSense Controller v2 Motherboard Replacement, Remove the speaker: шаг 28, изображение 2 из 2
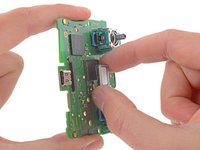
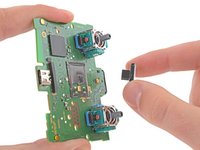
    • Use your fingers to remove the speaker and foam pad from the motherboard.

    • Only the motherboard remains.

    • During reassembly, transfer the speaker and foam pad to the new motherboard.

    • Make sure the gold contacts on the speaker are aligned with the gold contacts on the motherboard.

Заключение

To reassemble your device, follow these instructions in reverse order.

Take your e-waste to an R2 or e-Stewards certified recycler.

Repair didn’t go as planned? Try some basic troubleshooting, or ask our Answers community for help.

3 участников успешно повторили данное руководство.

Sam Omiotek

Участник с: 02/25/19

73 693 Репутация

Автор 288 руководств

Один комментарий

"Replacing the motherboard is necessary to resolve joystick drift and charging port failure." Cleaning the joysticks out with compressed air and/or rubbing alcohol can often resolve the drift issue until it needs to be cleaned again. Joystick replacement is an option without total board replacement. Controllers possibly to calibrate at startup and can be reset to calibrate as well https://osgamers.com/frequently-asked-qu...
Charge port failure definitely doesn't require a board replacement. It's the pins are small, but should be manageable with flux.

Allen Millington - Ответить

Добавить комментарий

Просмотр статистики:

За последние 24часов: 9

За последние 7 дней: 58

За последние 30 дней: 262

За всё время: 3,400