Перейти к основному содержанию
Присоединяйся к сообществу ремонтников - Создай аккаунт

Edwin the Duck Rubber Heart Power Button Replacement

Выберете то, что вам нужно

    1. Edwin the Duck Rubber Heart Power Button Replacement, Rubber Heart Power Button: шаг 1, изображение 1 из 2 Edwin the Duck Rubber Heart Power Button Replacement, Rubber Heart Power Button: шаг 1, изображение 2 из 2
      • Unscrew the four 9mm screws with a T8 bit

      • Remove the back plate off

      Спросите у FixBot

      Добавить комментарий

    2. Edwin the Duck Rubber Heart Power Button Replacement: шаг 2, изображение 1 из 2 Edwin the Duck Rubber Heart Power Button Replacement: шаг 2, изображение 2 из 2
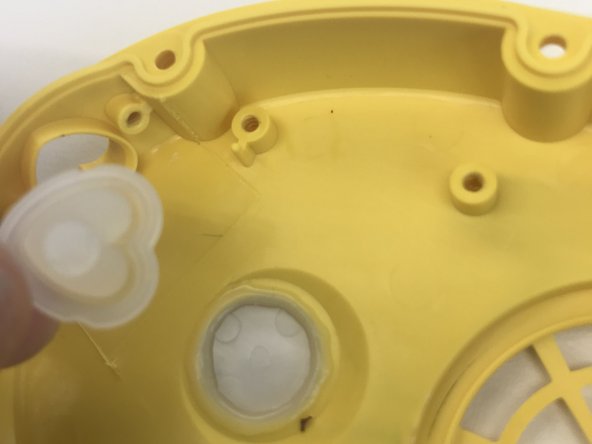
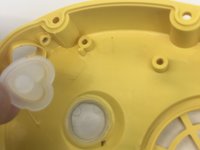
      • Carefully take off the rubber skin.

      • It's important to remember to be patient and not rush. You don't want to rip or damage the rubber skin in then resulting in not having a waterproof cover.

      Спросите у FixBot

      Добавить комментарий

    3. Edwin the Duck Rubber Heart Power Button Replacement: шаг 3, изображение 1 из 1
      • Using the J1 bit, unscrew all six 9 mm screws that run along the border.

      Спросите у FixBot

      Добавить комментарий

    4. Edwin the Duck Rubber Heart Power Button Replacement: шаг 4, изображение 1 из 2 Edwin the Duck Rubber Heart Power Button Replacement: шаг 4, изображение 2 из 2
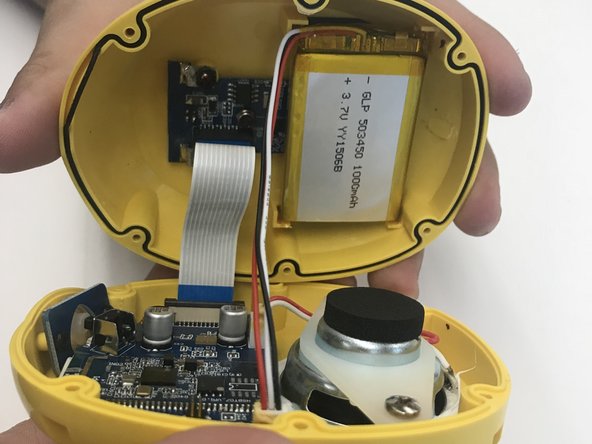
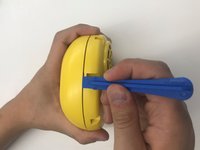
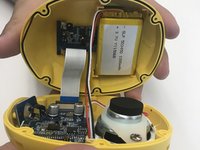
      • Use the plastic opening tool to open the inside of the duck.

      • Be very careful when splitting the two halves apart. There are wires connecting to both sides. Remember to open slowly.

      Спросите у FixBot

      Добавить комментарий

    5. Edwin the Duck Rubber Heart Power Button Replacement: шаг 5, изображение 1 из 2 Edwin the Duck Rubber Heart Power Button Replacement: шаг 5, изображение 2 из 2
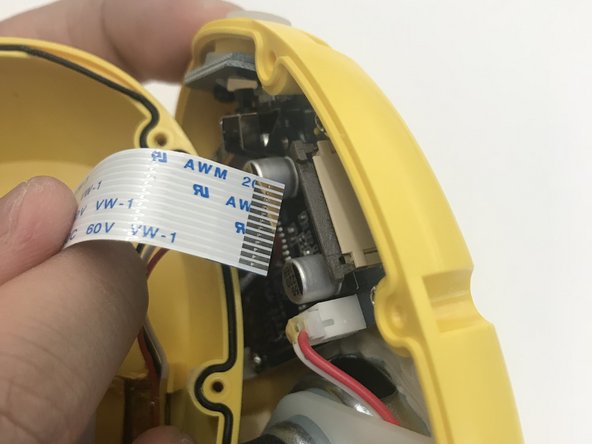
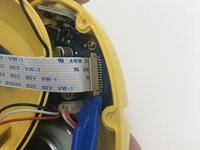
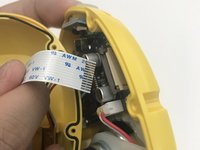
      • Using the plastic opening tool pull up the black tab up until it stops.

      • Be careful not to pull up the black tab too far up, otherwise the cable won't be secure anymore.

      • Pull up the white cable tab up slowly

      Спросите у FixBot

      Добавить комментарий

    6. Edwin the Duck Rubber Heart Power Button Replacement: шаг 6, изображение 1 из 2 Edwin the Duck Rubber Heart Power Button Replacement: шаг 6, изображение 2 из 2
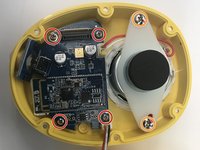
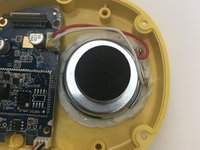
      • Use the J1 bit to unscrew all four 9 mm screws connected to the motherboard.

      • Use the J1 bit to unscrew both 9 mm screws attached to the white plastic plate

      Спросите у FixBot

      Добавить комментарий

    7. Edwin the Duck Rubber Heart Power Button Replacement: шаг 7, изображение 1 из 1
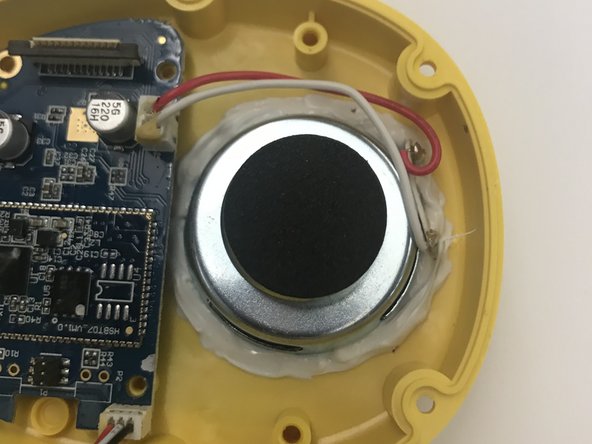
      • Lift up the motherboard and speaker and place it away and to the side like you see in the picture

      Спросите у FixBot

      Добавить комментарий

    8. Edwin the Duck Rubber Heart Power Button Replacement: шаг 8, изображение 1 из 2 Edwin the Duck Rubber Heart Power Button Replacement: шаг 8, изображение 2 из 2
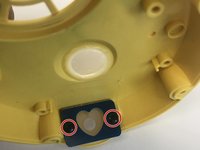
      • Unscrew the two black 9 mm screws by using the J1 bit.

      • Remove the damaged rubber heart button and replace with a new rubber heart button.

      Спросите у FixBot

      Добавить комментарий

Заключение

To reassemble your device, follow these instructions in reverse order.

Отменить: Я не выполнил это руководство.

2 человек успешно провели ремонт по этому руководству.

Michelle Montano

Участник с: 10/18/17

116 Репутация

1 руководство автора

Команда

UW Tacoma, Team S1-G4, Rose Fall 2017 Участник UW Tacoma, Team S1-G4, Rose Fall 2017

UWT-ROSE-F17S1G4

3 членов

Автор 6 руководств

0 Комментарии к руководству

Добавить комментарий

Статистика просмотров:

За последние 24 часов: 1

За последние 7 дней: 7

За последние 30 дней: 22

За всё время: 1,082