Введение
This guide shows how to remove the buttons from the controller, letting the user replace them with new buttons, clean, or customize them.
Use this guide if one or more of the buttons on your device are broken, not responding, or dirty.
Warning: Use caution when placing the joystick face down on the table. The joystick can crack if placed down too hard. Be sure to gently turn the device over and place it face down. It can be helpful to balance the other side of the device to distribute the weight.
Warning: The components on the buttons (plastic tabs, wires, connectors) are very fragile. Handle with care to avoid breaking or damaging it.
Выберете то, что вам нужно
-
-
-
Place the controller face down (buttons and joystick down).
-
Use a Phillips Head #1 screwdriver to remove the eight 9.65 mm screws located on the felt and metal backplate.
 Спросите у FixBot
-
-
-
Open the door for the cord storage compartment on the right side of the device.
-
Reach under the panel and push upwards on the back panel. Lift it up and remove it from the device.
-
-
-
-
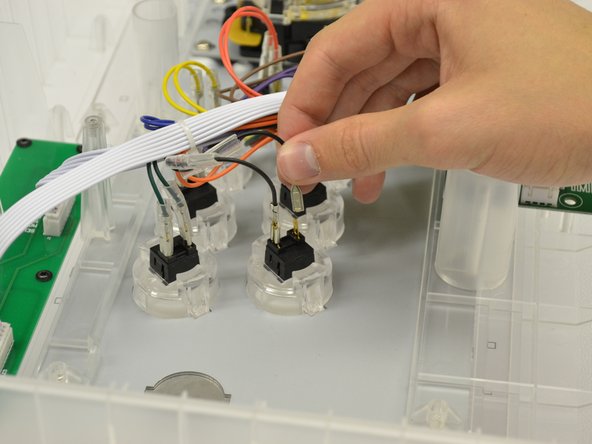
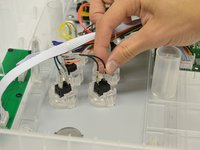
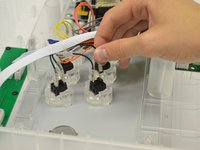
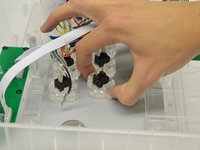
Remove the clear rubber casing around the wire connector by lifting the casing up and moving it up along the wire.
-
Repeat for second clear rubber casing.
-
-
-
Gently grasp and lift up on the metal section of the wire to remove the wire from the button connector.
-
-
-
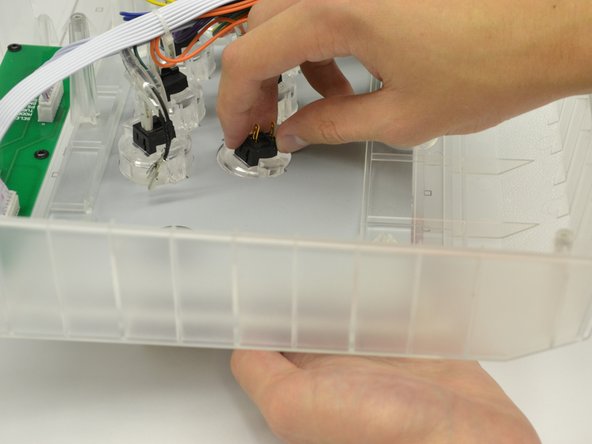
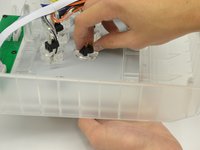
Gently depress the two plastic tabs on both of the sides of the button casing.
-
Slightly push the button down, out of the controller until it slides out.
-
-



To reassemble your device, follow these instructions in reverse order.

Команда

Cal Poly, Team 17-35, Amido Winter 2015 Участник Cal Poly, Team 17-35, Amido Winter 2015
CPSU-AMIDO-W15S17G35
4 членов
Автор 60 руководств
