Перейти к основному содержанию
Присоединяйся к сообществу ремонтников - Создай аккаунт

Electrohome EAAC475 Display Replacement

Выберете то, что вам нужно

    1. Electrohome EAAC475 Display Replacement, Battery: шаг 1, изображение 1 из 2 Electrohome EAAC475 Display Replacement, Battery: шаг 1, изображение 2 из 2
      • Remove the 10 mm Phillips #1 screw from the battery cover.

      • Remove the battery cover.

      Спросите у FixBot

      Добавить комментарий

    2. Electrohome EAAC475 Display Replacement: шаг 2, изображение 1 из 1
      • Remove the flat lithium battery.

      Спросите у FixBot

      Добавить комментарий

    1. Electrohome EAAC475 Display Replacement, Buttons: шаг 3, изображение 1 из 2 Electrohome EAAC475 Display Replacement, Buttons: шаг 3, изображение 2 из 2
      • Disconnect the radio from all power sources.

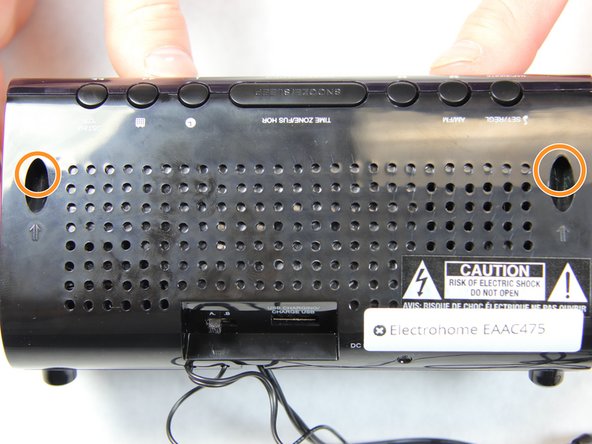
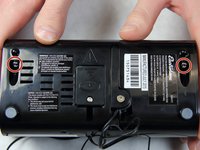
      • Remove the two 10 mm Phillips #1 screws from the bottom of the device.

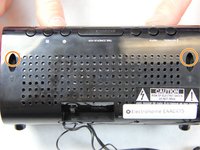
      • Remove two 10 mm Phillips #1 screws from the back side of the device.

      Спросите у FixBot

      Добавить комментарий

    2. Electrohome EAAC475 Display Replacement: шаг 4, изображение 1 из 3 Electrohome EAAC475 Display Replacement: шаг 4, изображение 2 из 3 Electrohome EAAC475 Display Replacement: шаг 4, изображение 3 из 3
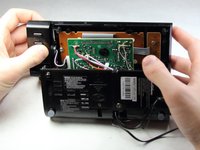
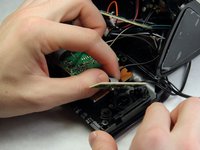
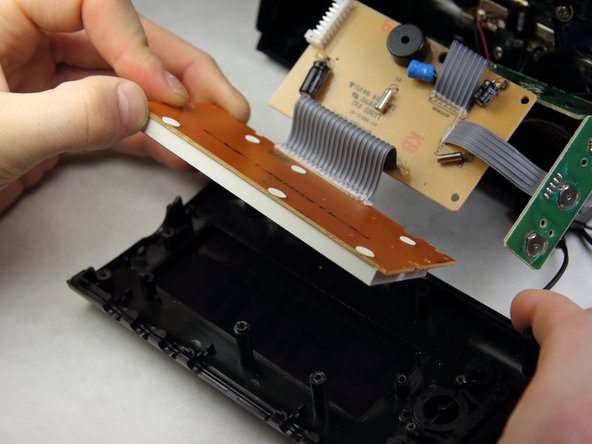
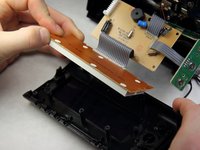
      • Carefully and slowly pull the lower case away from the rest of the device.

      • Do not completely separate the lower case. There are several wires connecting the two halves of the device.

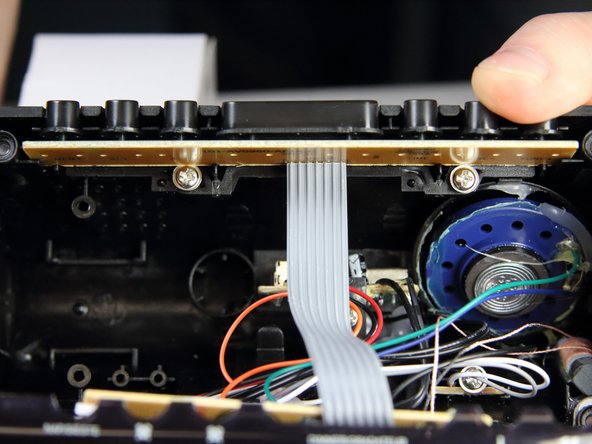
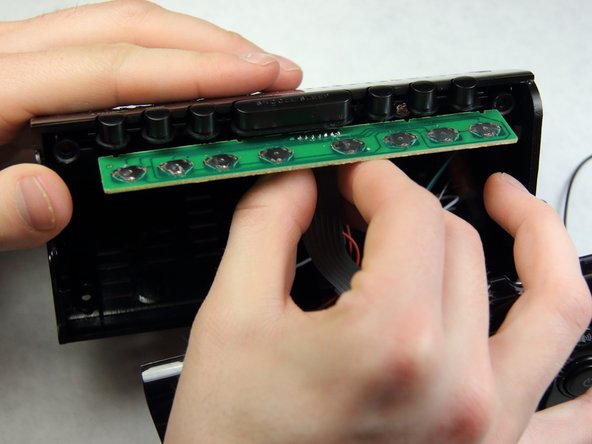
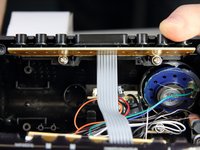
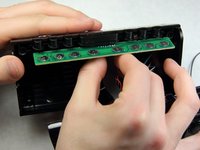
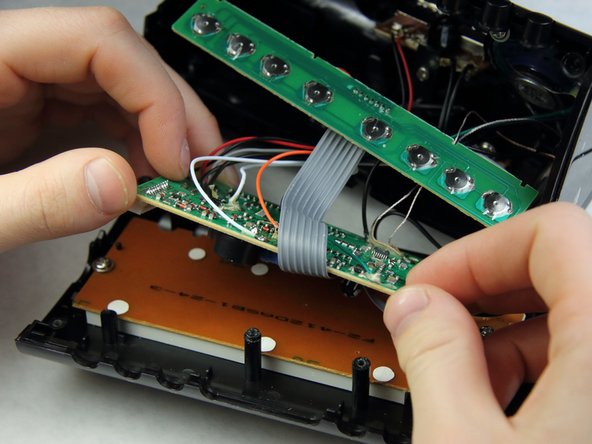
      • Flip the device over to access the button assembly.

      • Slowly remove the button contact board from the assembly.

      Спросите у FixBot

      Добавить комментарий

    3. Electrohome EAAC475 Display Replacement: шаг 5, изображение 1 из 2 Electrohome EAAC475 Display Replacement: шаг 5, изображение 2 из 2
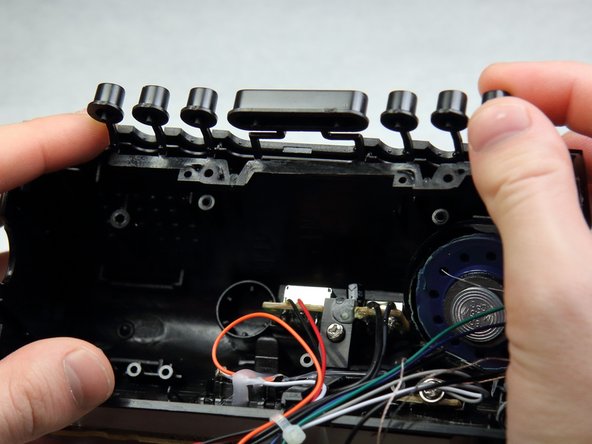
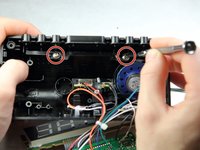
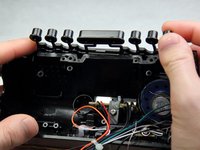
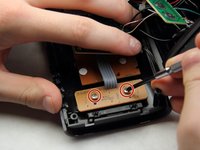
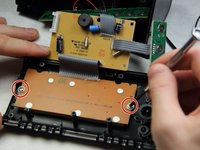
      • Remove the two 7 mm Phillips # 1 screws holding the buttons.

      • Remove the plastic buttons.

      Спросите у FixBot

      Добавить комментарий

    1. Electrohome EAAC475 Display Replacement, Display: шаг 6, изображение 1 из 2 Electrohome EAAC475 Display Replacement, Display: шаг 6, изображение 2 из 2
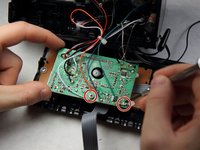
      • Remove the two 8 mm Phillips screws supporting the circuit board.

      • Pull off the circuit board to access the panels below.

      Спросите у FixBot

      Добавить комментарий

    2. Electrohome EAAC475 Display Replacement: шаг 7, изображение 1 из 2 Electrohome EAAC475 Display Replacement: шаг 7, изображение 2 из 2
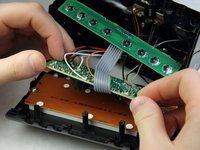
      • Remove the two 6 mm Phillips screws supporting the mini circuit board for the frontal buttons.

      • Remove the mini circuit board.

      Спросите у FixBot

      Добавить комментарий

    3. Electrohome EAAC475 Display Replacement: шаг 8, изображение 1 из 2 Electrohome EAAC475 Display Replacement: шаг 8, изображение 2 из 2
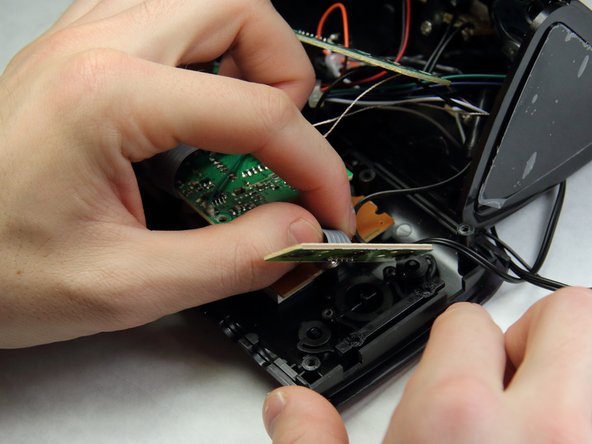
      • Move the now free circuit boards away from the display.

      • Remove the final two 7 mm Phillips screws securing the display.

      • Pull the display screen away from the casing.

      Спросите у FixBot

      Добавить комментарий

    4. Electrohome EAAC475 Display Replacement: шаг 9, изображение 1 из 1
      • You have successfully accessed the display.

      • Replacing the display with a new one will be challenging as soldering and connecting micro wires are necessary.

      Спросите у FixBot

      Добавить комментарий

Заключение

To reassemble your device, follow these instructions in reverse order.

Отменить: Я не выполнил это руководство.

Sohail Khatri

Участник с: 02/16/16

201 Репутация

Автор 2 руководств

Команда

IUPUI, Team 2-1, Harley Spring 2016 Участник IUPUI, Team 2-1, Harley Spring 2016

IUPUI-HARLEY-S16S2G1

4 членов

Автор 18 руководств

0 Комментарии к руководству

Добавить комментарий

Статистика просмотров:

За последние 24 часов: 3

За последние 7 дней: 10

За последние 30 дней: 40

За всё время: 1,350