Перейти к основному содержанию
Присоединяйся к сообществу ремонтников - Создай аккаунт

Element GC-1020 Display Replacement

Выберете то, что вам нужно

  1. Element GC-1020 Display Replacement, Back Cover Replacement Guide: шаг 1, изображение 1 из 1
    • Unscrew the four screws (size: 3.175mm) on the left and right side of the Element Electronics GC-1020 device using the PH#0 screwdriver.

    Спросите у FixBot

    Добавить комментарий

  2. Element GC-1020 Display Replacement: шаг 2, изображение 1 из 1
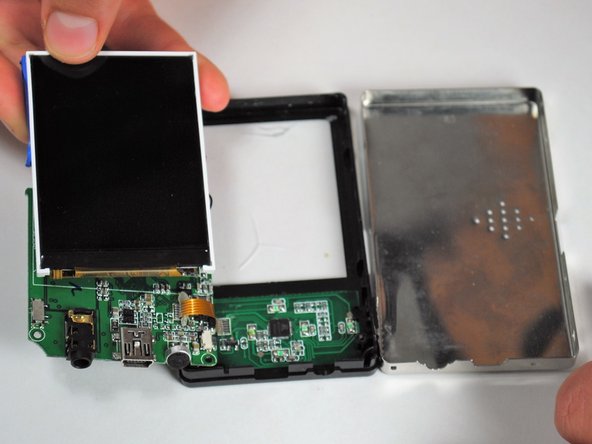
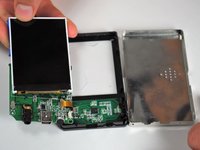
    • Carefully pull the back of the device (the silver portion) apart from the rest of the device.

    • If you pull back too forcefully the power button would move out of place.

    Спросите у FixBot

    Добавить комментарий

  3. Element GC-1020 Display Replacement, Display: шаг 3, изображение 1 из 1
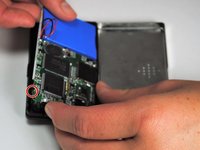
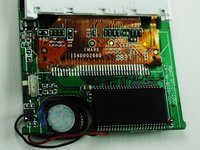
    • Unscrew the visible Philips head screws (size: 3.968 mm) on the motherboard located on the top of left and right sides. Use a PH #0 sized screw driver head for removal.

    Спросите у FixBot

    Добавить комментарий

  4. Element GC-1020 Display Replacement: шаг 4, изображение 1 из 2 Element GC-1020 Display Replacement: шаг 4, изображение 2 из 2
    • Carefully bend the plastic frame to remove the motherboard.

    • Upon doing this make sure your power button on the bottom left side stays attached to the outer frame because it will loosen as the motherboard is moved upwards.

    Спросите у FixBot

    Добавить комментарий

  5. Element GC-1020 Display Replacement: шаг 5, изображение 1 из 1
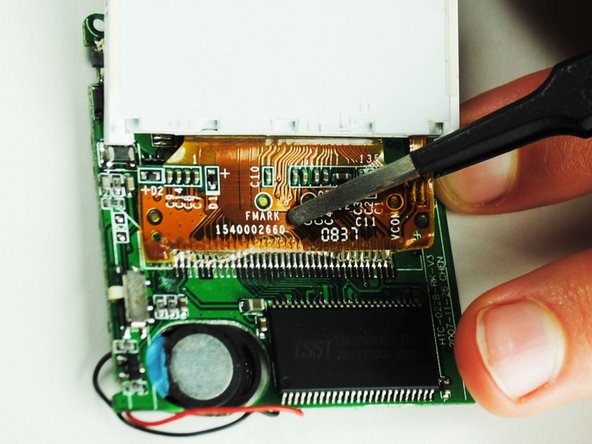
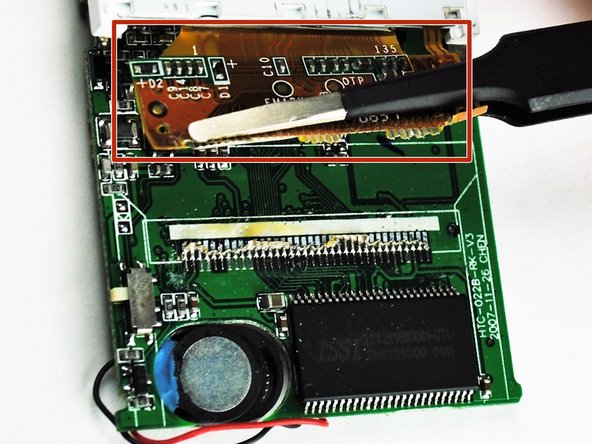
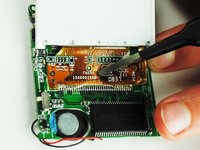
    • The display is attached to a dark yellow, flimsy, plastic material. This material is then attached to the motherboard. Tear off the plastic, successfully detaching the motherboard and display from each other.

    Спросите у FixBot

    Добавить комментарий

  6. Element GC-1020 Display Replacement: шаг 6, изображение 1 из 3 Element GC-1020 Display Replacement: шаг 6, изображение 2 из 3 Element GC-1020 Display Replacement: шаг 6, изображение 3 из 3
    • Once the display is by itself, separate from the rest of the device, you are ready to put in your new display.

    Спросите у FixBot

    Добавить комментарий

Заключение

To reassemble your device, follow these instructions in reverse order.

Отменить: Я не выполнил это руководство.

2 человек успешно провели ремонт по этому руководству.

Lashaun Noel

Участник с: 09/25/15

591 Репутация

Автор 5 руководств

Команда

University of Tampa, Team 1-4, Whiteside Fall 2015 Участник University of Tampa, Team 1-4, Whiteside Fall 2015

UT-WHITESIDE-F15S1G4

4 членов

Автор 5 руководств

1 Комментарий к руководству

but can i ask do you know how to reboot the software ?

i mean we try to put in our music or video or image inside. can it be done

Nisha Najihah - Ответить Поделиться

Добавить комментарий

Статистика просмотров:

За последние 24 часов: 0

За последние 7 дней: 6

За последние 30 дней: 32

За всё время: 622