Введение
The fan is an essential component to keep your projector cool and functional. Before replacement, first check if there is dirt or dust clogging the fan's blades. Use an ESD-safe brush and/or compressed air to remove any dirt or dust buildup, then test the projector. If cleaning didn't solve the problem, and/or damage is visible, replacing the fan is the next best step. Before replacing the fan, make sure the projector is turned off, and allow it to cool completely before beginning.
Выберете то, что вам нужно
-
-
-
Use a Phillips #0 screwdriver to remove the one 5.0 mm screw from the lamp cover on the back of the device.
 Спросите у FixBot
-
-
-
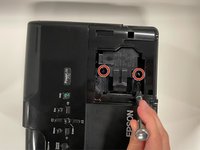
Loosen the two 5.0 mm captive screws with a Phillips #0 screwdriver.
-
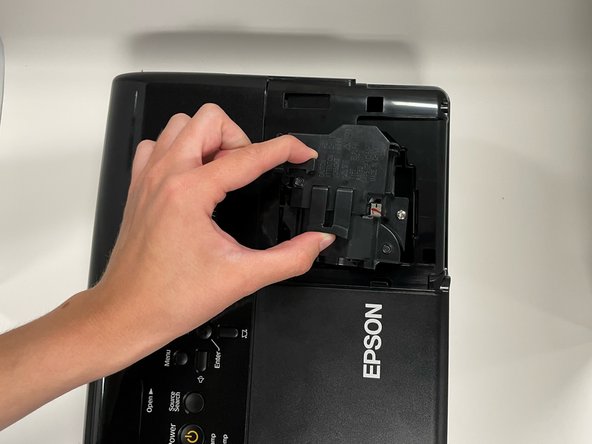
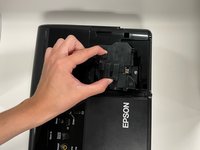
Pinch the two release triggers to unlatch the lamp housing, and lift upward to remove it.
-
-
-
-
-
-
Use a Phillips #0 screwdriver to remove the seven 5.0 mm screws on the base panel.
-
Pick up the projector with both hands, sandwiching the top and bottom of the projector together, and place it right-side-up, with the ports facing you.
-
Lift the top panel up.
-
-
-
Flip the locking bar of the ZIF connector vertically, then delicately remove the ribbon cable.
-
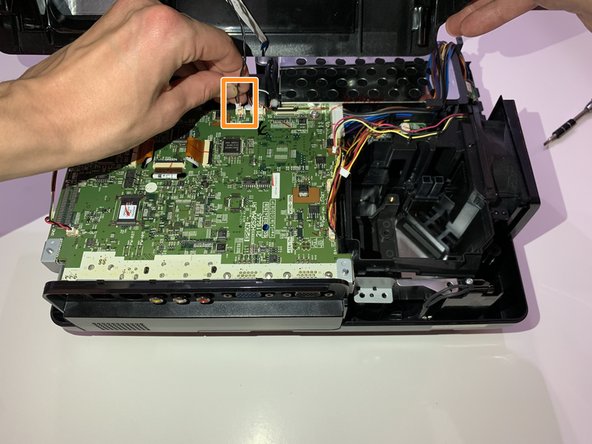
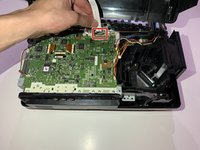
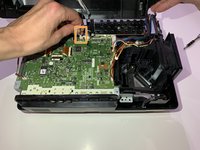
Grip the cable connector as close as possible to the plug, then pull it straight up until it releases from the motherboard.
-
Remove the top panel.
-
-
-
Use a Phillips #0 screwdriver to remove the two 5.0 mm screws.
-
-
-
Remove the one 5.0 mm screw on the right side of the gap with a Phillips #0 screwdriver.
-
Remove the one 5.0 mm screw on the left side of the gap with a Phillips #0 screwdriver.
-
-
-
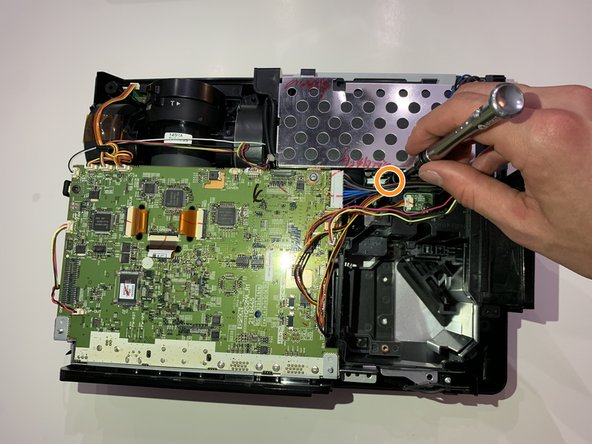
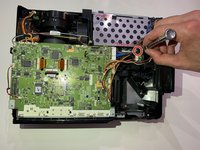
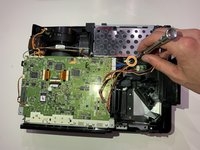
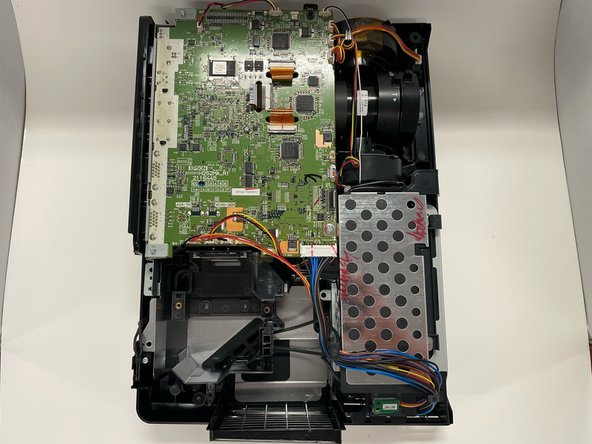
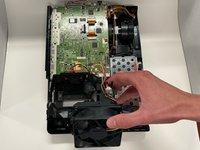
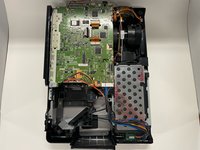
On the right side of the motherboard, grip the plug labeled "PWR-FAN" and pull straight up to detach the fan from the motherboard.
-
-








To reassemble your device, follow these instructions in reverse order.
Отменить: Я не выполнил это руководство.
Еще один человек закончил это руководство.

Команда

Western Carolina University, Team 1-6, Virtue Spring 2022 Участник Western Carolina University, Team 1-6, Virtue Spring 2022
WCU-VIRTUE-S22S1G6
4 членов
Автор 10 руководств
