Перейти к основному содержанию

Equity Alarm Clock 13014 Clock Hands Replacement

Выберете то, что вам нужно

  1. Equity Alarm Clock 13014 Clock Hands Replacement, Screws and Back Plate: шаг 1, изображение 1 из 2 Equity Alarm Clock 13014 Clock Hands Replacement, Screws and Back Plate: шаг 1, изображение 2 из 2
    • Using a Phillips screwdriver, remove the top screw.

    • Repeat for other two screws located on the lower right and left sides of the clock.

  2. Equity Alarm Clock 13014 Clock Hands Replacement, Back Plate and Clock's Inner Apparatus: шаг 2, изображение 1 из 1
    • Place fingers on ridge around back plate and pull upward.

  3. Equity Alarm Clock 13014 Clock Hands Replacement, Silver Base and Cellinoid: шаг 3, изображение 1 из 2 Equity Alarm Clock 13014 Clock Hands Replacement, Silver Base and Cellinoid: шаг 3, изображение 2 из 2
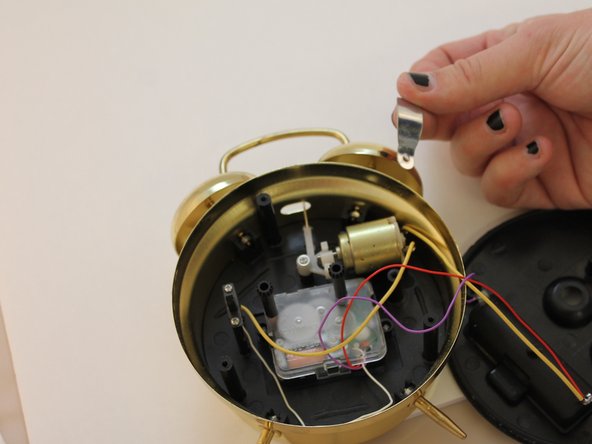
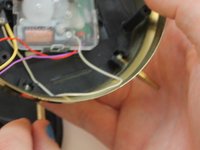
    • Using a Phillips screwdriver, remove the silver base located on top of cellinoid in upper right hand of inner clock.

  4. Equity Alarm Clock 13014 Clock Hands Replacement, The Bell: шаг 4, изображение 1 из 2 Equity Alarm Clock 13014 Clock Hands Replacement, The Bell: шаг 4, изображение 2 из 2
    • Using a Phillips Screwdriver, remove bell from inner clock.

  5. Equity Alarm Clock 13014 Clock Hands Replacement, Cellinoid From Clock: шаг 5, изображение 1 из 1
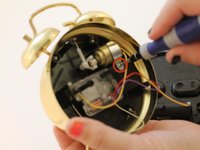
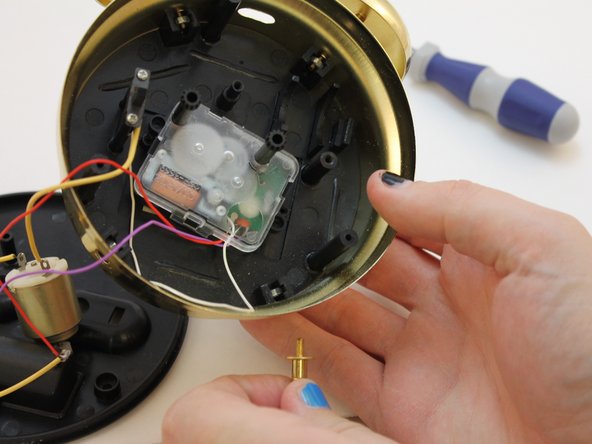
    • Cellinoid is located below Silver Base. Remove Cellinoid with your fingers and pull it up from the inner clock apparatus.

  6. Equity Alarm Clock 13014 Clock Hands Replacement, Bottom Legs: шаг 6, изображение 1 из 2 Equity Alarm Clock 13014 Clock Hands Replacement, Bottom Legs: шаг 6, изображение 2 из 2
    • Remove the bottom legs of the clock by unscrewing them with your fingers.

    • Caution: you may need to use a pair of pliers if bottom legs are attached too tight.

  7. Equity Alarm Clock 13014 Clock Hands Replacement, Right Bell Screw: шаг 7, изображение 1 из 2 Equity Alarm Clock 13014 Clock Hands Replacement, Right Bell Screw: шаг 7, изображение 2 из 2
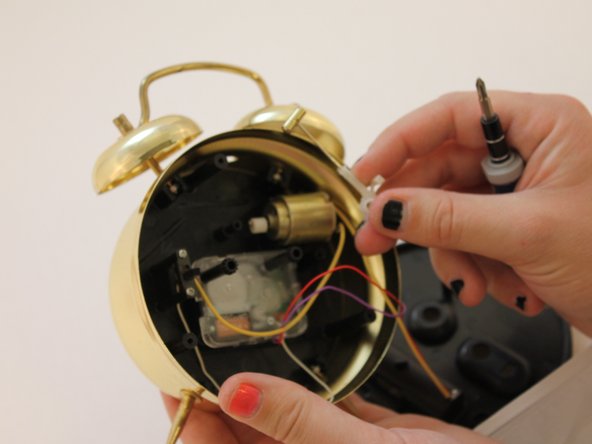
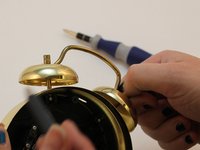
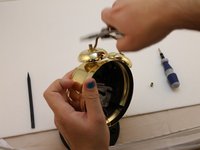
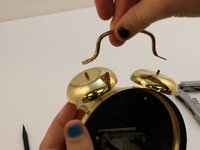
    • Using your hands, unscrew top screw located on top of the right bell.

    • Caution: You may need to use a pair of pliers to loosen the screw.

  8. Equity Alarm Clock 13014 Clock Hands Replacement, Left Bell Screw: шаг 8, изображение 1 из 3 Equity Alarm Clock 13014 Clock Hands Replacement, Left Bell Screw: шаг 8, изображение 2 из 3 Equity Alarm Clock 13014 Clock Hands Replacement, Left Bell Screw: шаг 8, изображение 3 из 3
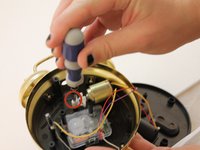
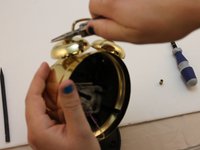
    • Repeat Directions in Step 6 but on the left bell screw.

    • Caution: You may need to use a pair of pliers.

  9. Equity Alarm Clock 13014 Clock Hands Replacement, Bells and Connecting Bar: шаг 9, изображение 1 из 3 Equity Alarm Clock 13014 Clock Hands Replacement, Bells and Connecting Bar: шаг 9, изображение 2 из 3 Equity Alarm Clock 13014 Clock Hands Replacement, Bells and Connecting Bar: шаг 9, изображение 3 из 3
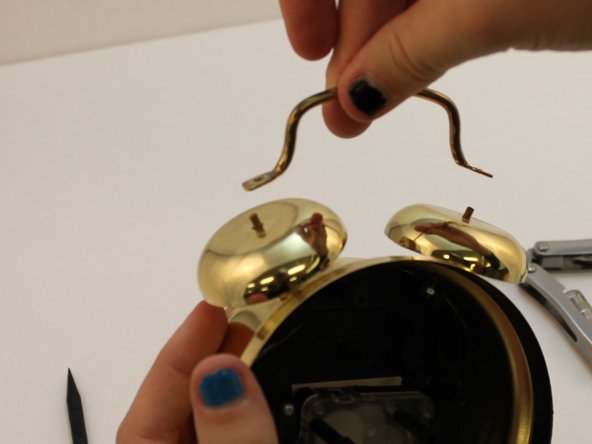
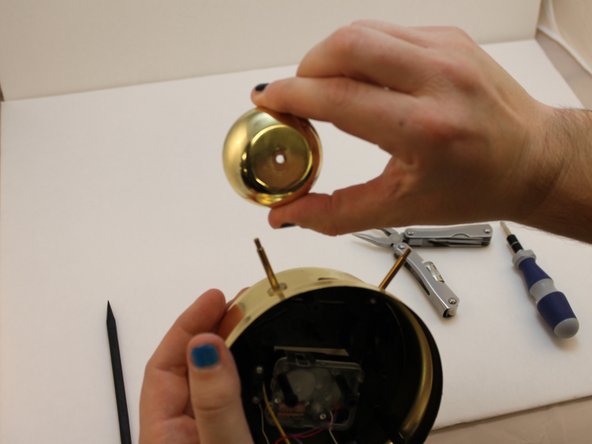
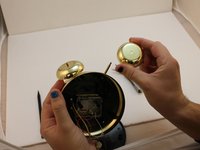
    • After you remove the screws for both bells, both of the two bells and the bar connecting the two bells will easily come off. Remove these three components with your fingers.

  10. Equity Alarm Clock 13014 Clock Hands Replacement, Remainder of Inner Clock Apparatus: шаг 10, изображение 1 из 2 Equity Alarm Clock 13014 Clock Hands Replacement, Remainder of Inner Clock Apparatus: шаг 10, изображение 2 из 2
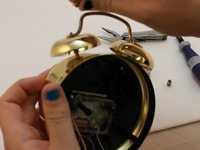
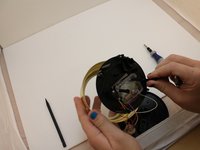
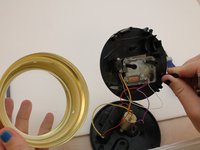
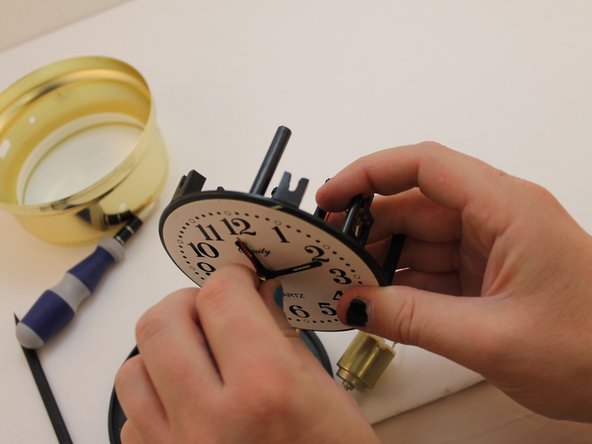
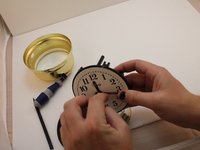
    • Using your hand, remove the entire black, inner apparatus of clock. The golden ridge of the clock is attached to the glass screen.

  11. Equity Alarm Clock 13014 Clock Hands Replacement, Inner Clock Apparatus Around and Clock Numbers: шаг 11, изображение 1 из 2 Equity Alarm Clock 13014 Clock Hands Replacement, Inner Clock Apparatus Around and Clock Numbers: шаг 11, изображение 2 из 2
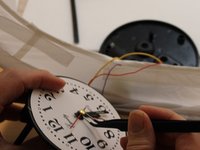
    • In the front of the clock apparatus are the twelve numbers, minute hand, second hand, and hour hand.
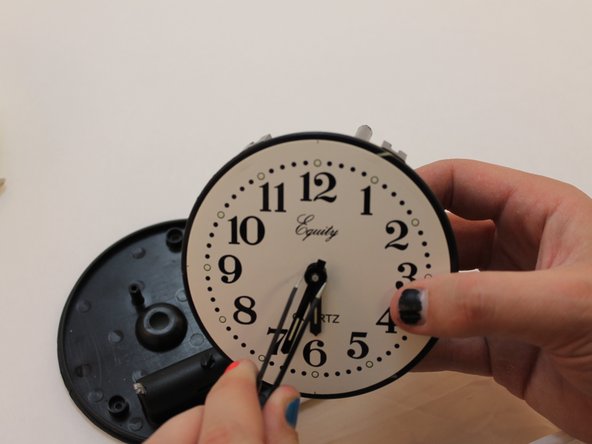
  12. Equity Alarm Clock 13014 Clock Hands Replacement, Clock Hands: шаг 12, изображение 1 из 3 Equity Alarm Clock 13014 Clock Hands Replacement, Clock Hands: шаг 12, изображение 2 из 3 Equity Alarm Clock 13014 Clock Hands Replacement, Clock Hands: шаг 12, изображение 3 из 3
    • Using a pair of tweezers, remove the golden peg in the center of the clock. This attaches the minute, hour and second hands.

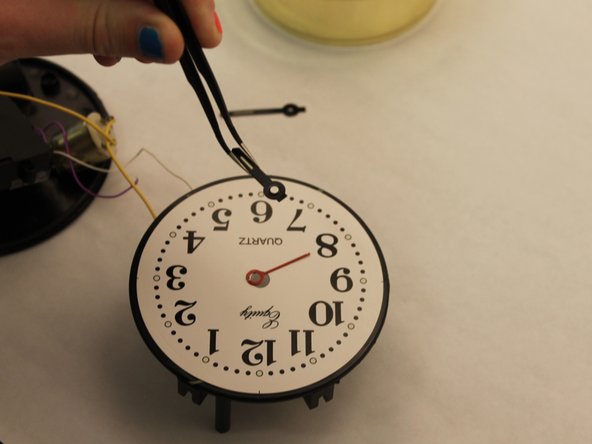
    • After you have removed the golden peg, use the pair of tweezers to remove hour, minute and second hands.

Заключение

To reassemble your device, follow these instructions in reverse order.

3 участников успешно повторили данное руководство.

Michael Johnson

Участник с: 11/03/14

300 Репутация

Автор 2 руководств

Команда

Eastern Washington University, Team 1-6, Carnegie Fall 2014 Участник Eastern Washington University, Team 1-6, Carnegie Fall 2014

EWU-CARNEGIE-F14S1G6

6 членов

Автор 6 руководств

0 Комментариев

Добавить комментарий

Просмотр статистики:

За последние 24часов: 0

За последние 7 дней: 5

За последние 30 дней: 20

За всё время: 2,395