Перейти к основному содержанию
Присоединяйся к сообществу ремонтников - Создай аккаунт

Fender Frontman 15r Power Switch Replacement

Выберете то, что вам нужно

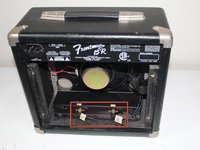
    1. Fender Frontman 15r Power Switch Replacement, Back panel: шаг 1, изображение 1 из 1
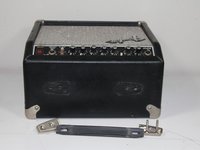
      • Be sure to unplug the device before proceeding.

      • Use a Phillips #0 screwdriver to remove the four 21.7mm screws holding the back panel to the frame.

      Спросите у FixBot

      Добавить комментарий

    2. Fender Frontman 15r Power Switch Replacement: шаг 2, изображение 1 из 1
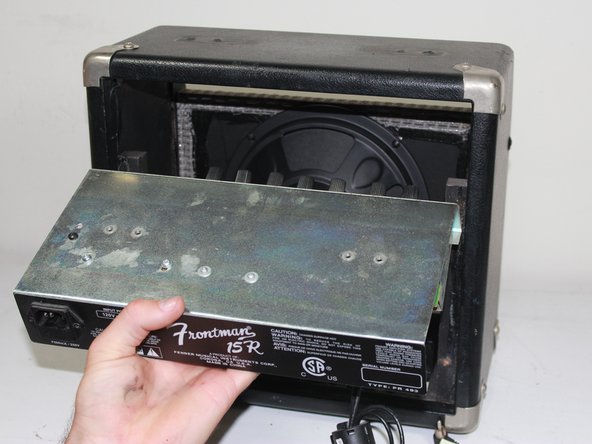
      • Once the screws are out, use a plastic opening tool or spudger to pry the top of the back panel open. There may be some resistance, but it will eventually pry loose.

      Спросите у FixBot

      Добавить комментарий

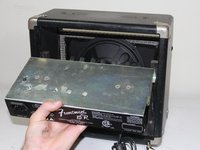
    3. Fender Frontman 15r Power Switch Replacement: шаг 3, изображение 1 из 1
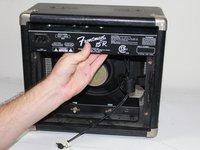
      • Once the top is separated, use your hand to remove the back panel from the unit.

      Спросите у FixBot

      Добавить комментарий

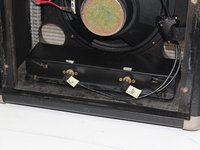
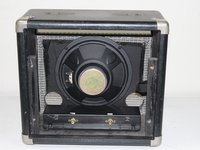
    1. Fender Frontman 15r Power Switch Replacement, Mounting Bracket: шаг 4, изображение 1 из 2 Fender Frontman 15r Power Switch Replacement, Mounting Bracket: шаг 4, изображение 2 из 2
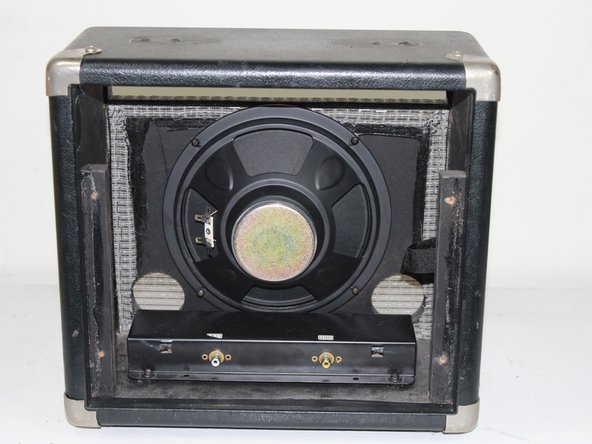
      • There will be two black wires connecting the top mounting bracket to the reverb box at the bottom of the unit. Label the wires to prevent crossing upon re-installation, then unplug the wires from the reverb box.

      Спросите у FixBot

      Добавить комментарий

    2. Fender Frontman 15r Power Switch Replacement: шаг 5, изображение 1 из 1
      • Label and unplug the two red wires connecting the mounting bracket to the speaker by pulling them off the nodes.

      Спросите у FixBot

      Добавить комментарий

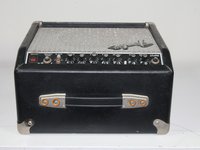
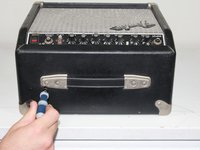
    3. Fender Frontman 15r Power Switch Replacement: шаг 6, изображение 1 из 3 Fender Frontman 15r Power Switch Replacement: шаг 6, изображение 2 из 3 Fender Frontman 15r Power Switch Replacement: шаг 6, изображение 3 из 3
      • Use a Phillips #1 screwdriver to unscrew the four 36.4 mm screws holding the mounting bracket to the top of the amp.

      Спросите у FixBot

      Добавить комментарий

    4. Fender Frontman 15r Power Switch Replacement: шаг 7, изображение 1 из 3 Fender Frontman 15r Power Switch Replacement: шаг 7, изображение 2 из 3 Fender Frontman 15r Power Switch Replacement: шаг 7, изображение 3 из 3
      • Pull the mounting bracket free from the frame. It may be wedged in very snug, in which case, use a plastic opening tool/spudger to pry it loose from the front.

      Спросите у FixBot

      Добавить комментарий

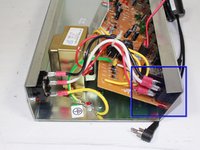
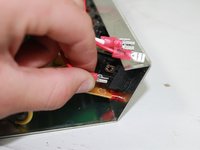
    1. Fender Frontman 15r Power Switch Replacement, Power Switch: шаг 8, изображение 1 из 2 Fender Frontman 15r Power Switch Replacement, Power Switch: шаг 8, изображение 2 из 2
      • Mark, make note of, or remember the arrangement of the wires.

      • Remove the four female disconnected terminals from the switch terminals.

      Спросите у FixBot

      Добавить комментарий

    2. Fender Frontman 15r Power Switch Replacement: шаг 9, изображение 1 из 3 Fender Frontman 15r Power Switch Replacement: шаг 9, изображение 2 из 3 Fender Frontman 15r Power Switch Replacement: шаг 9, изображение 3 из 3
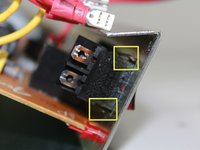
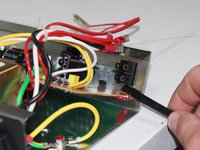
      • Using the flat end of a spudger, push in one of the wedged locking clips.

      • Partially tilt the switch box so that clip is held down.

      • Repeat for the other side of the switch

      Спросите у FixBot

      Добавить комментарий

    3. Fender Frontman 15r Power Switch Replacement: шаг 10, изображение 1 из 2 Fender Frontman 15r Power Switch Replacement: шаг 10, изображение 2 из 2
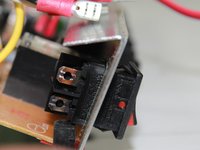
      • Be sure that both locking clips are pressed through the opening. This may take a few tries.

      • Gently remove the switch.

      Спросите у FixBot

      Добавить комментарий

Заключение

Once the old power switch is removed, install the new one by following the guide in reverse.

Отменить: Я не выполнил это руководство.

Еще один человек закончил это руководство.

Greg Sawers

Участник с: 09/27/12

91 Репутация

Автор 3 руководств

Команда

Cal Poly, Team 24-30, Regan Fall 2012 Участник Cal Poly, Team 24-30, Regan Fall 2012

CPSU-REGAN-F12S24G30

5 членов

Автор 7 руководств

0 Комментарии к руководству

Добавить комментарий

Статистика просмотров:

За последние 24 часов: 1

За последние 7 дней: 14

За последние 30 дней: 56

За всё время: 8,726