Введение
The LCD screen will often go black and remain non-responsive. This guide will take you through the steps of replacing the broken screen and installing a new one.
Выберете то, что вам нужно
-
-
Remove the two screws on the right side of the camera and the two screws on the left side.
-
Use a small #00 Phillips flat head screwdriver.
 Спросите у FixBot
-
-
-
Remove the three screws from the bottom of the camera.
-
You need a three-prong screw driver for two of the three screws; keep these screws separate.
-
-
-
-
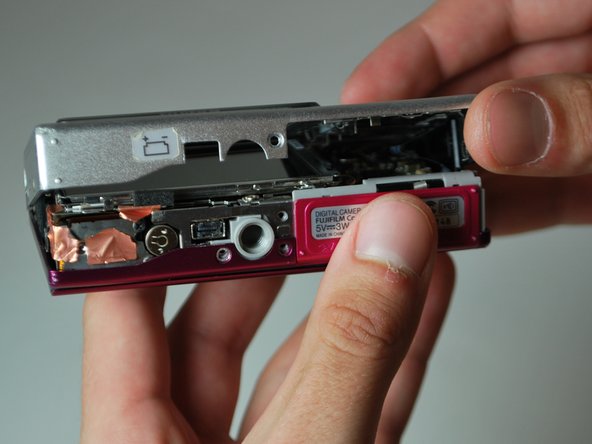
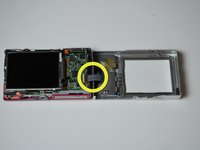
Remove the back by carefully flipping it open to the right side.
-
There will be a ribbon cable attaching the front panel to the motherboard, be sure not to tear this.
-
-
-
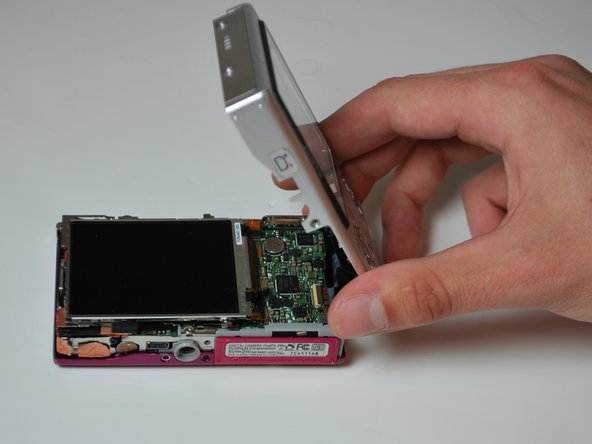
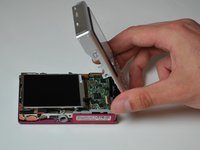
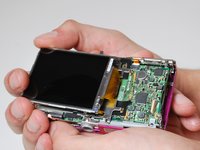
Pull the LCD screen to the left slightly, lift it and flip it open to the right.
-
-
-
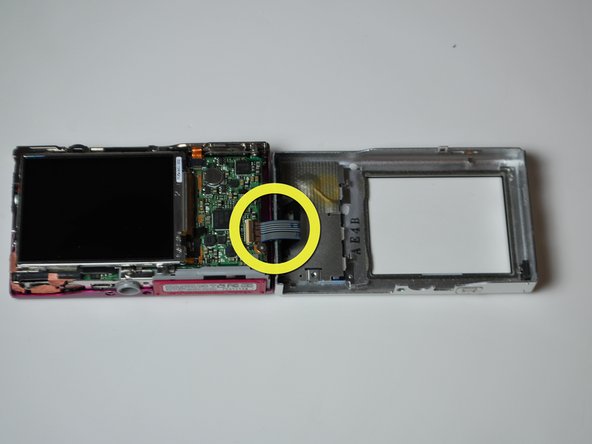
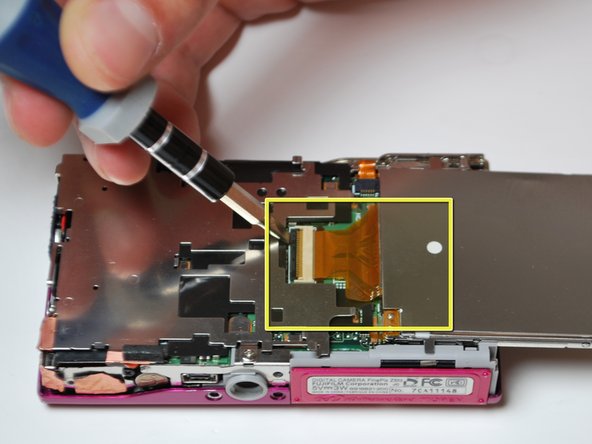
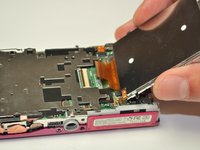
Using a small flat head screw driver, flip open the black lever to release the ribbon cable.
-
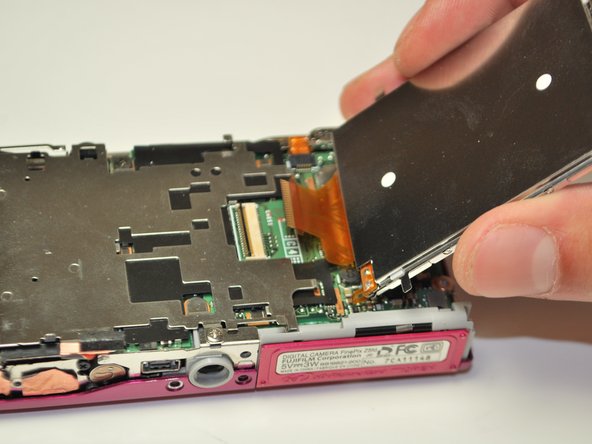
Gently slide the cable out of the lock; the LCD screen is now free to be removed.
-
-
-
Using your index finger, guide the cable of the new screen into place. Lock it in by pushing the black lever back down.
-


To reassemble your device, follow these instructions in reverse order.

Команда

James Madison, Team 3-4, Klein Spring 2012 Участник James Madison, Team 3-4, Klein Spring 2012
JMU-KLEIN-S12S3G4
3 членов
Автор 8 руководств