Перейти к основному содержанию
Присоединяйся к сообществу ремонтников - Создай аккаунт

Fujifilm FinePix Z5 Optical Lens Replacement

Выберете то, что вам нужно

    1. Fujifilm FinePix Z5 Optical Lens Replacement, Optical Lens: шаг 1, изображение 1 из 3 Fujifilm FinePix Z5 Optical Lens Replacement, Optical Lens: шаг 1, изображение 2 из 3 Fujifilm FinePix Z5 Optical Lens Replacement, Optical Lens: шаг 1, изображение 3 из 3
      • Remove the two screws from the right side of the camera and the two screws from the left side.

      • Use a small #00 Phillips flat head screwdriver.

      • Keep all the screws in a container and the two different types separate.

      Спросите у FixBot

      Добавить комментарий

    2. Fujifilm FinePix Z5 Optical Lens Replacement: шаг 2, изображение 1 из 1
      • Remove the three screws from the bottom of the camera.

      • Use a three-prong screwdriver for two of the three screws; keep these screws separate.

      Спросите у FixBot

      Добавить комментарий

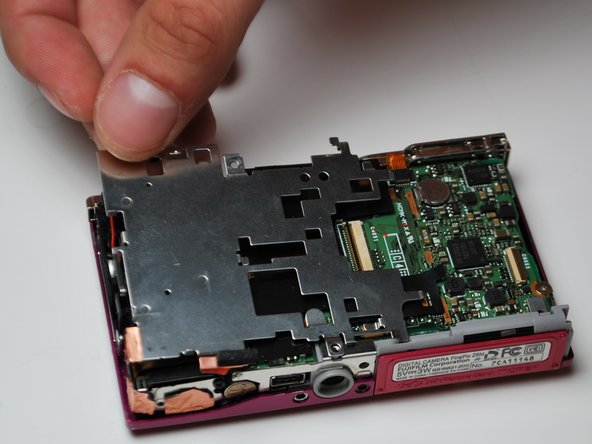
    3. Fujifilm FinePix Z5 Optical Lens Replacement: шаг 3, изображение 1 из 3 Fujifilm FinePix Z5 Optical Lens Replacement: шаг 3, изображение 2 из 3 Fujifilm FinePix Z5 Optical Lens Replacement: шаг 3, изображение 3 из 3
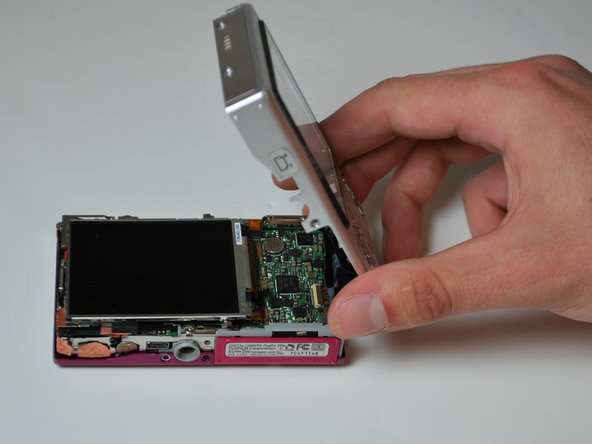
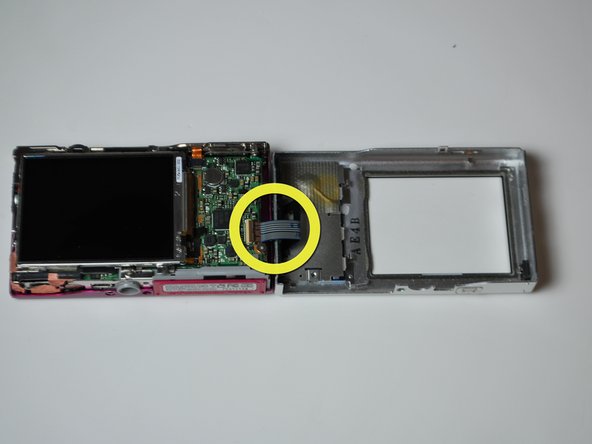
      • Remove the back by carefully flipping it open to the right side.

      • There will be a ribbon cable attaching the front panel to the motherboard, be sure not to tear this.

      Спросите у FixBot

      Добавить комментарий

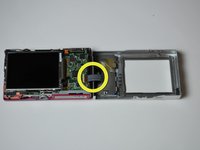
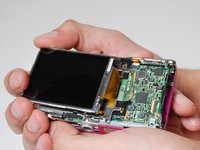
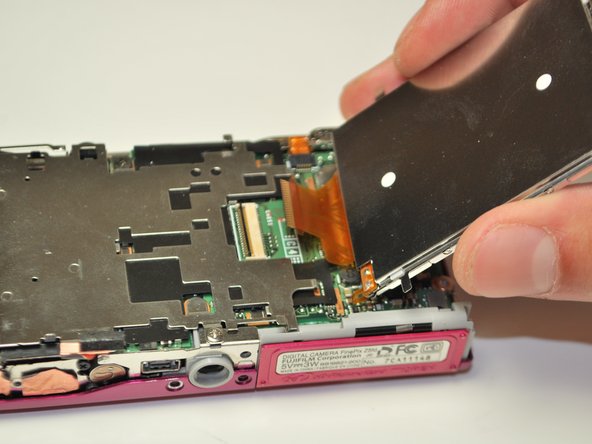
    4. Fujifilm FinePix Z5 Optical Lens Replacement: шаг 4, изображение 1 из 2 Fujifilm FinePix Z5 Optical Lens Replacement: шаг 4, изображение 2 из 2
      • Pull the LCD screen to the left slightly, then lift and flip it open to the right.

      • There is an orange ribbon cable attaching the LCD screen to the motherboard, be careful not to tear it.

      Спросите у FixBot

      Добавить комментарий

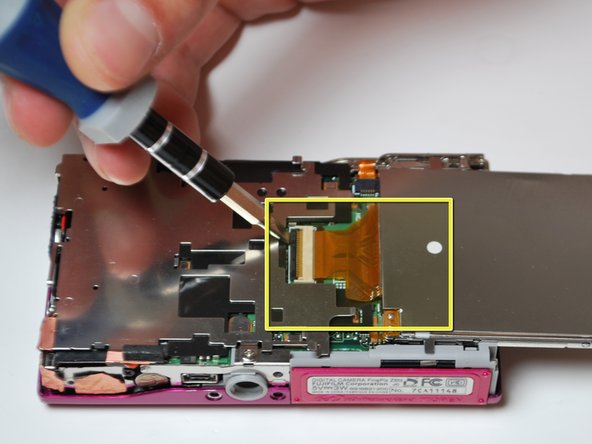
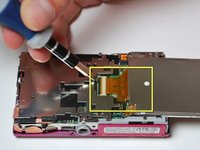
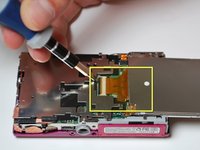
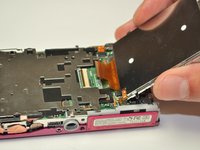
    5. Fujifilm FinePix Z5 Optical Lens Replacement: шаг 5, изображение 1 из 2 Fujifilm FinePix Z5 Optical Lens Replacement: шаг 5, изображение 2 из 2
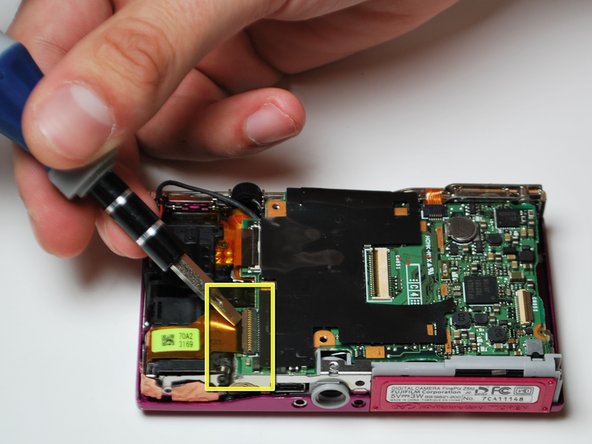
      • Using a plastic opening tool to flip open the black lever to release the ribbon cable.

      • Gently slide the cable out of the lock; the LCD screen is now free to be removed.

      Спросите у FixBot

      Добавить комментарий

    6. Fujifilm FinePix Z5 Optical Lens Replacement: шаг 6, изображение 1 из 3 Fujifilm FinePix Z5 Optical Lens Replacement: шаг 6, изображение 2 из 3 Fujifilm FinePix Z5 Optical Lens Replacement: шаг 6, изображение 3 из 3
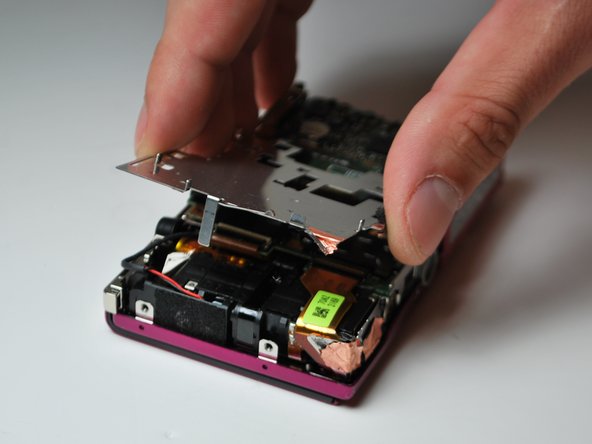
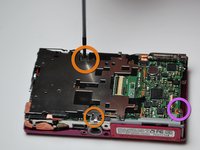
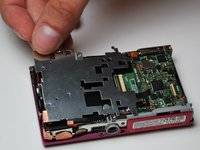
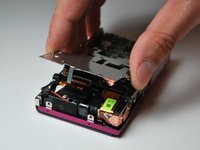
      • Remove the two screws that are holding the silver paneling on.

      • There is a gold foil which will tear upon removal of the silver paneling, this is normal.

      • Remove the screw anchoring the motherboard on the right.

      Спросите у FixBot

      Добавить комментарий

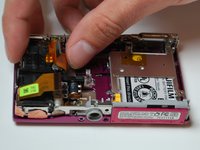
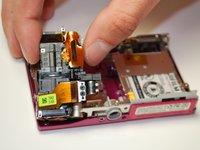
    7. Fujifilm FinePix Z5 Optical Lens Replacement: шаг 7, изображение 1 из 3 Fujifilm FinePix Z5 Optical Lens Replacement: шаг 7, изображение 2 из 3 Fujifilm FinePix Z5 Optical Lens Replacement: шаг 7, изображение 3 из 3
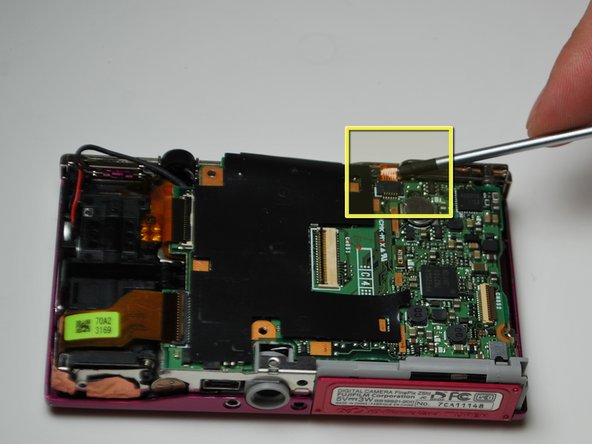
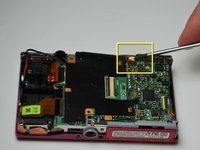
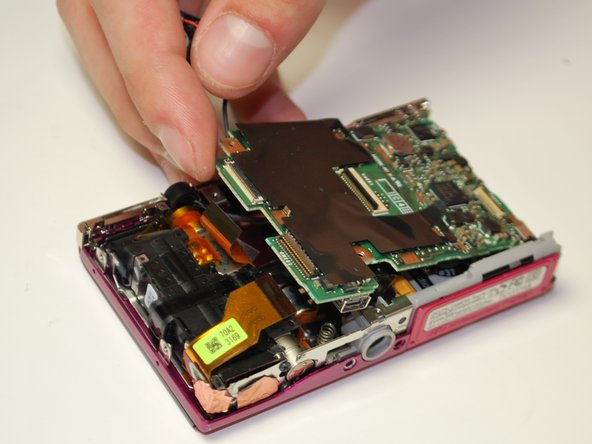
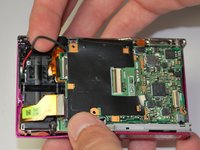
      • Detach the two ribbon cables on the left side of the camera the same way the LCD cable was detached.

      • Detach the gold ribbon cable on the top middle of the camera as well.

      Спросите у FixBot

      Добавить комментарий

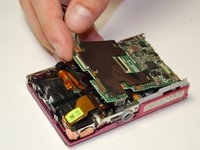
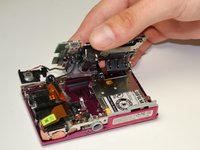
    8. Fujifilm FinePix Z5 Optical Lens Replacement: шаг 8, изображение 1 из 3 Fujifilm FinePix Z5 Optical Lens Replacement: шаг 8, изображение 2 из 3 Fujifilm FinePix Z5 Optical Lens Replacement: шаг 8, изображение 3 из 3
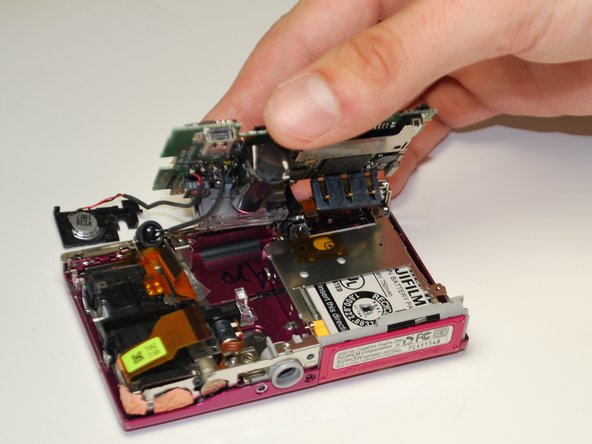
      • Hold wires on the left with an index finger, to keep them out of the way.

      • Carefully wiggle out the motherboard. The flash and the speaker will come with it.

      • Make sure you have a motherboard that includes the flash and the speaker; these items are both soldered onto the motherboard.

      Спросите у FixBot

      Добавить комментарий

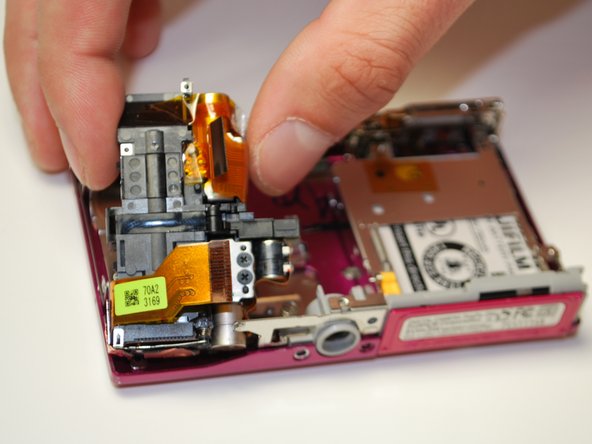
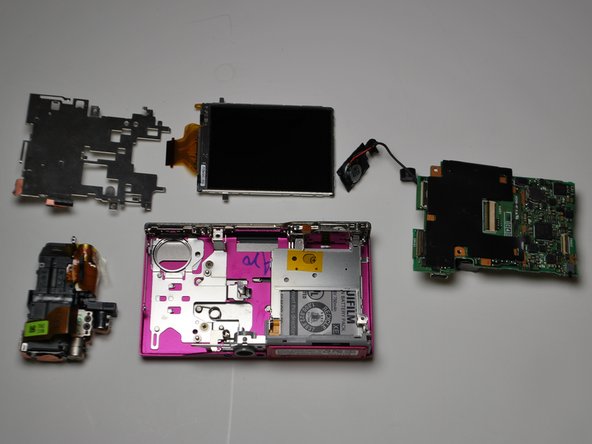
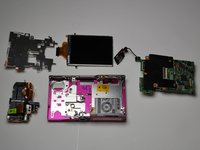
    9. Fujifilm FinePix Z5 Optical Lens Replacement: шаг 9, изображение 1 из 3 Fujifilm FinePix Z5 Optical Lens Replacement: шаг 9, изображение 2 из 3 Fujifilm FinePix Z5 Optical Lens Replacement: шаг 9, изображение 3 из 3
      • Lift the lens off of the camera base (there is nothing anchoring it down).

      Спросите у FixBot

      Добавить комментарий

Заключение

To reassemble your device, follow these instructions in reverse order.

Отменить: Я не выполнил это руководство.

Inga Direktorchuk

Участник с: 02/10/12

72 Репутация

Автор 2 руководств

Команда

James Madison, Team 3-4, Klein Spring 2012 Участник James Madison, Team 3-4, Klein Spring 2012

JMU-KLEIN-S12S3G4

3 членов

Автор 12 руководств

0 Комментарии к руководству

Добавить комментарий

Статистика просмотров:

За последние 24 часов: 0

За последние 7 дней: 10

За последние 30 дней: 30

За всё время: 1,334