Перейти к основному содержанию
Присоединяйся к сообществу ремонтников - Создай аккаунт

Fujitsu Lifebook a6110 Fan Replacement

Выберете то, что вам нужно

  1. Fujitsu Lifebook a6110 Fan Replacement, Battery: шаг 1, изображение 1 из 2 Fujitsu Lifebook a6110 Fan Replacement, Battery: шаг 1, изображение 2 из 2
    • The computer should be fully turned off and disconnected from the power source.

    • Before handling electronic components, you should ground yourself. This will prevent damage to the components from a static charge. You can do this by touching any metal object.

    • Flip your laptop so that the bottom of the laptop is facing up and the hinges of the screen are closest to you.

    Спросите у FixBot

    Добавить комментарий

  2. Fujitsu Lifebook a6110 Fan Replacement: шаг 2, изображение 1 из 1
    • To remove the battery, place your fingers underneath the two clips and simultaneously lift them up while pulling the cover towards you.

    Спросите у FixBot

    Добавить комментарий

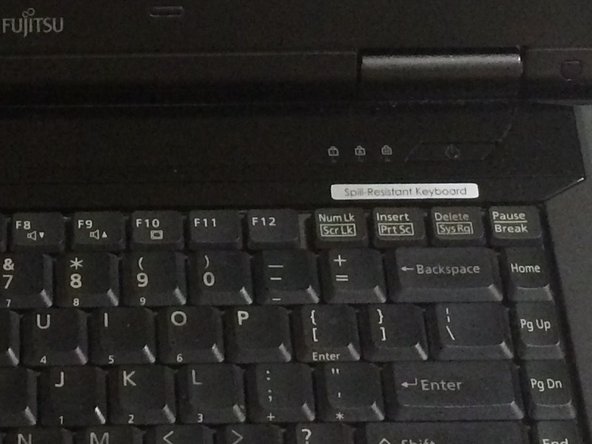
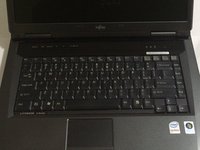
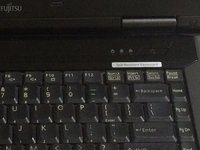
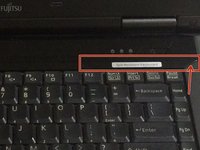
  3. Fujitsu Lifebook a6110 Fan Replacement, Keyboard: шаг 3, изображение 1 из 3 Fujitsu Lifebook a6110 Fan Replacement, Keyboard: шаг 3, изображение 2 из 3 Fujitsu Lifebook a6110 Fan Replacement, Keyboard: шаг 3, изображение 3 из 3
    • Position the laptop like you would if you were to use it. Open the screen to a 180 degrees angle. The screen and the keyboard needs to face up before proceeding.

    • Using a flat edge of the plastic spudger, gently lift the piece of plastic located in the red square. Carefully insert the spudger between the inner edge marked by the arrow.

    Спросите у FixBot

    Добавить комментарий

  4. Fujitsu Lifebook a6110 Fan Replacement: шаг 4, изображение 1 из 3 Fujitsu Lifebook a6110 Fan Replacement: шаг 4, изображение 2 из 3 Fujitsu Lifebook a6110 Fan Replacement: шаг 4, изображение 3 из 3
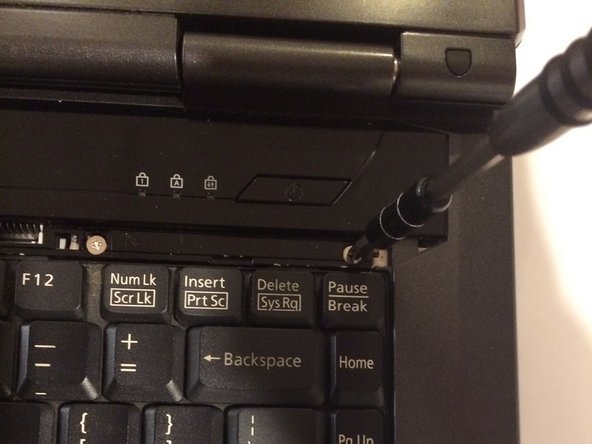
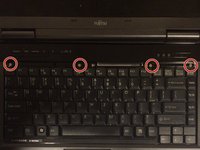
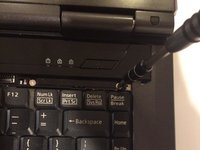
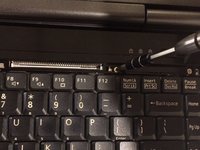
    • With a Phillips #1 screwdriver, unscrew the four-six mm screws that were hidden under the plastic piece you removed.

    Спросите у FixBot

    Добавить комментарий

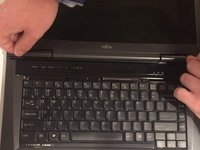
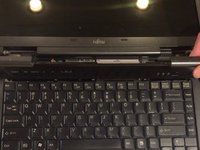
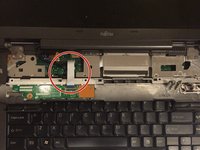
  5. Fujitsu Lifebook a6110 Fan Replacement: шаг 5, изображение 1 из 3 Fujitsu Lifebook a6110 Fan Replacement: шаг 5, изображение 2 из 3 Fujitsu Lifebook a6110 Fan Replacement: шаг 5, изображение 3 из 3
    • Lift up on the inner edges of the hinges for the screen. This will detach the face-plate from the computer. Use a spudger to make this process easier.

    • There is a ribbon underneath this panel that attaches to the motherboard. Be careful to not rip this ribbon.

    • The ribbon is located in the top left-hand corner and needs to carefully disconnected from the motherboard, as shown in the next step.

    Спросите у FixBot

    Добавить комментарий

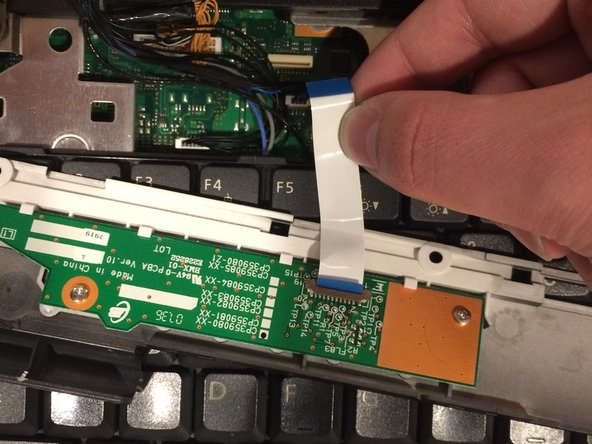
  6. Fujitsu Lifebook a6110 Fan Replacement: шаг 6, изображение 1 из 2 Fujitsu Lifebook a6110 Fan Replacement: шаг 6, изображение 2 из 2
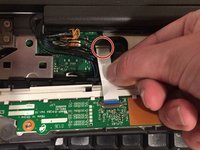
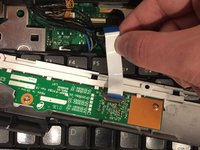
    • Detach the ribbon from the motherboard, which will allow you to finish removing the face-plate from the computer.

    • To detach the ribbon, grip the ribbon at the base that is attached to the motherboard, which is the large green circuit-board in the body of the computer.

    • When reassembling the computer, make sure to reconnect the ribbons.

    Спросите у FixBot

    Добавить комментарий

  7. Fujitsu Lifebook a6110 Fan Replacement: шаг 7, изображение 1 из 2 Fujitsu Lifebook a6110 Fan Replacement: шаг 7, изображение 2 из 2
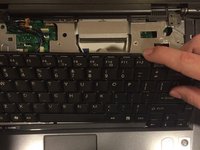
    • There is another ribbon connecting the keyboard to the motherboard. Be careful not to rip it

    • The keyboard is now free. Lift up on the keyboard.

    Спросите у FixBot

    Добавить комментарий

  8. Fujitsu Lifebook a6110 Fan Replacement: шаг 8, изображение 1 из 1
    • This ribbon may be difficult to remove, so be careful in pulling it. You could accidentally break it.

    • Detatch the ribbon from the motherboard

    • To detach the ribbon, grip the ribbon at the base that is attached to the motherboard, which is the large green circuit-board in the body of the computer.

    • When reassembling the computer, make sure to reconnect this ribbon.

    Спросите у FixBot

    Добавить комментарий

  9. Fujitsu Lifebook a6110 Fan Replacement, Fan: шаг 9, изображение 1 из 1
    • Close the screen of the laptop, then flip the computer over so that the bottom side is facing up.

    Спросите у FixBot

    Добавить комментарий

  10. Fujitsu Lifebook a6110 Fan Replacement: шаг 10, изображение 1 из 1
    • Using a Phillips #1 screwdriver, remove the eleven 1 cm screws located around the perimeter of the laptop's edge.

    Спросите у FixBot

    Добавить комментарий

  11. Fujitsu Lifebook a6110 Fan Replacement: шаг 11, изображение 1 из 1
    • Flip the computer over again, like it was before removing the screws. The screen must be opened and pushed down so that it lies flat with the keyboard. Both the keyboard and screen must face up.

    Спросите у FixBot

    Добавить комментарий

  12. Fujitsu Lifebook a6110 Fan Replacement: шаг 12, изображение 1 из 2 Fujitsu Lifebook a6110 Fan Replacement: шаг 12, изображение 2 из 2
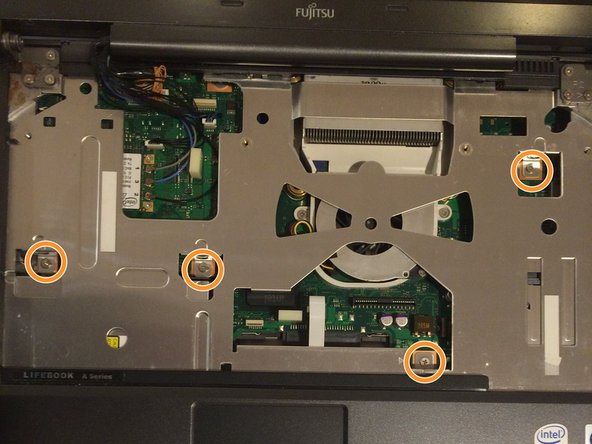
    • Using a Phillips #1 screwdriver, remove the six 6 mm screws located on the top right and top left corners of the laptop.

    • Using a Phillips #1 screwdriver, remove the four 6 mm screws located around the motherboard.

    Спросите у FixBot

    Добавить комментарий

  13. Fujitsu Lifebook a6110 Fan Replacement: шаг 13, изображение 1 из 3 Fujitsu Lifebook a6110 Fan Replacement: шаг 13, изображение 2 из 3 Fujitsu Lifebook a6110 Fan Replacement: шаг 13, изображение 3 из 3
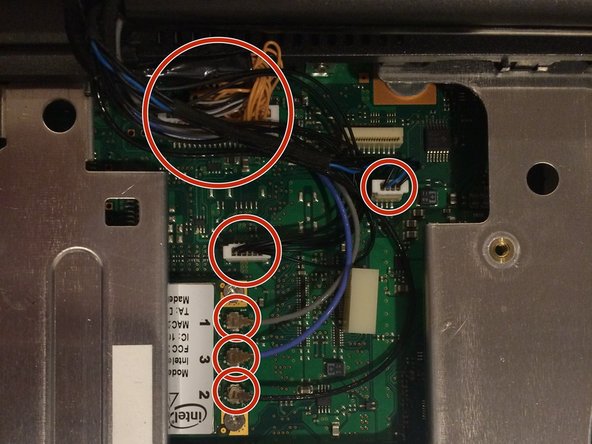
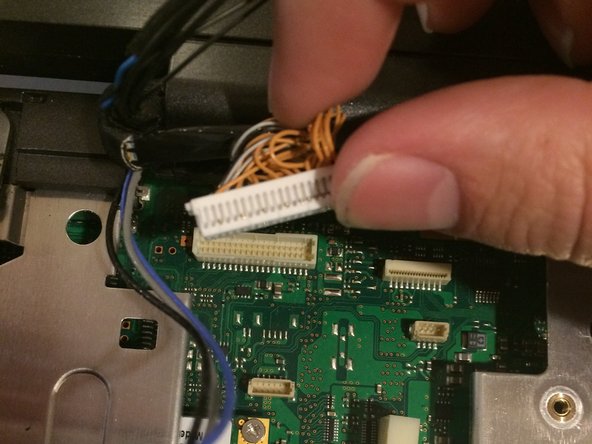
    • You will notice a cluster of wires at the top left-hand corner of where the keyboard used to be.

    • Carefully detach all wires that are grouped together from the motherboard using either your hands or a spudger.

    Спросите у FixBot

    Добавить комментарий

  14. Fujitsu Lifebook a6110 Fan Replacement: шаг 14, изображение 1 из 2 Fujitsu Lifebook a6110 Fan Replacement: шаг 14, изображение 2 из 2
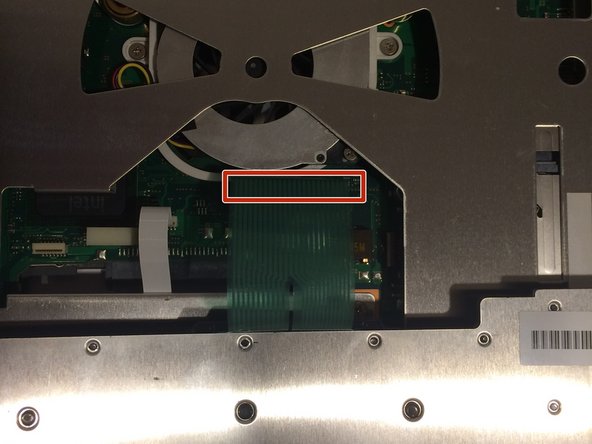
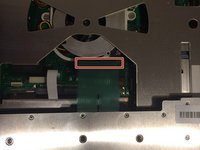
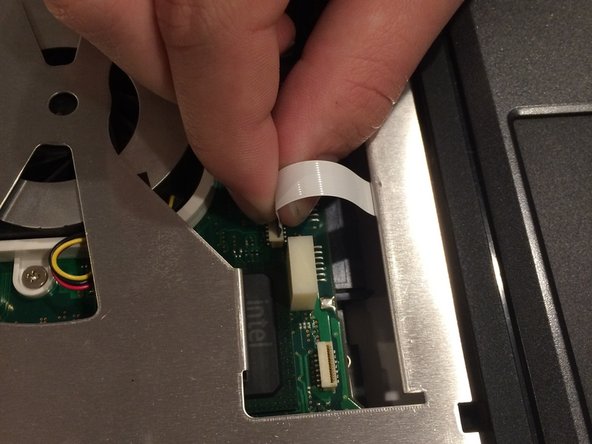
    • To remove the metal undercarriage of the keyboard, you must first detach the ribbon cable connected to the trackpad. Firmly grasp the base of the ribbon cable where it connects to the motherboard and gently pull it upward to disconnect it.

    • Be mindful to not tear the ribbon. It is not delicate but it can still be torn if tugged on too abruptly.

    Спросите у FixBot

    Добавить комментарий

  15. Fujitsu Lifebook a6110 Fan Replacement: шаг 15, изображение 1 из 3 Fujitsu Lifebook a6110 Fan Replacement: шаг 15, изображение 2 из 3 Fujitsu Lifebook a6110 Fan Replacement: шаг 15, изображение 3 из 3
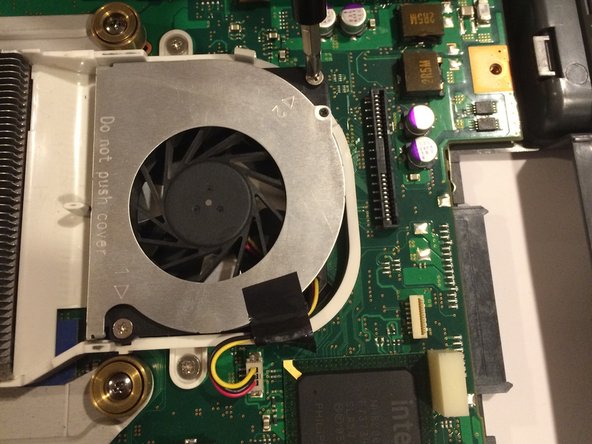
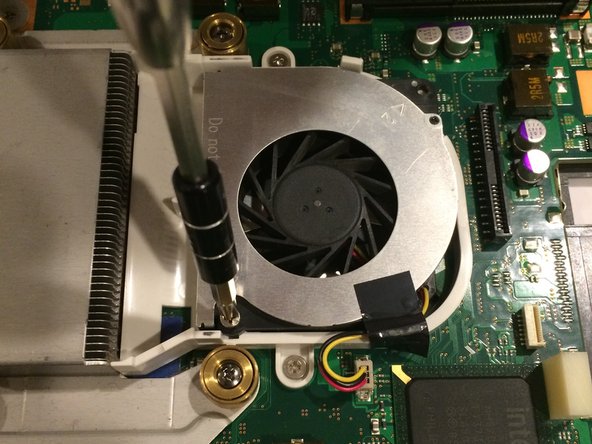
    • Located around the fan, there are two-three mm screws that need to be removed. Use a Phillips #1 screwdriver to turn these screws counter-clockwise and unscrew them.

    Спросите у FixBot

    Добавить комментарий

  16. Fujitsu Lifebook a6110 Fan Replacement: шаг 16, изображение 1 из 1
    • The fan is now held in place by a wire, and a piece of anti-static tape.

    • Remove the wire by pulling it from the motherboard, using either your hands or a spudger.

    • The tape can simply be peeled away.

    Спросите у FixBot

    Добавить комментарий

Заключение

To reassemble your device, follow these instructions in reverse order.

Отменить: Я не выполнил это руководство.

Cody Moniz

Участник с: 10/19/16

422 Репутация

Автор 4 руководств

Команда

UMass Dartmouth, Team 3-2, Isaacson Fall 2016 Участник UMass Dartmouth, Team 3-2, Isaacson Fall 2016

UMASSD-ISAACSON-F16S3G2

3 членов

Автор 10 руководств

0 Комментарии к руководству

Добавить комментарий

Статистика просмотров:

За последние 24 часов: 0

За последние 7 дней: 4

За последние 30 дней: 18

За всё время: 1,140