Этот перевод был сделан машиной и пока не проверен человеком. Знаешь этот язык? Оцени его.
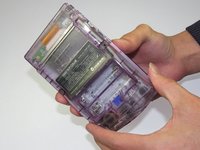
Введение
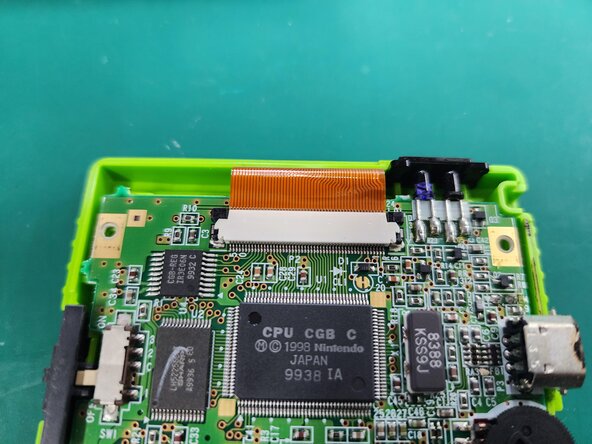
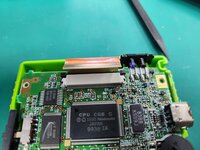
Снятие шлейфа открывает беспрепятственный доступ к внутренним компонентам Game Boy Color.
Выберете то, что вам нужно
-
-
-
Найдите батарейный отсек на задней панели Game Boy Color.
-
Нажмите на фиксатор и потяните крышку вниз и на себя, чтобы снять её.
 Спросите у FixBot
-
-
-
-
-
-
С помощью отвертки Y1 открутите шесть винтов на задней панели устройства, как показано на изображении. Два нижних винта расположены внутри батарейного отсека.
-
-
-
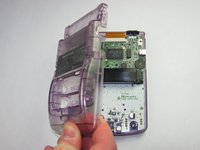
Аккуратно подденьте и отделите заднюю панель корпуса от остальной части устройства. Теперь задняя панель снята!
-
-
-
-
-
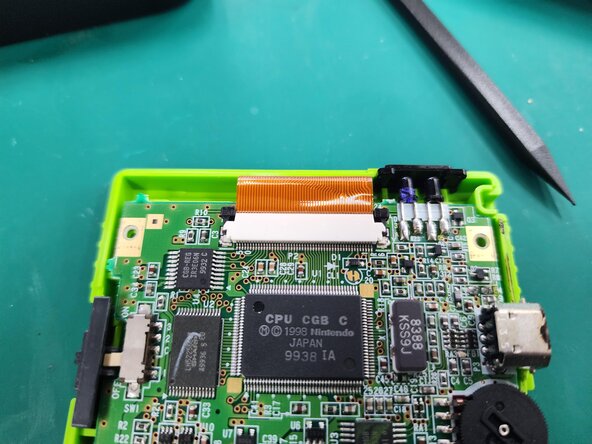
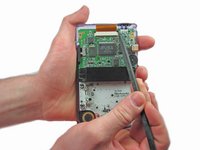
Подденьте лопаткой (spudger) фиксаторы с обеих сторон шлейфа.
-
-


Для сборки устройства выполните эти действия в обратном порядке.
Отменить: Я не выполнил это руководство.
15 человек успешно провели ремонт по этому руководству.
Особая благодарность этим переводчикам:
100%

Translation Bot помогает нам починить мир! Хотите внести свой вклад?
Начните переводить ›
Команда

Cal Poly, Team 19-47, Regan Winter 2013 Участник Cal Poly, Team 19-47, Regan Winter 2013
CPSU-REGAN-W13S19G47
4 членов
Автор 108 руководств