Перейти к основному содержанию
Присоединяйся к сообществу ремонтников - Создай аккаунт

Game Boy Micro Buttons Replacement

Выберете то, что вам нужно

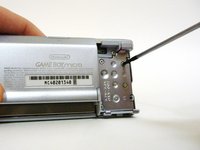
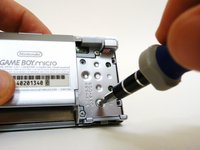
    1. Game Boy Micro Buttons Replacement, Remove the Cover: шаг 1, изображение 1 из 2 Game Boy Micro Buttons Replacement, Remove the Cover: шаг 1, изображение 2 из 2
      • Remove the Phillips #00 screw on the side of the Game Boy closest to the directional pad.

      • Once the screw has been loosened, lift the cover off the back of the device.

      Спросите у FixBot

      Добавить комментарий

    1. Game Boy Micro Buttons Replacement, Faceplate: шаг 2, изображение 1 из 2 Game Boy Micro Buttons Replacement, Faceplate: шаг 2, изображение 2 из 2
      • Locate the two circular holes on the side of the Game Boy nearest to the directional pad.

      Спросите у FixBot

      Добавить комментарий

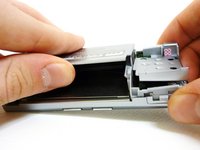
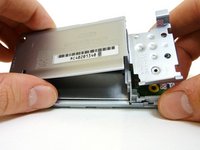
    2. Game Boy Micro Buttons Replacement: шаг 3, изображение 1 из 3 Game Boy Micro Buttons Replacement: шаг 3, изображение 2 из 3 Game Boy Micro Buttons Replacement: шаг 3, изображение 3 из 3
      • Straighten the end of a paper clip and push it into each of the circular holes.

      • You may hear a faint click afterwards.

      • Use the paper clip to lever the faceplate off from the unit.

      Спросите у FixBot

      Добавить комментарий

    1. Game Boy Micro Buttons Replacement, Unscrew the Outer Cover: шаг 4, изображение 1 из 2 Game Boy Micro Buttons Replacement, Unscrew the Outer Cover: шаг 4, изображение 2 из 2
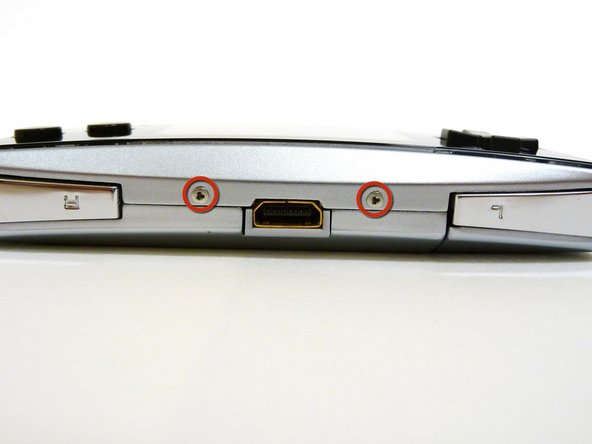
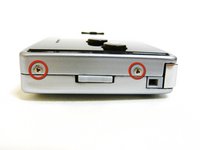
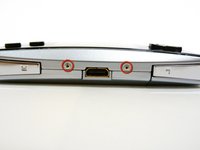
      • Remove the two tri-wing screws on the top of the Game Boy and the two screws next to the volume/contrast switch.

      Спросите у FixBot

      Добавить комментарий

    2. Game Boy Micro Buttons Replacement: шаг 5, изображение 1 из 3 Game Boy Micro Buttons Replacement: шаг 5, изображение 2 из 3 Game Boy Micro Buttons Replacement: шаг 5, изображение 3 из 3
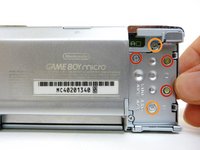
      • Remove the three Phillips #00 screws.

      • Remove the two tri-wing screws.

      Спросите у FixBot

      Добавить комментарий

    3. Game Boy Micro Buttons Replacement: шаг 6, изображение 1 из 3 Game Boy Micro Buttons Replacement: шаг 6, изображение 2 из 3 Game Boy Micro Buttons Replacement: шаг 6, изображение 3 из 3
      • Lift the back cover off of the Game Boy.

      Спросите у FixBot

      Добавить комментарий

    4. Game Boy Micro Buttons Replacement: шаг 7, изображение 1 из 3 Game Boy Micro Buttons Replacement: шаг 7, изображение 2 из 3 Game Boy Micro Buttons Replacement: шаг 7, изображение 3 из 3
      • Remove the two Phillips #00 screws from the plastic frame.

      • As you are pulling off the plastic frame, the shoulder buttons and the volume switch may fall out of the device.

      • Underneath each shoulder button is a small spring. Do not lose them.

      Спросите у FixBot

      Добавить комментарий

    5. Game Boy Micro Buttons Replacement: шаг 8, изображение 1 из 2 Game Boy Micro Buttons Replacement: шаг 8, изображение 2 из 2
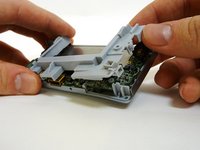
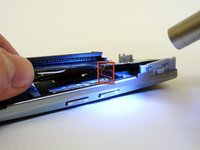
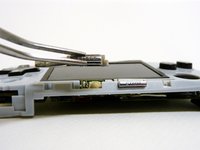
      • With a spudger, depress the small clip on the lower right corner of the plastic guard.

      • Grab the edges of the plastic frame and lift the frame off the motherboard.

      Спросите у FixBot

      Добавить комментарий

    6. Game Boy Micro Buttons Replacement: шаг 9, изображение 1 из 1
      • Remove the two gold Phillips #00 screws from the motherboard.

      Спросите у FixBot

      Добавить комментарий

    7. Game Boy Micro Buttons Replacement: шаг 10, изображение 1 из 2 Game Boy Micro Buttons Replacement: шаг 10, изображение 2 из 2
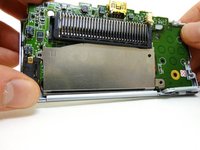
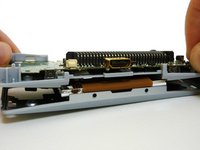
      • With one hand, gently slide the top left end of the motherboard up and out of the front case.

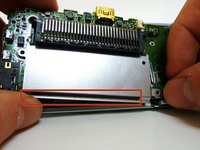
      • With your other hand, pull out the EMI shield until the tab comes out of the front case.

      • Once the tab is pulled out from the bottom, slide the EMI shield down and out of the device.

      Спросите у FixBot

      Добавить комментарий

    8. Game Boy Micro Buttons Replacement: шаг 11, изображение 1 из 3 Game Boy Micro Buttons Replacement: шаг 11, изображение 2 из 3 Game Boy Micro Buttons Replacement: шаг 11, изображение 3 из 3
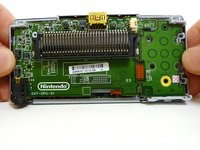
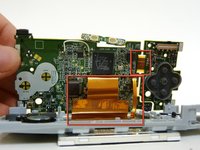
      • The entire motherboard is now accessible.

      • Take extreme care when working with the motherboard to avoid damaging the device and its components.

      • A small ribbon cable connects the start and select buttons to the motherboard. It can rip very easily, so do not pull on it.

      • Lift the motherboard and the front plastic cover assembly off of the front case.

      • Once the front case is removed, the plastic on/off switch will fall out of place.

      Спросите у FixBot

      Добавить комментарий

    9. Game Boy Micro Buttons Replacement: шаг 12, изображение 1 из 3 Game Boy Micro Buttons Replacement: шаг 12, изображение 2 из 3 Game Boy Micro Buttons Replacement: шаг 12, изображение 3 из 3
      Инструмент, используемый на этом этапе:
      Tweezers
      $4.99
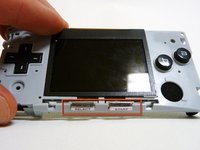
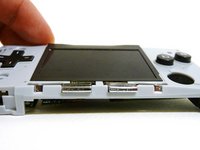
      • When you remove the motherboard from the front case, the start and select buttons may fall out.

      • If the buttons do not fall out, remove them with a pair of tweezers.

      Спросите у FixBot

      Добавить комментарий

    10. Game Boy Micro Buttons Replacement: шаг 13, изображение 1 из 3 Game Boy Micro Buttons Replacement: шаг 13, изображение 2 из 3 Game Boy Micro Buttons Replacement: шаг 13, изображение 3 из 3
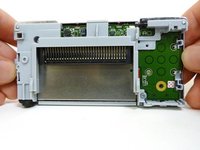
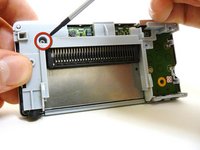
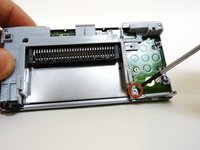
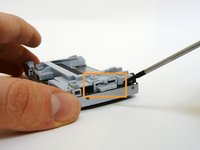
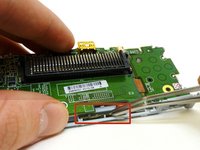
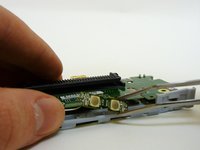
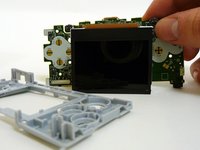
      • Without the front case, you will be left with the motherboard and the plastic mount. The LCD screen is attached to the motherboard by a ribbon and can fall off the plastic mount.

      • Using metal tweezers, grab the start/select board and slide it out gently.

      Спросите у FixBot

      Добавить комментарий

    11. Game Boy Micro Buttons Replacement: шаг 14, изображение 1 из 2 Game Boy Micro Buttons Replacement: шаг 14, изображение 2 из 2
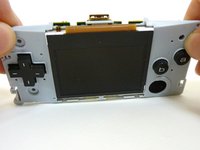
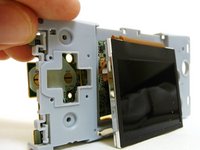
      • Lift the entire motherboard assembly off the plastic guard.

      • Take caution not to damage any of the gold ribbon cables on the motherboard.

      • The LCD screen is the only thing connecting the motherboard and plastic guard.

      Спросите у FixBot

      Добавить комментарий

    12. Game Boy Micro Buttons Replacement: шаг 15, изображение 1 из 2 Game Boy Micro Buttons Replacement: шаг 15, изображение 2 из 2
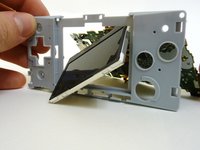
      • To remove the LCD screen, carefully angle it until it is diagonal to the square hole in the plastic guard and slide it out.

      • It is now possible to remove the entire motherboard assembly from the plastic guard.

      Спросите у FixBot

      Добавить комментарий

    13. Game Boy Micro Buttons Replacement: шаг 16, изображение 1 из 3 Game Boy Micro Buttons Replacement: шаг 16, изображение 2 из 3 Game Boy Micro Buttons Replacement: шаг 16, изображение 3 из 3
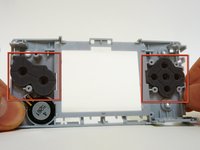
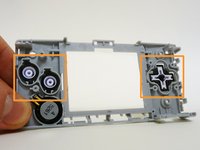
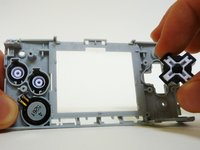
      • On the plastic guard, there are two rubber pads that cover the buttons. Remove them.

      • These pads rest on the motherboard and sometimes stick to it. If they do, peel them off.

      • With the rubber pads off, you may use your fingers to remove the buttons to clean or replace them.

      • When returning the buttons to the guard, they have to be put back in exactly the way they were pulled out.

      Спросите у FixBot

      Добавить комментарий

Заключение

To reassemble your device, follow these instructions in reverse order.

Отменить: Я не выполнил это руководство.

9 человек успешно провели ремонт по этому руководству.

Jack

Участник с: 01/21/10

411 Репутация

Автор 3 руководств

Команда

Cal Poly, Team 8-46, Regan Winter 2010 Участник Cal Poly, Team 8-46, Regan Winter 2010

CPSU-REGAN-W10S8G46

5 членов

Автор 60 руководств

4 Комментарии к руководству

Buenas abra el modo de reparar o puentear la placa de los botones start y selec ya que el flex se rompió

Good open the way to repairing or bypassing the plate and start buttons selec since the flex broke

Jesus Briones - Ответить Поделиться

Con ayuda de un cúter pela la terminales y solda nuevamente debes verificar si el flex tiene dos placas por ambos lados o solo es una

eshemoc - Ответить Поделиться
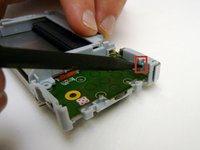
Any one know the right size shoulder buttons are for replacement ? Are they the same size as a ds lite R and L button ?

Philip Fuentes - Ответить Поделиться

Un tornillo se barrió, algún consejo para quitarlo?

Velfell Ackerman - Ответить Поделиться

Добавить комментарий

Статистика просмотров:

За последние 24 часов: 3

За последние 7 дней: 35

За последние 30 дней: 165

За всё время: 31,293