Перейти к основному содержанию
Присоединяйся к сообществу ремонтников - Создай аккаунт

Garmin Nuvi 42LM Battery Replacement

Выберете то, что вам нужно

    1. Garmin Nuvi 42LM Battery Replacement, Battery: шаг 1, изображение 1 из 3 Garmin Nuvi 42LM Battery Replacement, Battery: шаг 1, изображение 2 из 3 Garmin Nuvi 42LM Battery Replacement, Battery: шаг 1, изображение 3 из 3
      • Remove the four screws on the back of the GPS using the T5 Torx screwdriver.

      Спросите у FixBot

      Добавить комментарий

    2. Garmin Nuvi 42LM Battery Replacement: шаг 2, изображение 1 из 3 Garmin Nuvi 42LM Battery Replacement: шаг 2, изображение 2 из 3 Garmin Nuvi 42LM Battery Replacement: шаг 2, изображение 3 из 3
      • Pry the GPS open using a plastic opening tool.

      • When prying open the device, use caution to avoid damaging the motherboard.

      Спросите у FixBot

      Добавить комментарий

    3. Garmin Nuvi 42LM Battery Replacement: шаг 3, изображение 1 из 3 Garmin Nuvi 42LM Battery Replacement: шаг 3, изображение 2 из 3 Garmin Nuvi 42LM Battery Replacement: шаг 3, изображение 3 из 3
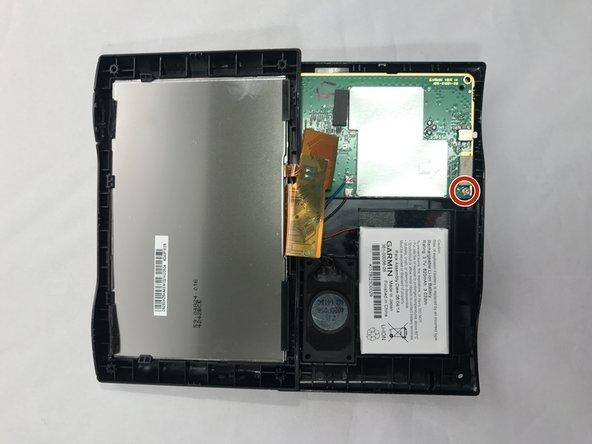
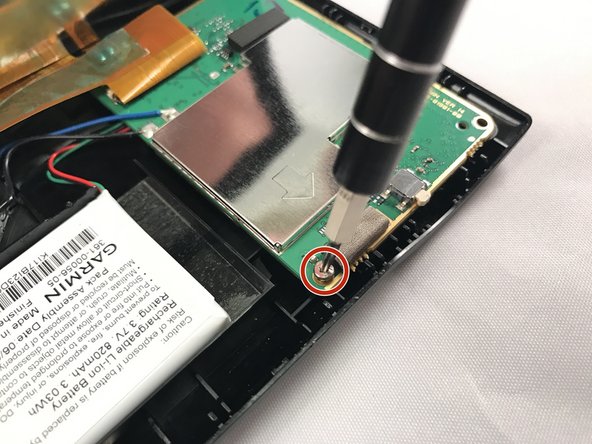
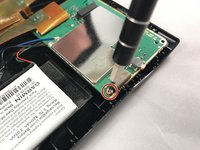
      • Using the T5 Torx screwdriver, remove the two screws located on the motherboard.

      • There are two screws - one in the back and one in the front.

      Спросите у FixBot

      Добавить комментарий

    4. Garmin Nuvi 42LM Battery Replacement: шаг 4, изображение 1 из 1
      • Move the motherboard from from its designated location on the GPS.

      • Do not pull on red, green, and black cables when repositioning the motherboard.

      Спросите у FixBot

      Добавить комментарий

    5. Garmin Nuvi 42LM Battery Replacement: шаг 5, изображение 1 из 2 Garmin Nuvi 42LM Battery Replacement: шаг 5, изображение 2 из 2
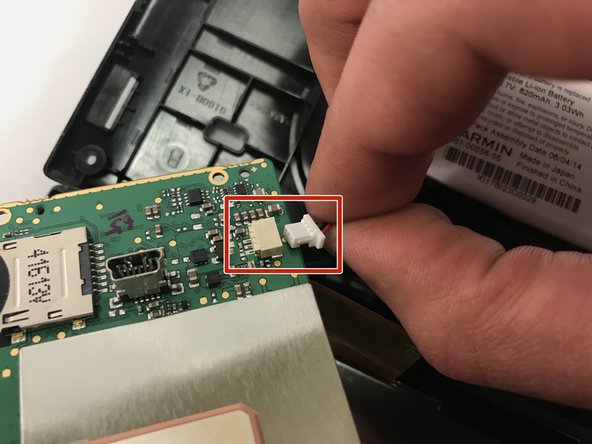
      • Gently unplug the red, green, and black bundled cable to remove the battery.

      Спросите у FixBot

      Добавить комментарий

    6. Garmin Nuvi 42LM Battery Replacement: шаг 6, изображение 1 из 2 Garmin Nuvi 42LM Battery Replacement: шаг 6, изображение 2 из 2
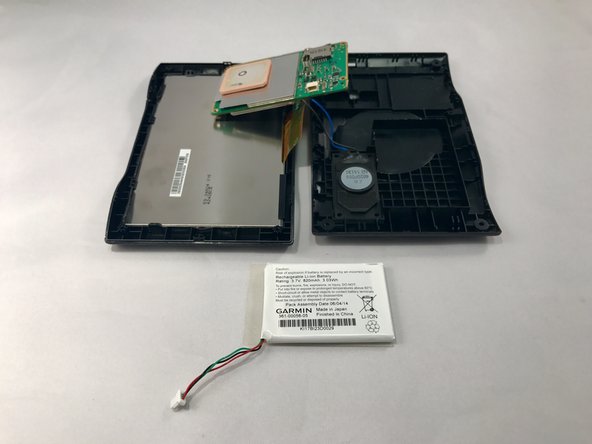
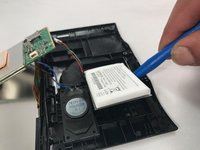
      • Use blue plastic opening tool to carefully pry the battery from the GPS.

      • You might need to use additional force when prying because there is adhesive glue on the back of the battery.

      Спросите у FixBot

      Добавить комментарий

Заключение

To reassemble your device, follow these instructions in reverse order.

Отменить: Я не выполнил это руководство.

Еще один человек закончил это руководство.

Charlene Gray

Участник с: 01/18/17

143 Репутация

1 руководство автора

Команда

Eastern Washington University, Team 2-1, Crane Winter 2017 Участник Eastern Washington University, Team 2-1, Crane Winter 2017

EWU-CRANE-W17S2G1

4 членов

Автор 24 руководств

1 Комментарий к руководству

on my Nuvi 55-diconnected ribbon cable by accident. When I reconnect I get a white screen. How to get the terminals to line up correctly?

Mike - Ответить Поделиться

Добавить комментарий

Статистика просмотров:

За последние 24 часов: 0

За последние 7 дней: 5

За последние 30 дней: 37

За всё время: 1,769