Перейти к основному содержанию
Присоединяйся к сообществу ремонтников - Создай аккаунт

Gateway MS2370 Fan Replacement

Выберете то, что вам нужно

    1. Gateway MS2370 Fan Replacement, Battery: шаг 1, изображение 1 из 1
      • Make sure the laptop is turned off and flipped over so that the bottom is facing up. Then, locate the battery clip as shown.

      Спросите у FixBot

      Добавить комментарий

    2. Gateway MS2370 Fan Replacement: шаг 2, изображение 1 из 1
      • Either using your fingers or a plastic spudger push the battery clip to the left to release battery.

      Спросите у FixBot

      Добавить комментарий

    3. Gateway MS2370 Fan Replacement: шаг 3, изображение 1 из 1
      • Pull the battery from the laptop to remove it.

      Спросите у FixBot

      Добавить комментарий

    1. Gateway MS2370 Fan Replacement, RAM: шаг 4, изображение 1 из 1
      • Unscrew the three 10mm inch Phillips 01 screws on the back of your laptop.

      • Unplug everything from the USB and SD ports.

      Спросите у FixBot

      Добавить комментарий

    2. Gateway MS2370 Fan Replacement: шаг 5, изображение 1 из 1
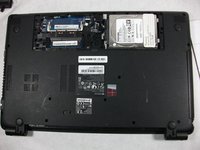
      • Remove the cover panel.

      • This exposes more screws that must be removed.

      Спросите у FixBot

      Добавить комментарий

    3. Gateway MS2370 Fan Replacement: шаг 6, изображение 1 из 1
      • Unplug the two exposed cables from the motherboard.

      Спросите у FixBot

      Добавить комментарий

    4. Gateway MS2370 Fan Replacement: шаг 7, изображение 1 из 2 Gateway MS2370 Fan Replacement: шаг 7, изображение 2 из 2
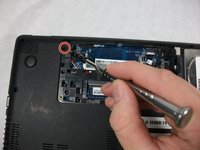
      • Unscrew the rest of the case screws which include several 10mm 01 Phillips screws and three 3mm 00 Phillips screws.

      • This marked screw will not fully come out. Just loosen it and leave it there it will not effect the rest of the replacement.

      Спросите у FixBot

      Добавить комментарий

    5. Gateway MS2370 Fan Replacement: шаг 8, изображение 1 из 2 Gateway MS2370 Fan Replacement: шаг 8, изображение 2 из 2
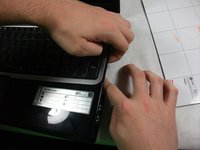
      • Pry the laptop case apart.

      • The disc drive in this photo was removed. You can remove it just by puling it out when the previous step is completed.

      Спросите у FixBot

      Добавить комментарий

    6. Gateway MS2370 Fan Replacement: шаг 9, изображение 1 из 1
      • Unplug the track-pad and the keyboard ribbon cable by lifting up the grey flap and removing the cable.

      • This cable has a special connector the requires you to lift open a grey flap to unplug properly.

      • The keyboard plug is located at the center of the motherboard and can be unplugged like a normal cable.

      Спросите у FixBot

      Добавить комментарий

    7. Gateway MS2370 Fan Replacement: шаг 10, изображение 1 из 1
      • Remove the top half of the case.

      Спросите у FixBot

      Добавить комментарий

    8. Gateway MS2370 Fan Replacement: шаг 11, изображение 1 из 1
      • Unscrew all 5 10mm inch Phillips 01 screws.

      • One more off screen

      Спросите у FixBot

      Добавить комментарий

    9. Gateway MS2370 Fan Replacement: шаг 12, изображение 1 из 3 Gateway MS2370 Fan Replacement: шаг 12, изображение 2 из 3 Gateway MS2370 Fan Replacement: шаг 12, изображение 3 из 3
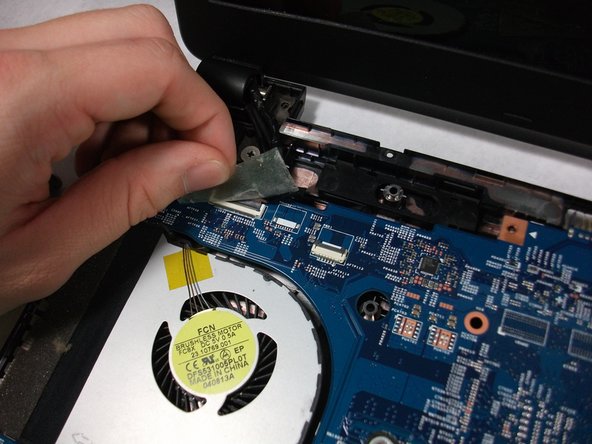
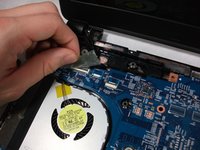
      • Unplug the ribbon cable connected to the USB Hub, the network card, and the monitor cable.

      Спросите у FixBot

      Добавить комментарий

    10. Gateway MS2370 Fan Replacement: шаг 13, изображение 1 из 1
      • Flip the motherboard over.

      Спросите у FixBot

      Добавить комментарий

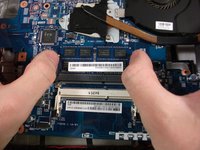
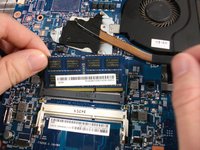
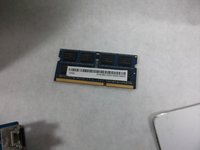
    11. Gateway MS2370 Fan Replacement: шаг 14, изображение 1 из 3 Gateway MS2370 Fan Replacement: шаг 14, изображение 2 из 3 Gateway MS2370 Fan Replacement: шаг 14, изображение 3 из 3
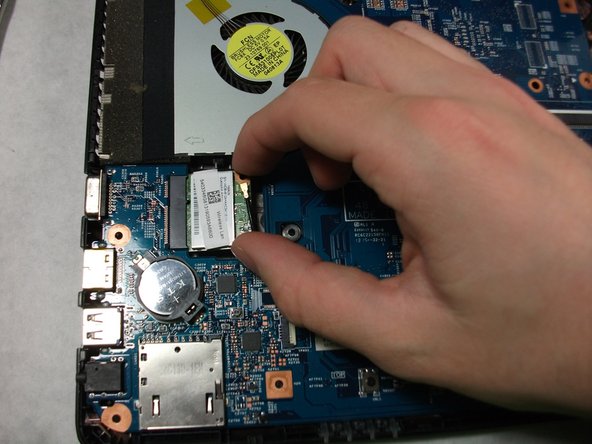
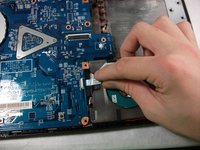
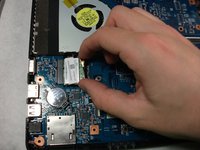
      • Using your two thumbs to pull outwards from the inside of the RAM slot to release and remove the RAM.

      • The last step of this replacement guide is not required to complete the fan replacement guide.

      Спросите у FixBot

      Добавить комментарий

    1. Gateway MS2370 Fan Replacement, Fan: шаг 15, изображение 1 из 1
      • Unscrew the three 3mm inch Phillips 01 screws.

      • These screws will not be removed entirely. Just loosen them enough to free the fan from the motherboard.

      Спросите у FixBot

      Добавить комментарий

    2. Gateway MS2370 Fan Replacement: шаг 16, изображение 1 из 1
      • Unplug the fan cable from the motherboard.

      Спросите у FixBot

      Добавить комментарий

    3. Gateway MS2370 Fan Replacement: шаг 17, изображение 1 из 1
      • Remove the Fan.

      Спросите у FixBot

      Добавить комментарий

Заключение

To reassemble your device, follow these instructions in reverse order.

Отменить: Я не выполнил это руководство.

Erickson Rodrigues

Участник с: 10/17/17

101 Репутация

1 руководство автора

Команда

UMass Dartmouth, Team S1-G5, Simcock Fall 2017 Участник UMass Dartmouth, Team S1-G5, Simcock Fall 2017

UMASSD-SIMCOCK-F17S1G5

3 членов

Автор 45 руководств

0 Комментарии к руководству

Добавить комментарий

Статистика просмотров:

За последние 24 часов: 0

За последние 7 дней: 6

За последние 30 дней: 33

За всё время: 946