Перейти к основному содержанию
Присоединяйся к сообществу ремонтников - Создай аккаунт

Gateway NE52203u Wireless Card Replacement

Выберете то, что вам нужно

  1. Gateway NE52203u Wireless Card Replacement, Battery: шаг 1, изображение 1 из 1
    • Flip the device over onto its backside in order to access the battery.

    Спросите у FixBot
  2. Gateway NE52203u Wireless Card Replacement: шаг 2, изображение 1 из 2 Gateway NE52203u Wireless Card Replacement: шаг 2, изображение 2 из 2
    • Locate the battery release latch and slide it over to the other side.

    • A small tool like a pen or screwdriver may be helpful in sliding the latch to release the battery.

    Спросите у FixBot
  3. Gateway NE52203u Wireless Card Replacement: шаг 3, изображение 1 из 1
    • Grab the newly ejected battery from the device to completely remove it.

    • When reinserting the new battery, make sure the prongs on the battery are aligned with the corresponding holes on the laptop.

    Спросите у FixBot
  4. Gateway NE52203u Wireless Card Replacement, Touchpad Assembly: шаг 4, изображение 1 из 2 Gateway NE52203u Wireless Card Replacement, Touchpad Assembly: шаг 4, изображение 2 из 2
    • Remove 18 6.0 mm Phillips #00 screws from the bottom of the laptop.

    • Remove 5 6.0 mm Phillip #00 screws from under cover.

    Спросите у FixBot
  5. Gateway NE52203u Wireless Card Replacement: шаг 5, изображение 1 из 1
    • Remove three 2.9 mm Phillips #00 screws from the battery compartment.

    Спросите у FixBot
  6. Gateway NE52203u Wireless Card Replacement: шаг 6, изображение 1 из 2 Gateway NE52203u Wireless Card Replacement: шаг 6, изображение 2 из 2
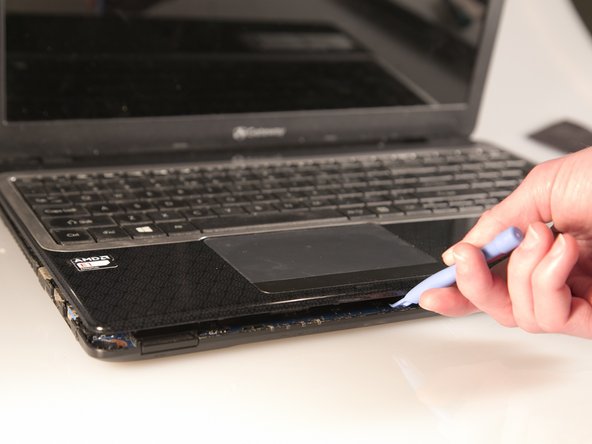
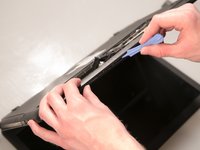
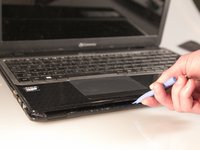
    • Separate the bottom panel from the touchpad assembly by inserting a plastic opening tool between them on all four sides.

    Спросите у FixBot
  7. Gateway NE52203u Wireless Card Replacement: шаг 7, изображение 1 из 1
    Инструмент, используемый на этом этапе:
    Tweezers
    $4.99
    • Pull black ribbon wire from port using tweezers in order to completely separate touchpad assembly from bottom assembly.

    Спросите у FixBot
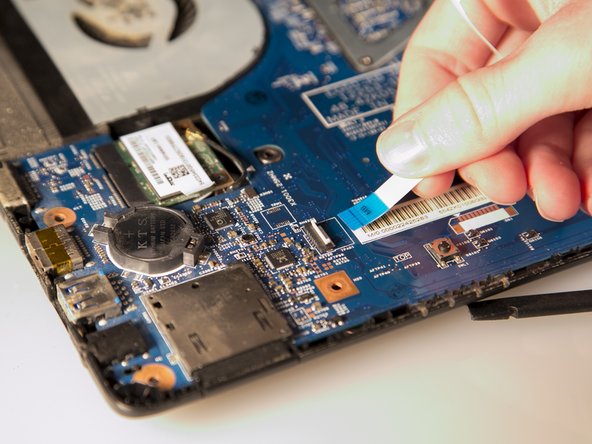
  8. Gateway NE52203u Wireless Card Replacement: шаг 8, изображение 1 из 3 Gateway NE52203u Wireless Card Replacement: шаг 8, изображение 2 из 3 Gateway NE52203u Wireless Card Replacement: шаг 8, изображение 3 из 3
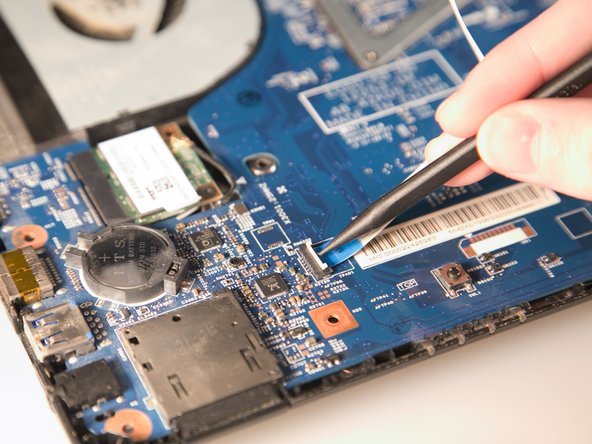
    • Disconnect the two ZIF ports that attach the touchpad assembly to the motherboard.

    • First flip open the flap covering the ribbon using a spudger or fingernail.

    • Second gently pull the ribbon away from the port.

    Спросите у FixBot
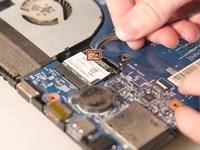
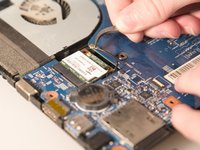
  9. Gateway NE52203u Wireless Card Replacement, Wireless Card: шаг 9, изображение 1 из 2 Gateway NE52203u Wireless Card Replacement, Wireless Card: шаг 9, изображение 2 из 2
    Инструмент, используемый на этом этапе:
    Tweezers
    $4.99
    • Grab the antenna cable with tweezers and lift up to pull it off.

    • The antenna is the small black cable with the golden head

    Спросите у FixBot
  10. Gateway NE52203u Wireless Card Replacement: шаг 10, изображение 1 из 1
    • Remove the one 2.9 mm Phillips #00 screw holding down the wireless card in place.

    Спросите у FixBot
  11. Gateway NE52203u Wireless Card Replacement: шаг 11, изображение 1 из 1
    • After the screw is removed, the card will spring upwards slightly. Pull out the old wireless card from its port.

    Спросите у FixBot
Заключение

To reassemble your device, follow these instructions in reverse order.

Stephen Spees

Участник с: 03/20/15

542 Репутация

Автор 4 руководств

Команда

Baylor, Team 2-1, Grigsby Spring 2015 Участник Baylor, Team 2-1, Grigsby Spring 2015

BU-GRIGSBY-S15S2G1

4 членов

Автор 10 руководств

0 Комментарии к руководству

Добавить комментарий

Статистика просмотров:

За последние 24 часов: 1

За последние 7 дней: 8

За последние 30 дней: 50

За всё время: 826