Перейти к основному содержанию
Присоединяйся к сообществу ремонтников - Создай аккаунт

Gateway SA1 RAM Replacement

Выберете то, что вам нужно

    1. Gateway SA1 RAM Replacement, Battery: шаг 1, изображение 1 из 1
      • Move the latch to the right of the battery to unlock.

      Спросите у FixBot

      Добавить комментарий

    2. Gateway SA1 RAM Replacement: шаг 2, изображение 1 из 1
      • Slide the latch on the left directly below the battery to unlock and pull out the battery as shown.

      • The latch must be held in position to remove the battery.

      Спросите у FixBot

      Добавить комментарий

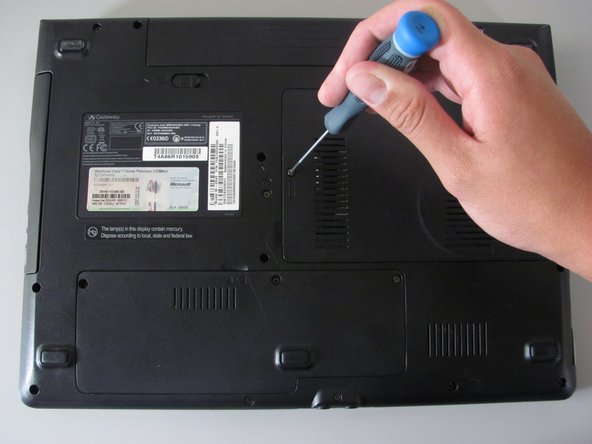
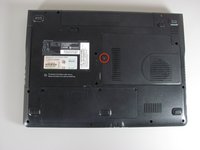
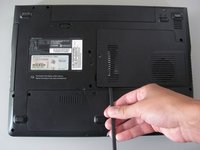
    1. Gateway SA1 RAM Replacement, RAM: шаг 3, изображение 1 из 2 Gateway SA1 RAM Replacement, RAM: шаг 3, изображение 2 из 2
      • Loosen the indicated Philips screw that connects the memory bay cover to the casing.

      • The indicated Philips screw does not come out of the cover.

      Спросите у FixBot

      Добавить комментарий

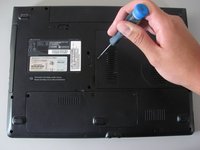
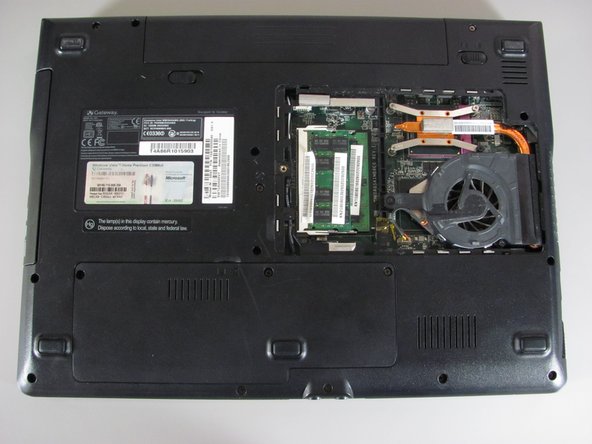
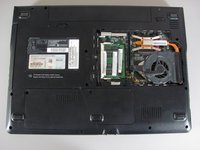
    2. Gateway SA1 RAM Replacement: шаг 4, изображение 1 из 2 Gateway SA1 RAM Replacement: шаг 4, изображение 2 из 2
      • Lift and remove the cover using the spudger.

      Спросите у FixBot

      Добавить комментарий

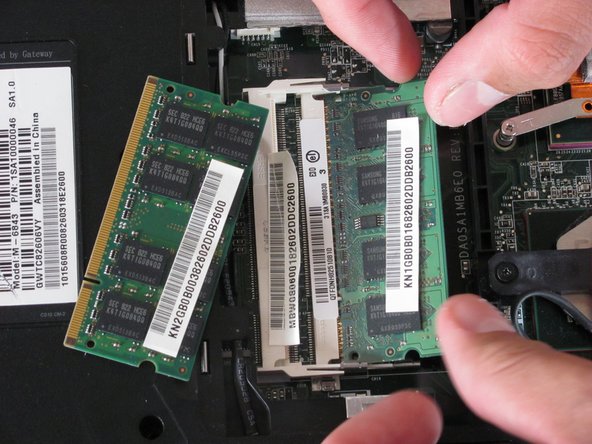
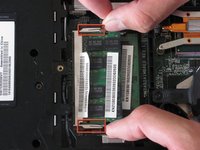
    3. Gateway SA1 RAM Replacement: шаг 5, изображение 1 из 2 Gateway SA1 RAM Replacement: шаг 5, изображение 2 из 2
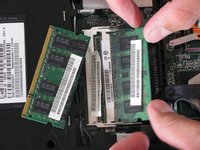
      • Gently press the clip outwards.

      • The module will tilt up and can be pulled out of the slot.

      • There may be another memory module underneath so be sure to remove both.

      Спросите у FixBot

      Добавить комментарий

    4. Gateway SA1 RAM Replacement: шаг 6, изображение 1 из 1
      • To insert a new memory, slide the module into the slot at a 30 to 45 degree angle.

      • Place the first module into the bottom slot then the next module into the top slot.

      • These slots are keyed so verify that you are sliding the module in one direction.

      • Verify that the new memory modules are designed for your specific Gateway Laptop.

      Спросите у FixBot

      Добавить комментарий

Заключение

To reassemble your device, follow these instructions in reverse order.

Отменить: Я не выполнил это руководство.

3 человек успешно провели ремонт по этому руководству.

Diego Carteno

Участник с: 04/15/10

273 Репутация

Автор 7 руководств

Команда

Cal Poly, Team 24-20, Regan Spring 2010 Участник Cal Poly, Team 24-20, Regan Spring 2010

CPSU-REGAN-S10S24G20

4 членов

Автор 28 руководств

0 Комментарии к руководству

Добавить комментарий

Статистика просмотров:

За последние 24 часов: 2

За последние 7 дней: 10

За последние 30 дней: 39

За всё время: 6,094