Перейти к основному содержанию
Присоединяйся к сообществу ремонтников - Создай аккаунт

Gateway SA1 Screen Replacement

Выберете то, что вам нужно

    1. Gateway SA1 Screen Replacement, Battery: шаг 1, изображение 1 из 1
      • Move the latch to the right of the battery to unlock.

      Спросите у FixBot

      Добавить комментарий

    2. Gateway SA1 Screen Replacement: шаг 2, изображение 1 из 1
      • Slide the latch on the left directly below the battery to unlock and pull out the battery as shown.

      • The latch must be held in position to remove the battery.

      Спросите у FixBot

      Добавить комментарий

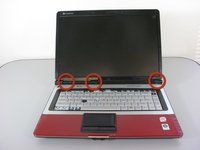
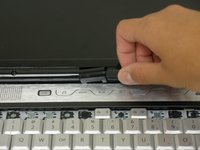
    1. Gateway SA1 Screen Replacement, Screen: шаг 3, изображение 1 из 2 Gateway SA1 Screen Replacement, Screen: шаг 3, изображение 2 из 2
      • Remove the hinge covers by lifting each with the sharp point of the spudger.

      • Notice that the middle cover has a different shape and is more difficult to remove.

      Спросите у FixBot
      Добавить комментарий

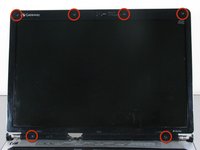
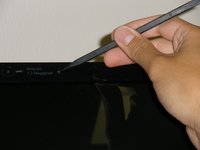
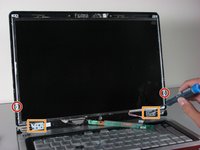
    2. Gateway SA1 Screen Replacement: шаг 4, изображение 1 из 2 Gateway SA1 Screen Replacement: шаг 4, изображение 2 из 2
      • Remove the six screw covers on the front bezel with the sharp point of the spudger.

      • The bottom two are more difficult to remove.

      Спросите у FixBot
      Добавить комментарий

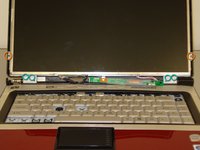
    3. Gateway SA1 Screen Replacement: шаг 5, изображение 1 из 1
      • Remove the six 5.9 mm Philips screws securing the screen bezel.

      Спросите у FixBot
      Добавить комментарий

    4. Gateway SA1 Screen Replacement: шаг 6, изображение 1 из 3 Gateway SA1 Screen Replacement: шаг 6, изображение 2 из 3 Gateway SA1 Screen Replacement: шаг 6, изображение 3 из 3
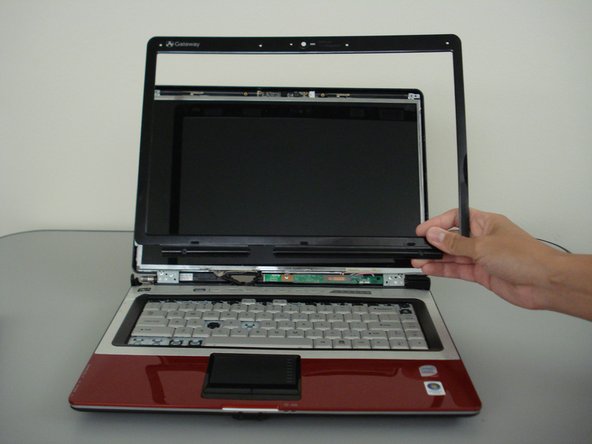
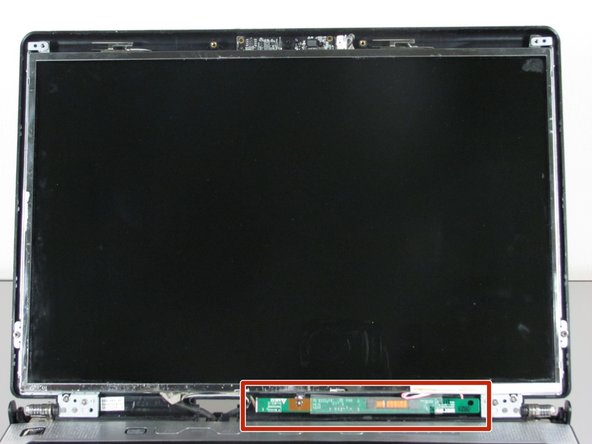
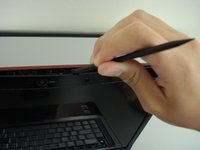
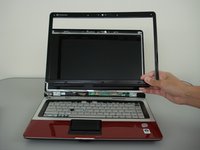
      • Remove the front bezel by prying it off with the wedged end of the spudger.

      • Verify that your spudger does not touch the LCD.

      • The screen inverter is now exposed below the LCD.

      Спросите у FixBot

      Добавить комментарий

    5. Gateway SA1 Screen Replacement: шаг 7, изображение 1 из 1
      • Remove the single 3.8mm Phillips screw mounting the screen inverter to the computer.

      Спросите у FixBot

      Добавить комментарий

    6. Gateway SA1 Screen Replacement: шаг 8, изображение 1 из 2 Gateway SA1 Screen Replacement: шаг 8, изображение 2 из 2
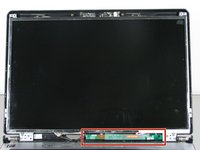
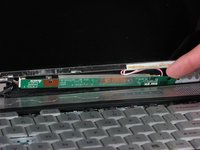
      • Use your finger, or the spudger, to pry the inverter board out.

      • This exposes the wires behind it.

      Спросите у FixBot

      Добавить комментарий

    7. Gateway SA1 Screen Replacement: шаг 9, изображение 1 из 1
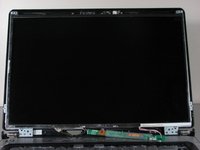
      • Unplug the LCD back light cables from the right side of the screen inverter.

      Спросите у FixBot
      Добавить комментарий

    8. Gateway SA1 Screen Replacement: шаг 10, изображение 1 из 2 Gateway SA1 Screen Replacement: шаг 10, изображение 2 из 2
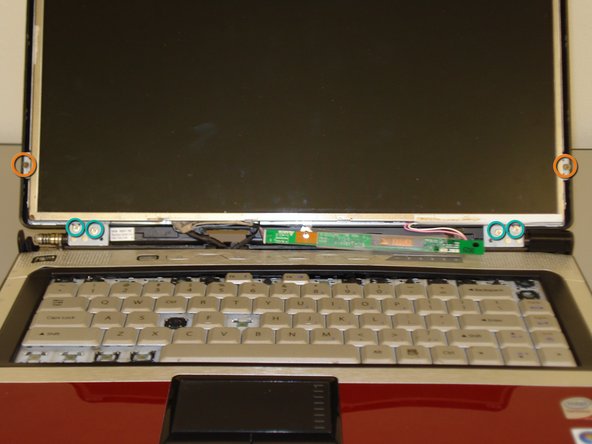
      • Remove the six screws that mount the screen to the hinge mounts.

      • Two 2.5 mm Phillips screws.

      • Four 3.8 mm Phillips screws.

      Спросите у FixBot
      Добавить комментарий

    9. Gateway SA1 Screen Replacement: шаг 11, изображение 1 из 1
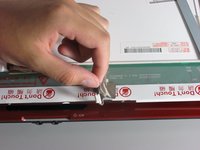
      • Unplug the cable from the webcam board.

      • Be gentle, do not use excessive force or you may break the connection.

      Спросите у FixBot
      Добавить комментарий

    10. Gateway SA1 Screen Replacement: шаг 12, изображение 1 из 1
      • Separate the screen from the display cover.

      • Do not touch the back of the screen.

      Спросите у FixBot

      Добавить комментарий

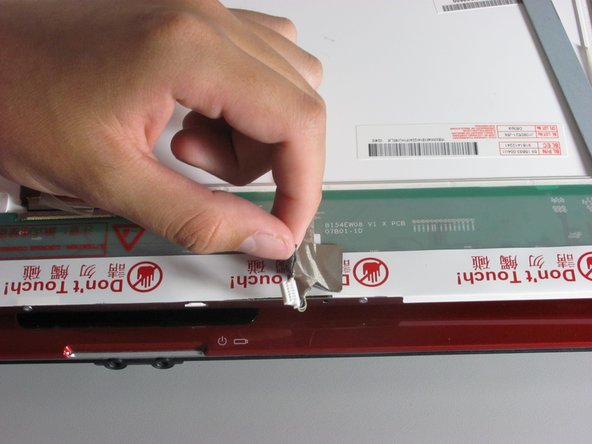
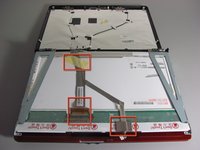
    11. Gateway SA1 Screen Replacement: шаг 13, изображение 1 из 2 Gateway SA1 Screen Replacement: шаг 13, изображение 2 из 2
      • Remove the three tape strips that hold down the cables.

      • Be careful not to tear any of the tape. The piece holding down the webcam wires is especially delicate.

      Спросите у FixBot

      Добавить комментарий

    12. Gateway SA1 Screen Replacement: шаг 14, изображение 1 из 2 Gateway SA1 Screen Replacement: шаг 14, изображение 2 из 2
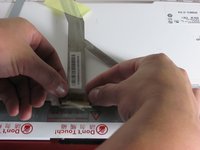
      • Unplug the display data cable from the screen connector.

      • This connection is very fragile; do not use excessive force.

      • The screen should now be free from all wire connections.

      Спросите у FixBot
      Добавить комментарий

    13. Gateway SA1 Screen Replacement: шаг 15, изображение 1 из 1
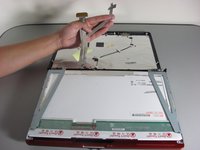
      • Remove the four 2.8 mm Phillips screws that secure the screen to the mounting bracket using a screwdriver.

      • There will be two screws on either side of the mounting bracket.

      Спросите у FixBot
      Добавить комментарий

    14. Gateway SA1 Screen Replacement: шаг 16, изображение 1 из 1
      • You can now remove and replace the screen.

      Спросите у FixBot

      Добавить комментарий

Заключение

To reassemble your device, follow these instructions in reverse order.

Отменить: Я не выполнил это руководство.

2 человек успешно провели ремонт по этому руководству.

Diego Carteno

Участник с: 04/15/10

273 Репутация

Автор 7 руководств

Команда

Cal Poly, Team 24-20, Regan Spring 2010 Участник Cal Poly, Team 24-20, Regan Spring 2010

CPSU-REGAN-S10S24G20

4 членов

Автор 28 руководств

0 Комментарии к руководству

Добавить комментарий

Статистика просмотров:

За последние 24 часов: 0

За последние 7 дней: 10

За последние 30 дней: 38

За всё время: 19,471