Перейти к основному содержанию
Присоединяйся к сообществу ремонтников - Создай аккаунт

General Electric Create Jason Wu Lens Replacement

Выберете то, что вам нужно

  1. General Electric Create Jason Wu Lens Replacement, General Electric Create Jason Wu Casing Disassembly: шаг 1, изображение 1 из 3 General Electric Create Jason Wu Lens Replacement, General Electric Create Jason Wu Casing Disassembly: шаг 1, изображение 2 из 3 General Electric Create Jason Wu Lens Replacement, General Electric Create Jason Wu Casing Disassembly: шаг 1, изображение 3 из 3
    • Begin by removing the 5 screws (located: 2 screws on either side and 1 screw on the bottom) using the PH000 head in the Precision Phillips Screwdriver.

    • These screws were missing in our example. These screws should have been small Phillips PH000 screws 1.5mm in length.

    • These screws are very small. To keep from losing any pieces, place all small metals on a magnetic project mat.

    Спросите у FixBot
  2. General Electric Create Jason Wu Lens Replacement: шаг 2, изображение 1 из 2 General Electric Create Jason Wu Lens Replacement: шаг 2, изображение 2 из 2
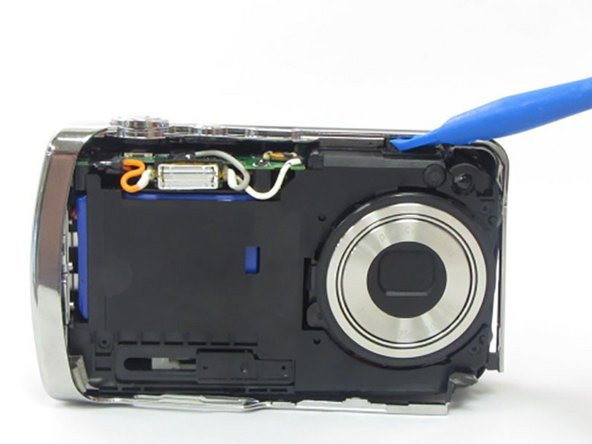
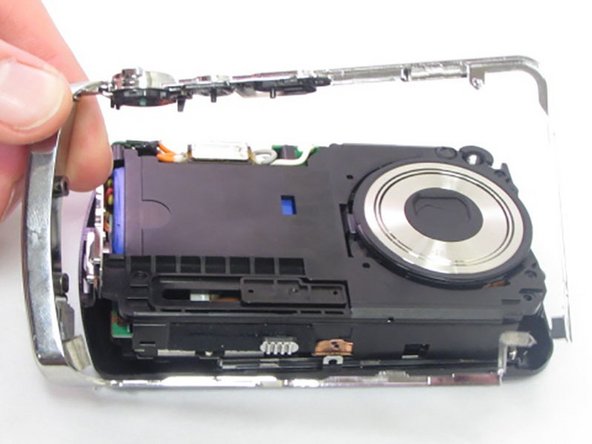
    • After the screws are removed, pull the front casing up and away from the camera.

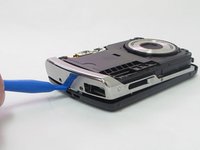
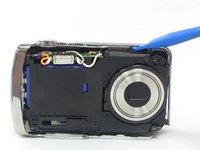
    • If the casing is difficult to remove, use a plastic opening tool to gently pry up on the front as shown.

    Спросите у FixBot
  3. General Electric Create Jason Wu Lens Replacement: шаг 3, изображение 1 из 3 General Electric Create Jason Wu Lens Replacement: шаг 3, изображение 2 из 3 General Electric Create Jason Wu Lens Replacement: шаг 3, изображение 3 из 3
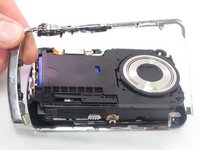
    • Using your hands or an opening tool, pry off the silver frame, taking special care at the top of the camera where the buttons are as it is a little harder to pry off.

    • If the back casing is loose from the camera body, it may be easier to perform step 4 first, then accomplish this step. Proceed as your unit allows.

    Спросите у FixBot
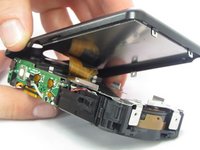
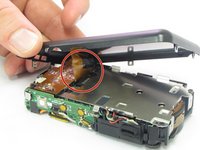
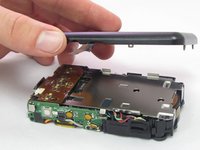
  4. General Electric Create Jason Wu Lens Replacement: шаг 4, изображение 1 из 3 General Electric Create Jason Wu Lens Replacement: шаг 4, изображение 2 из 3 General Electric Create Jason Wu Lens Replacement: шаг 4, изображение 3 из 3
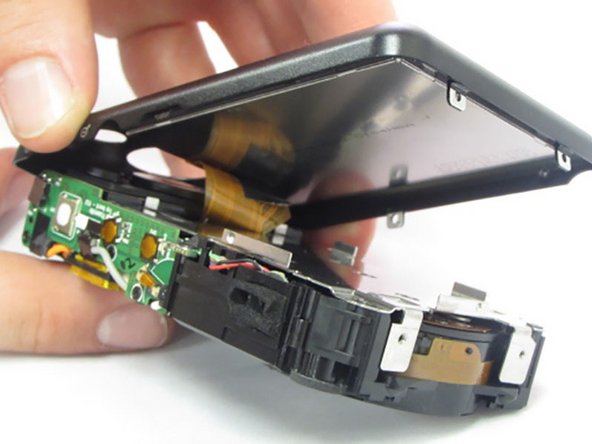
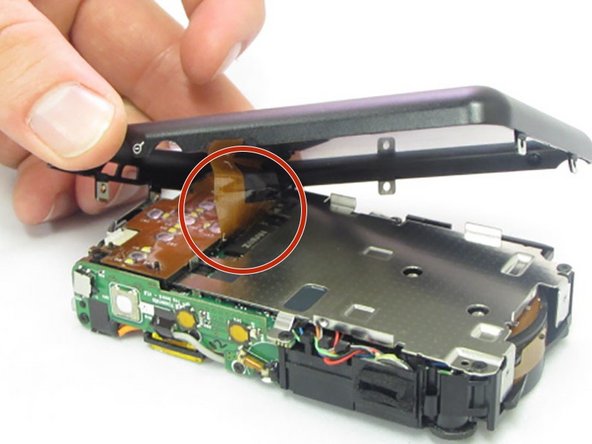
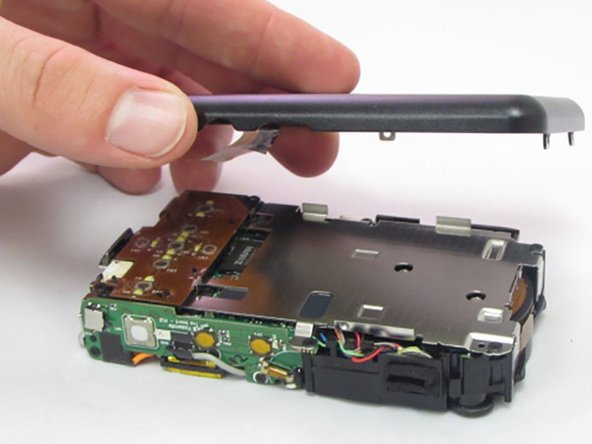
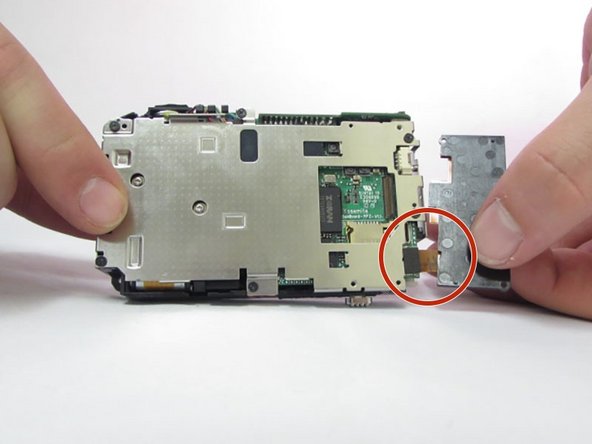
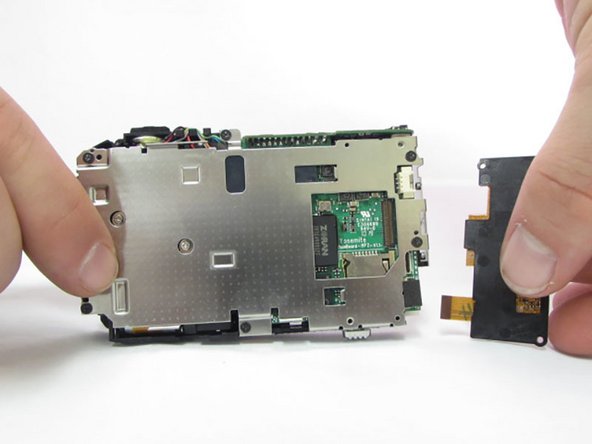
    • The last part of the casing to disconnect is the back that houses the LCD screen.

    • The screen is attached by a connection ribbon. Gently pull the casing and screen away from the camera body to disconnect the casing.

    • The LCD screen is held onto the back casing by a small amount of adhesive. This may come loose during this process. Do not worry if they become separated.

    • This plug and the connection ribbon are fragile, try not to tear the connection ribbon when disconnecting.

    Спросите у FixBot
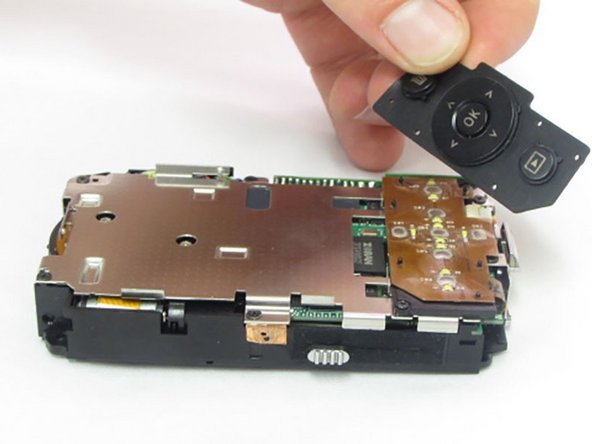
  5. General Electric Create Jason Wu Lens Replacement, General Electric Create Jason Wu Interior Disassembly: шаг 5, изображение 1 из 3 General Electric Create Jason Wu Lens Replacement, General Electric Create Jason Wu Interior Disassembly: шаг 5, изображение 2 из 3 General Electric Create Jason Wu Lens Replacement, General Electric Create Jason Wu Interior Disassembly: шаг 5, изображение 3 из 3
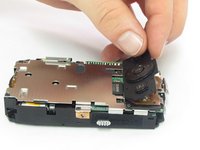
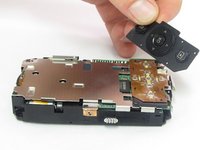
    • After the casing is removed, use your fingers to carefully lift up on the rubber pad, if it didn't already fall out during step 4.

    • The pad isn't secured to the camera so it will lift up and pull away easily.

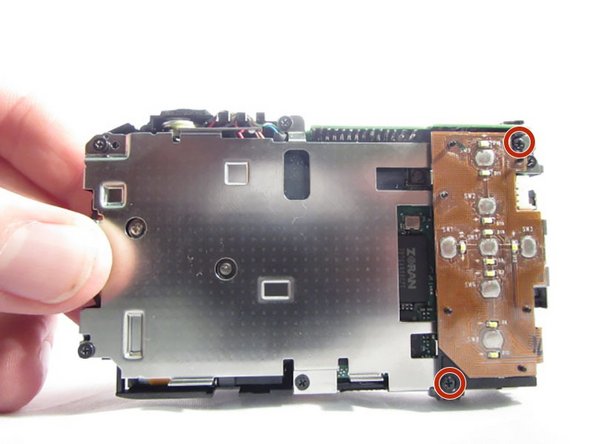
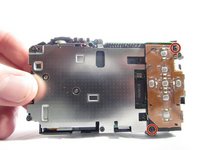
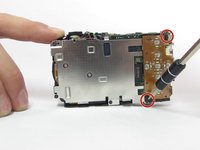
    • After the pad is removed, the 2 Phillips head screws holding the control board will be exposed.

    Спросите у FixBot
  6. General Electric Create Jason Wu Lens Replacement: шаг 6, изображение 1 из 3 General Electric Create Jason Wu Lens Replacement: шаг 6, изображение 2 из 3 General Electric Create Jason Wu Lens Replacement: шаг 6, изображение 3 из 3
    • Using the Phillips precision screwdriver with the PH000 Phillips bit, remove the two 1.5mm screws.

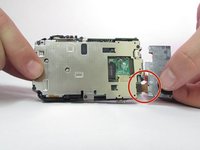
    • Although the 2 screws are removed, the button board is still attached with a connection ribbon.

    • With a firm grip towards the bottom of the control board, gently pull away from the camera, removing the ribbon from the connector.

    Спросите у FixBot
  7. General Electric Create Jason Wu Lens Replacement: шаг 7, изображение 1 из 3 General Electric Create Jason Wu Lens Replacement: шаг 7, изображение 2 из 3 General Electric Create Jason Wu Lens Replacement: шаг 7, изображение 3 из 3
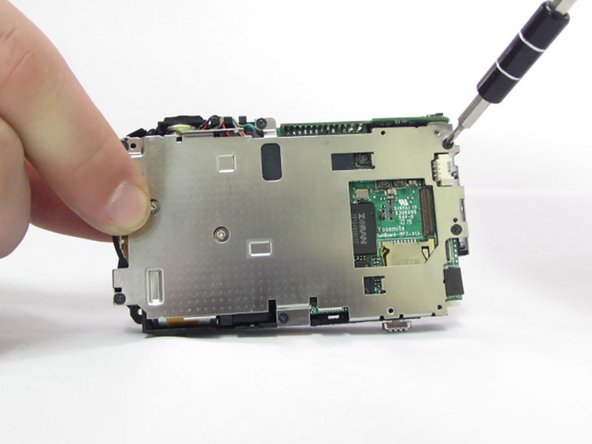
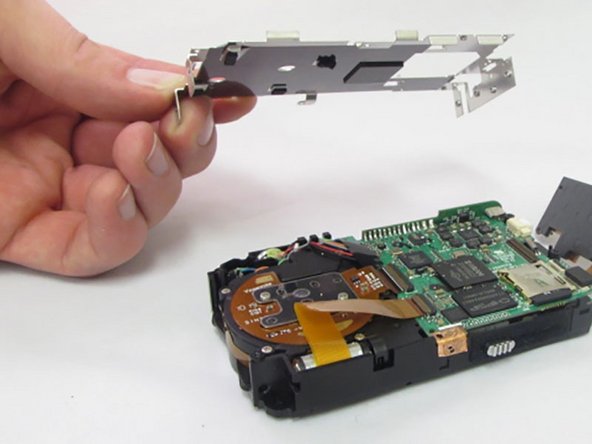
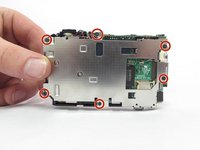
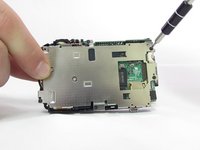
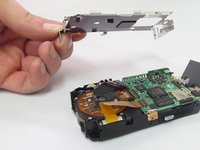
    • Locate the six 1.5mm Phillips screws that are holding on the interior camera frame.

    • Using the Phillips precision screwdriver and the PH000 Phillips bit, remove the 6 screws.

    • With the screws removed, the interior frame will no longer be fastened to the camera body and can be lifted up and away.

    Спросите у FixBot
  8. General Electric Create Jason Wu Lens Replacement, Lens: шаг 8, изображение 1 из 2 General Electric Create Jason Wu Lens Replacement, Lens: шаг 8, изображение 2 из 2
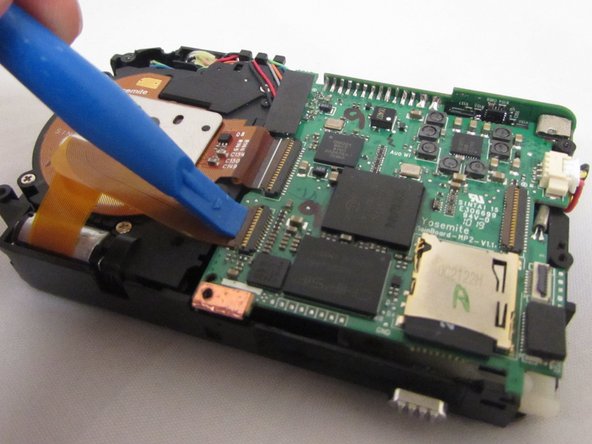
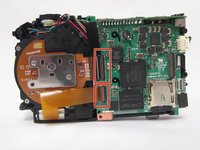
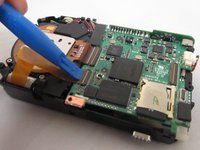
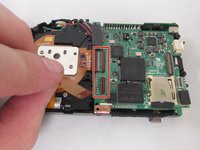
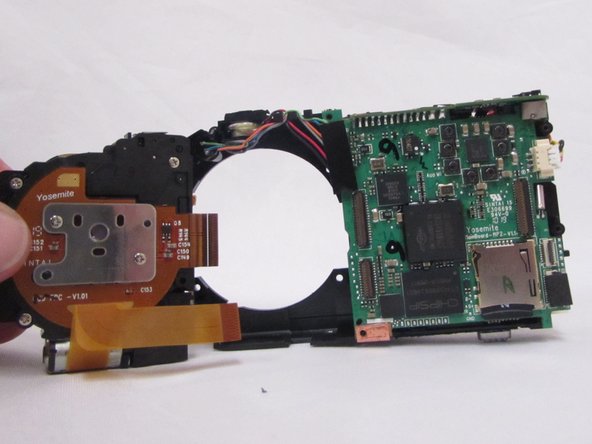
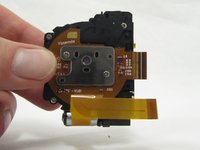
    • Locate the 2 connection ribbons attaching the lens to the circuit board.

    • Using a plastic opening tool or finger nail, gently lift the ZIF connector flaps up.

    • The connectors are hinged and will fold up and away from the ribbon, do not disconnect completely.

    Спросите у FixBot
  9. General Electric Create Jason Wu Lens Replacement: шаг 9, изображение 1 из 2 General Electric Create Jason Wu Lens Replacement: шаг 9, изображение 2 из 2
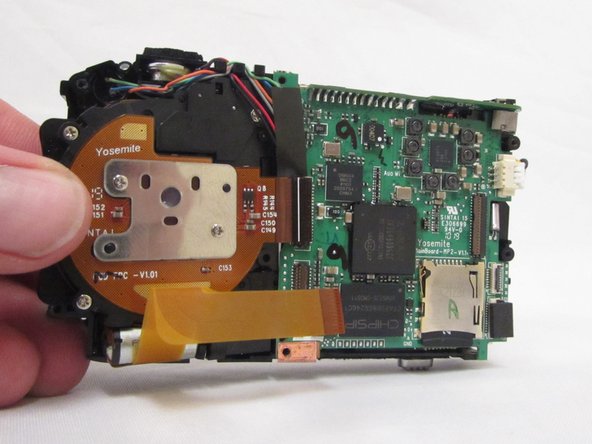
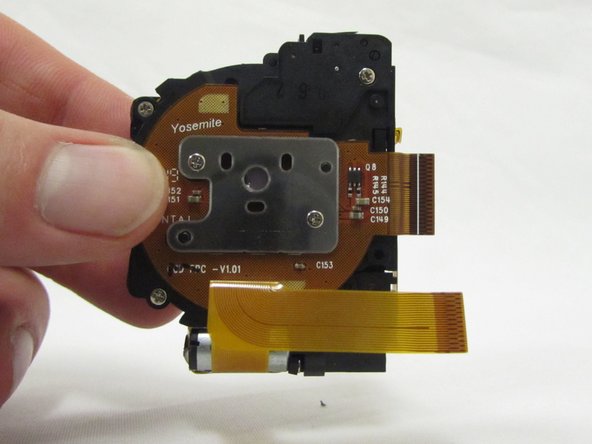
    • With the hinged connectors folded up and out of the way, carefully pull the ribbons out of their connectors.

    • These are the only 2 connectors holding the lens assembly in place. If disconnected the lens assembly will be completely detached from the camera.

    Спросите у FixBot
  10. General Electric Create Jason Wu Lens Replacement: шаг 10, изображение 1 из 3 General Electric Create Jason Wu Lens Replacement: шаг 10, изображение 2 из 3 General Electric Create Jason Wu Lens Replacement: шаг 10, изображение 3 из 3
    • Firmly grasp the camera body in your right hand and grab the lens assembly with your other hand.

    • Gently pull the lens assembly directly up and out of the camera body.

    • There are no further screws or connections hold the lens assembly in place. If it does not remove easily check your previous steps.

    Спросите у FixBot
Заключение

To reassemble your device, follow these instructions in reverse order.

Kylan Hennessy

Участник с: 01/23/17

573 Репутация

Автор 5 руководств

Команда

Eastern Washington University, Team 2-6, Crane Winter 2017 Участник Eastern Washington University, Team 2-6, Crane Winter 2017

EWU-CRANE-W17S2G6

4 членов

Автор 7 руководств

0 Комментарии к руководству

Добавить комментарий

Статистика просмотров:

За последние 24 часов: 1

За последние 7 дней: 5

За последние 30 дней: 49

За всё время: 539