Введение
In this guide, you will learn how to remove the motherboard of the Google Pixelbook in order to fix a faulty motherboard, ram, storage, and or processor.
Выберете то, что вам нужно
-
-
Use the iFixit opening tools or a metal spudger to pry the rubber covers off the back of your Pixelbook.
-
Peel the linings off completely until the back of the Pixelbook looks bare.
 Спросите у FixBot
-
-
-
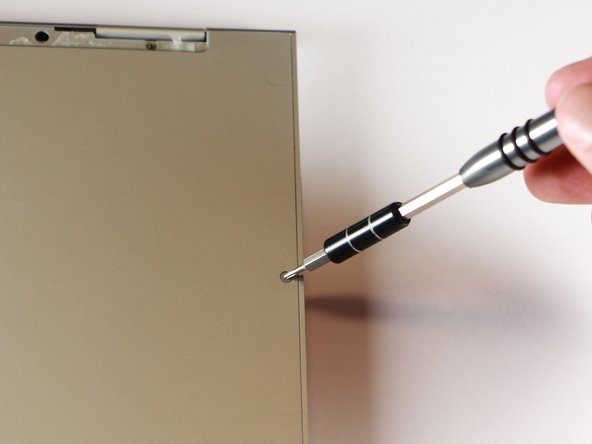
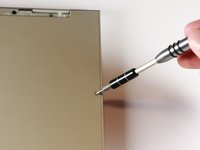
Remove the two yellow 2.0mm screws by using a T3 Torx screwdriver.
-
-
-
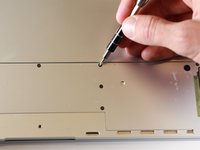
Remove the seventeen 3.0mm T5 Torx screws from the bottom panel.
-
-
-
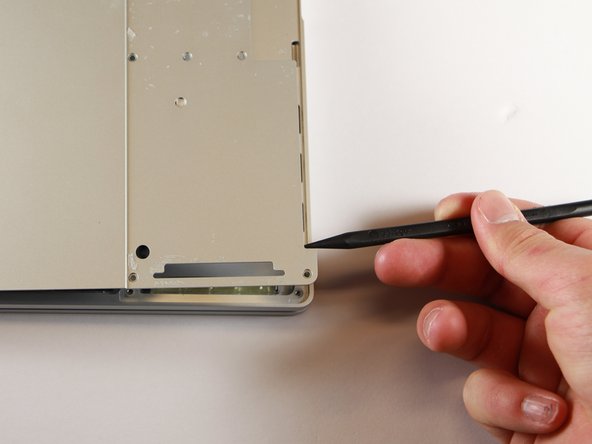
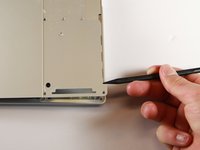
Use the nylon spudger to pry the edge of the Pixelbook up until you can grab the edge with your fingers.
-
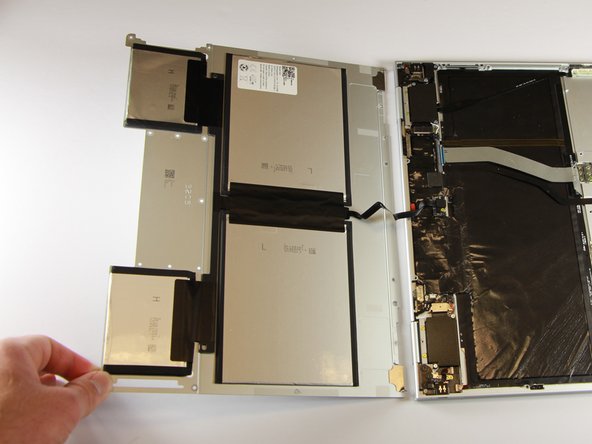
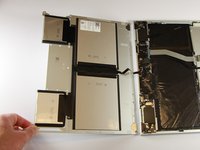
Open the back panel completely and lay it flat so you see the whole inside of the computer.
-
-
-
Remove the yellow 2.0mm screw from the middle of the panel by using the T3 Torx screwdriver to turn the screw counterclockwise.
-
-
-
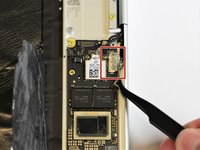
Remove the small, black casing by using the spudger to lift it up from its place.
-
-
-
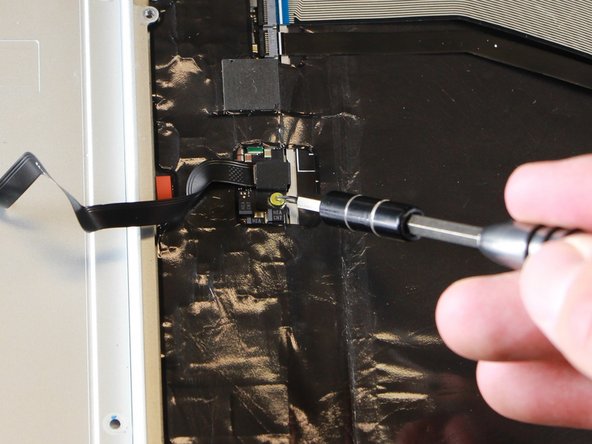
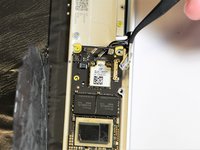
Disconnect the flat, black cord from the main component by using a spudger to push it out of the slot, or by using your hand to carefully pull it out.
-
Your back panel is now free from the main component.
-
-
-
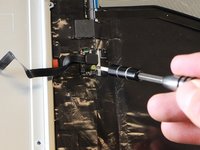
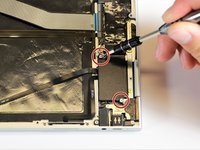
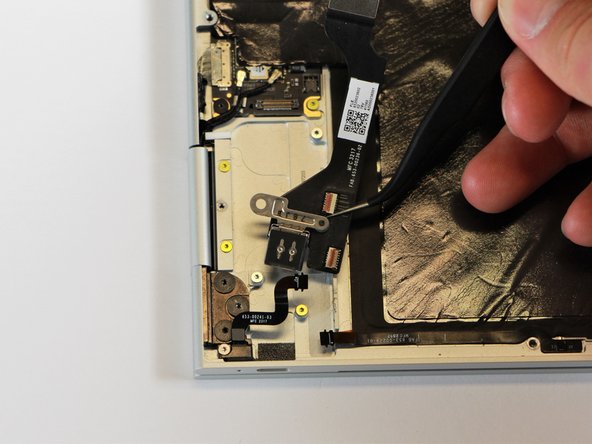
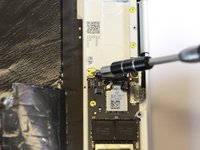
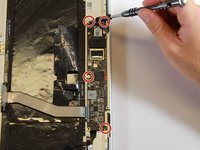
Remove the two 3.0mm silver screws from the thin, black component by using a T3 Torx screwdriver to turn the screws counterclockwise.
-
-
-
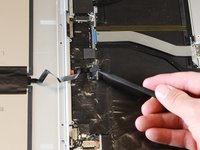
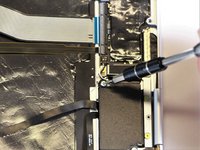
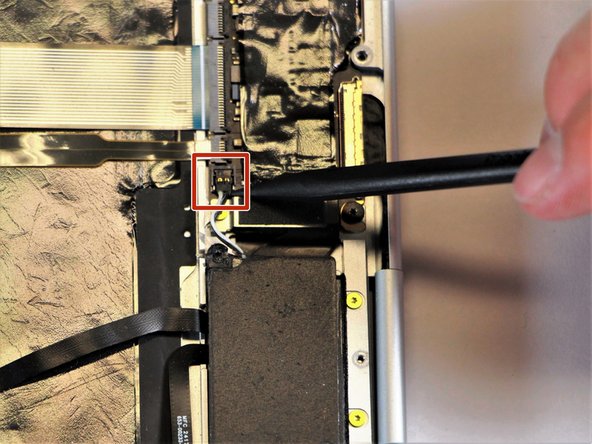
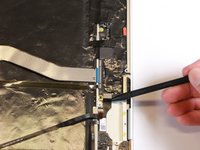
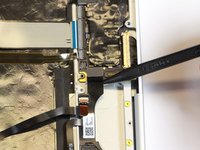
Disconnect the thin, black and white cord from the motherboard by using the spudger to snap the connector up and out of place.
-
-
-
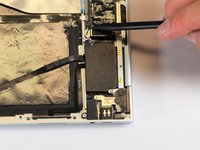
Remove the thin, black component by pulling it up and out of the laptop with your fingers.
-
-
-
-
Remove the gold 2.0mm corner screw by turning it counterclockwise with a T3 Torx screwdriver.
-
-
Инструмент, используемый на этом этапе:Tweezers$4.99
-
Using needle-nose tweezers, remove the silver casing by lifting it up and out of the computer.
-
-
-
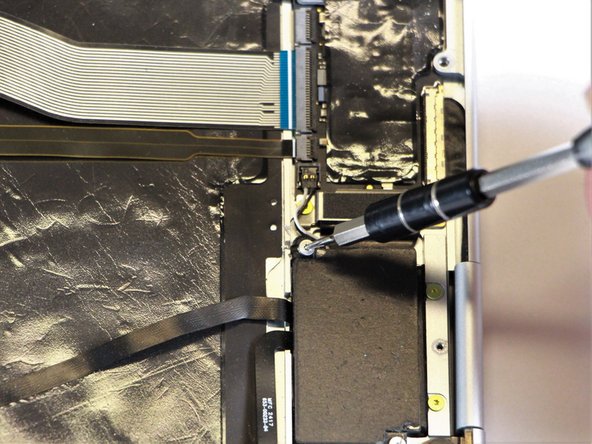
Remove the three 3.0mm black screws on the right side by using a T5 Torx screwdriver to turn the screws counterclockwise.
-
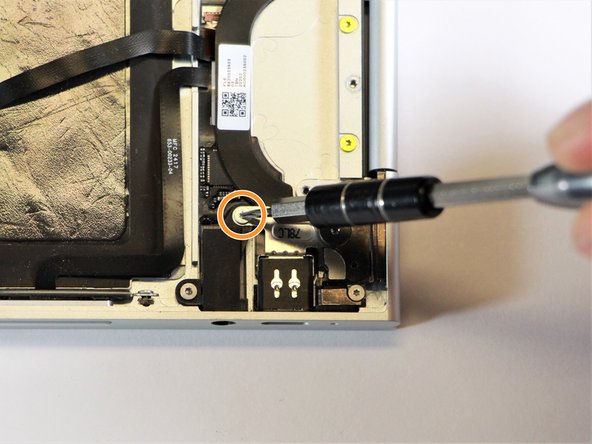
Remove the silver 2.0mm screw on the left side by using a T3 Torx screwdriver to turn the screw counterclockwise.
-
-
-
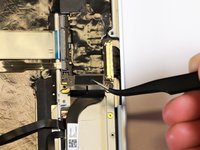
Disconnect the thin, black ribbon cable by using the spudger to lift it up from the computer.
-
-
-
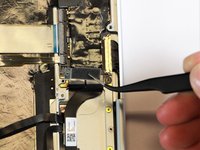
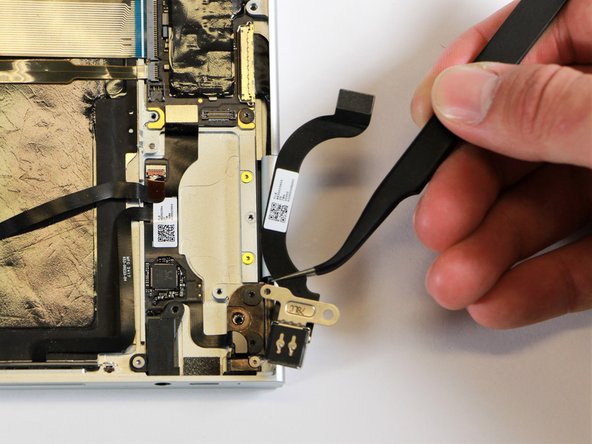
Use the needle-nose tweezers to remove the charging port by lifting the component up and out of the Pixelbook.
-
-
-
Remove the three 2.0mm black screws from the sound card by using a T5 Torx screwdriver to turn them counterclockwise.
-
Remove the gold 3.0mm screw by using a T3 Torx screwdriver to turn it counterclockwise.
-
-
-
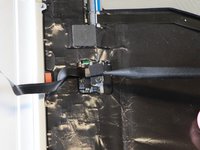
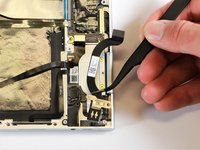
Disconect the thin, black and red cord from the motherboard by using the spudger to snap the connector up and out of place.
-
-
-
Remove the yellow 2.0mm screw by using the T3 Torx screwdriver to turn the screw counterclockwise.
-
-
-
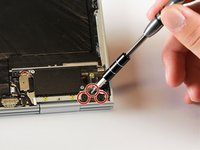
Remove the small, red component by lifting it up with the spudger.
-
-
-
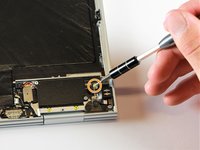
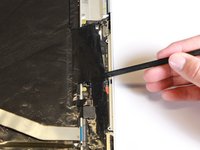
Disconnect the metal component of the thin, black component by lifting it up with the spudger.
-
-
Инструмент, используемый на этом этапе:Tweezers$4.99
-
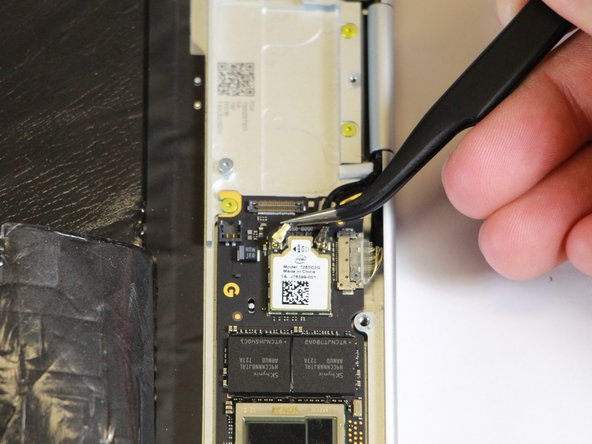
Remove the right charging port by picking it up with the tweezers and lifting it from the computer.
-
-
-
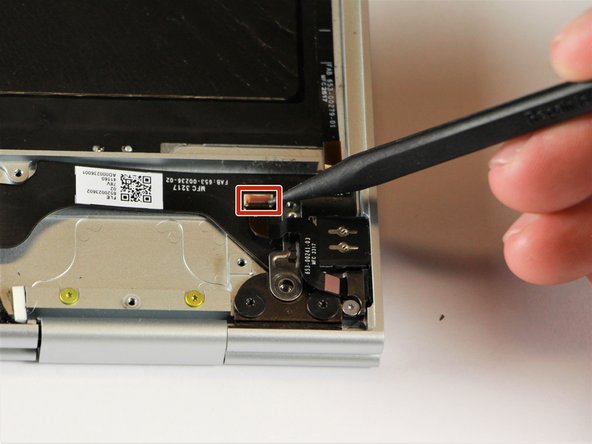
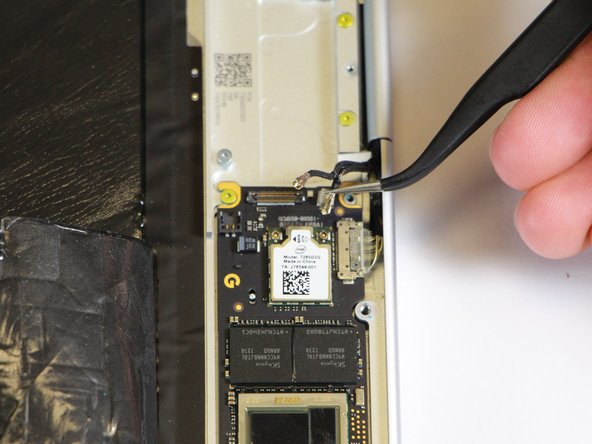
Disconnect the flat, black cord from the motherboard by using a spudger to push it upwards out of the slot, or by using your hand to carefully pull upward.
-
-
-
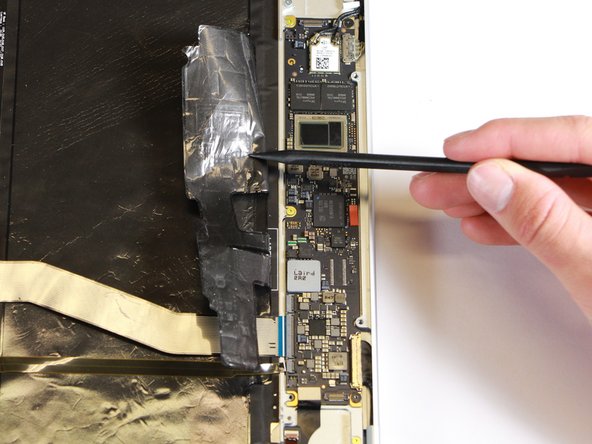
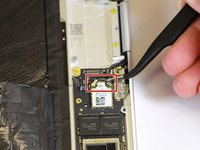
Fold back the plastic covering on the motherboard using the nylon spudger.
-
-
Инструмент, используемый на этом этапе:Tweezers$4.99
-
Disconnect the two black cables from the motherboard by pulling the connectors upward using the needle-nose tweezers.
-
-
-
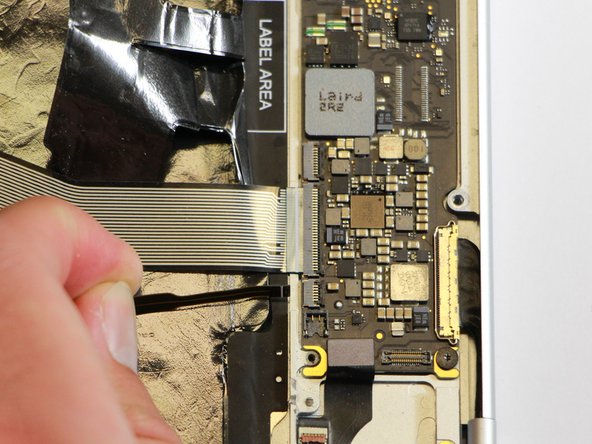
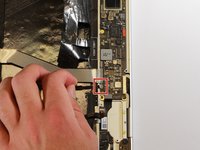
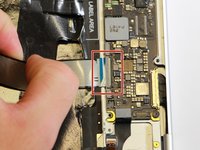
Disconnect the flat ribbon cable from the motherboard by using your hand to gently pull it out of the socket, or by using a pair of tweezers to pull it out.
-
-
-
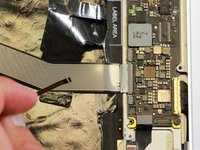
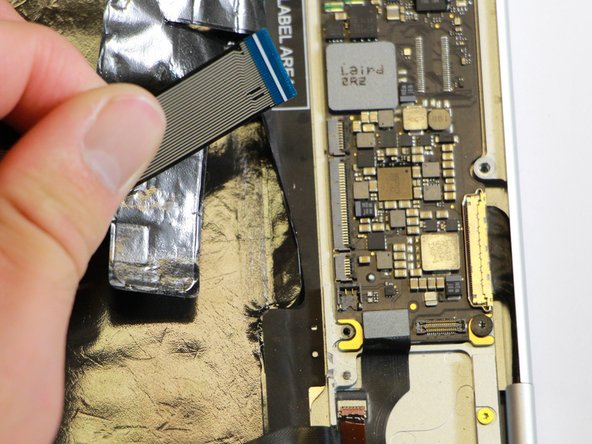
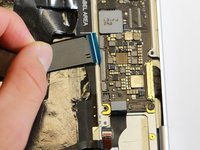
Disconnect the large flat ribbon cable from the motherboard by using your hand to gently pull it out of the socket, or by using a pair of tweezers to pull it out.
-
-
-
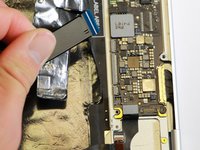
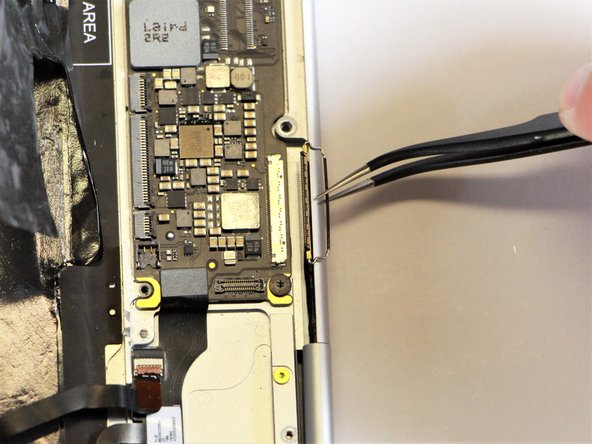
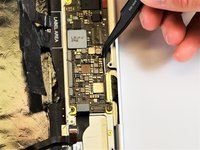
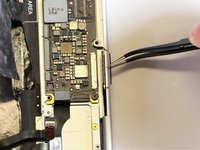
Raise the retaining latch of the motherboard connector by using the needle-nose tweezers.
-
Disconnect the large flat cable from the motherboard by gently pulling on the latch using the needle-nose tweezers.
-
-
-
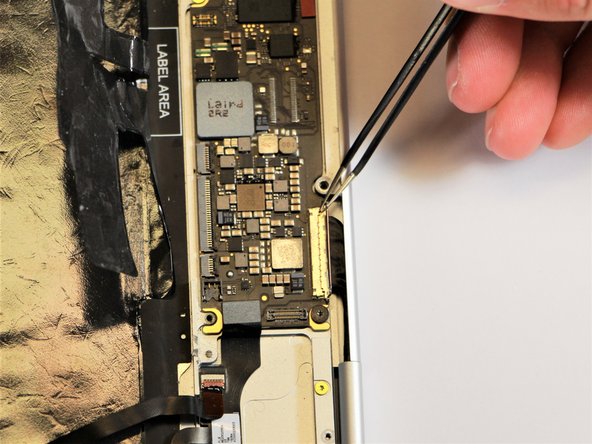
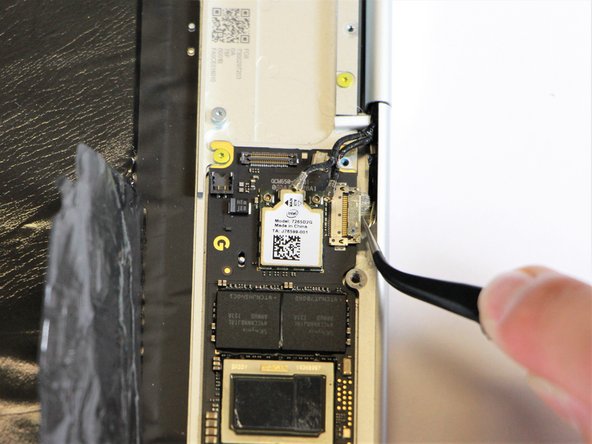
Disconnect the flat cable from the motherboard by using the needle-nose tweezers to gently pull the connector out of the slot.
-
-
-
Remove the gold 3.0mm screws and the black, flat 2.0mm screws from the motherboard by using a T3 Torx screwdriver to turn the screws counterclockwise.
-
-
-
Remove the motherboard by gently lifting it out of the laptop using the needle-nose tweezers.
-


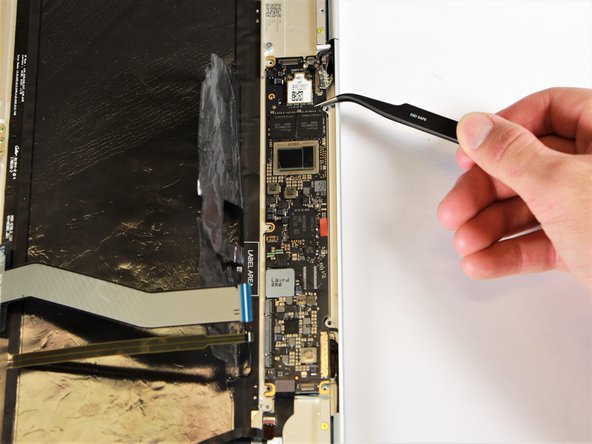

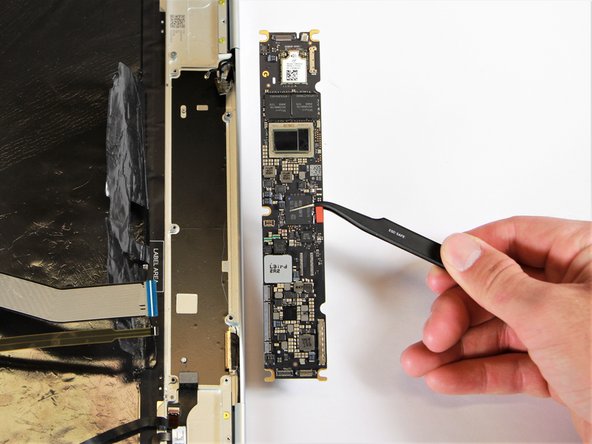


To reassemble your device, follow these instructions in reverse order.
Отменить: Я не выполнил это руководство.
9 человек успешно провели ремонт по этому руководству.
Команда

Cal Poly, Team S18-G1, Livingston Winter 2018 Участник Cal Poly, Team S18-G1, Livingston Winter 2018
CPSU-LIVINGSTON-W18S18G1
4 членов
Автор 9 руководств
14 Комментарии к руководству
This would be much more helpful if all the “components” being removed were identified.
TIA,
R
You’ve put together a very good procedure for replacing a motherboard. My pixelbook needs a motherboard. Where can I buy one? Google does not sell them.
You’ve put together a very good procedure for replacing a motherboard. My pixelbook needs a motherboard. Where can I buy one? Google does not sell them.
I believe the step8 & step16 mentioned “charging port“ shall be the loudspeaker in fact.
It’s bad instruction to pull cable out without unlocking the retaining tab, also it’s impossible to put cable back while the connector is still in locking position. Never pull a cable while it’s locked in the connector, this practice is only used by novices.