Перейти к основному содержанию
Присоединяйся к сообществу ремонтников - Создай аккаунт

Graco Secure Coverage LED Nursery Unit Replacement

Выберете то, что вам нужно

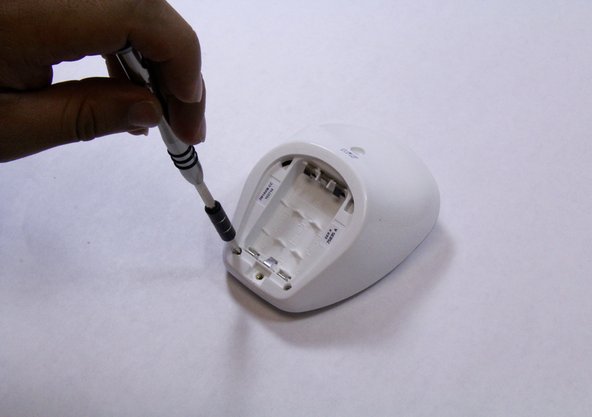
    1. Graco Secure Coverage LED Nursery Unit Replacement, Nursery Unit Battery: шаг 1, изображение 1 из 3 Graco Secure Coverage LED Nursery Unit Replacement, Nursery Unit Battery: шаг 1, изображение 2 из 3 Graco Secure Coverage LED Nursery Unit Replacement, Nursery Unit Battery: шаг 1, изображение 3 из 3
      • Remove the 9mm screw from the battery cover of the nursery unit using a Phillips #1 tip screwdriver.

      Спросите у FixBot

      Добавить комментарий

    2. Graco Secure Coverage LED Nursery Unit Replacement: шаг 2, изображение 1 из 2 Graco Secure Coverage LED Nursery Unit Replacement: шаг 2, изображение 2 из 2
      • Using the plastic opening tool, pry and remove the battery cover carefully.

      • Remove the batteries using plastic opening tool.

      • Replace the batteries.

      Спросите у FixBot

      Добавить комментарий

    1. Graco Secure Coverage LED Nursery Unit Replacement, LED Nursery Unit: шаг 3, изображение 1 из 2 Graco Secure Coverage LED Nursery Unit Replacement, LED Nursery Unit: шаг 3, изображение 2 из 2
      • Remove the two 9mm Phillips #1 screws from the rare case of the device.

      • Place the screws in a secure place.

      Спросите у FixBot

      Добавить комментарий

    2. Graco Secure Coverage LED Nursery Unit Replacement: шаг 4, изображение 1 из 1
      • Hold the bottom of the device with one hand and pull down to separate the front and rare cases.

      • While holding the device with one hand, use plastic opening tool to pry the edges of the front case away from the back case.

      • Apply constant force carefully to avoid breaking any other plastic parts from the device.

      Спросите у FixBot

      Добавить комментарий

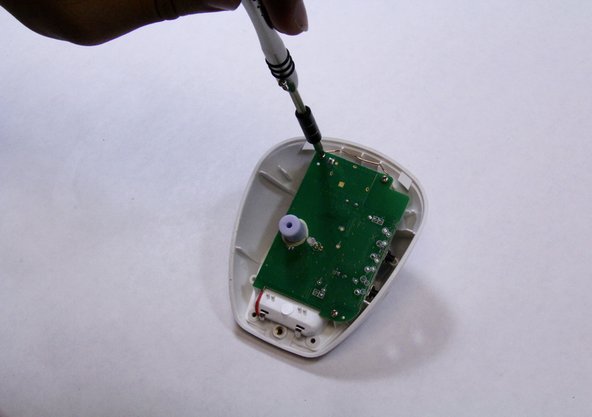
    3. Graco Secure Coverage LED Nursery Unit Replacement: шаг 5, изображение 1 из 2 Graco Secure Coverage LED Nursery Unit Replacement: шаг 5, изображение 2 из 2
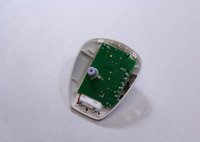
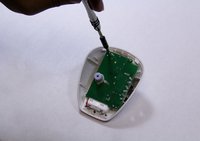
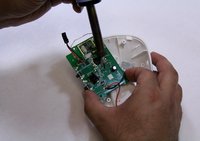
      • Remove all three 7mm Phillips #1 screws from the mother board.

      • Place the screws in secure place.

      Спросите у FixBot

      Добавить комментарий

    4. Graco Secure Coverage LED Nursery Unit Replacement: шаг 6, изображение 1 из 3 Graco Secure Coverage LED Nursery Unit Replacement: шаг 6, изображение 2 из 3 Graco Secure Coverage LED Nursery Unit Replacement: шаг 6, изображение 3 из 3
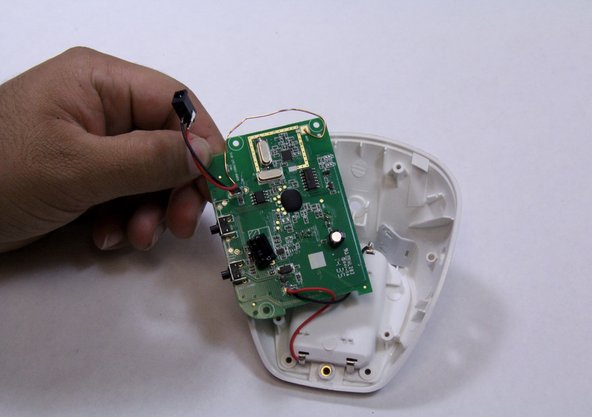
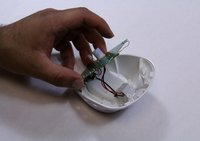
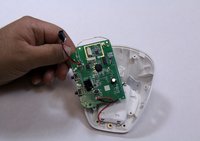
      • Flip over the motherboard to look at the LED pins that are connected to it.

      • Solder off the LED pin from the motherboard.

      • There are many pins are connect to the motherboard, so make sure that you solder off the LED pin.

      • Replace the LED.

      Спросите у FixBot

      Добавить комментарий

Заключение

To reassemble your device, follow these instructions in reverse order.

Отменить: Я не выполнил это руководство.

Bryson Wolff

Участник с: 08/31/15

237 Репутация

Автор 2 руководств

Команда

USF Tampa, Team 6-5, Remmell Fall 2015 Участник USF Tampa, Team 6-5, Remmell Fall 2015

USFT-REMMELL-F15S6G5

4 членов

Автор 56 руководств

0 Комментарии к руководству

Добавить комментарий

Статистика просмотров:

За последние 24 часов: 0

За последние 7 дней: 8

За последние 30 дней: 27

За всё время: 405