Перейти к основному содержанию
Присоединяйся к сообществу ремонтников - Создай аккаунт

GravityLight Mounting Post Replacement and Spring Replacement

Выберете то, что вам нужно

  1. GravityLight Mounting Post Replacement and Spring Replacement, Removing the Front Panel: шаг 1, изображение 1 из 2 GravityLight Mounting Post Replacement and Spring Replacement, Removing the Front Panel: шаг 1, изображение 2 из 2
    • Flip the GravityLight on its back and place it on a sturdy surface.

    • Unscrew the three 2cm Phillips #00 screws on the back of the GravityLight’s body.

    Спросите у FixBot

    Добавить комментарий

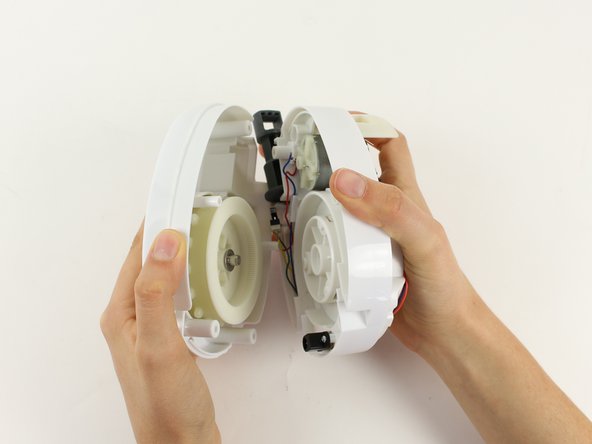
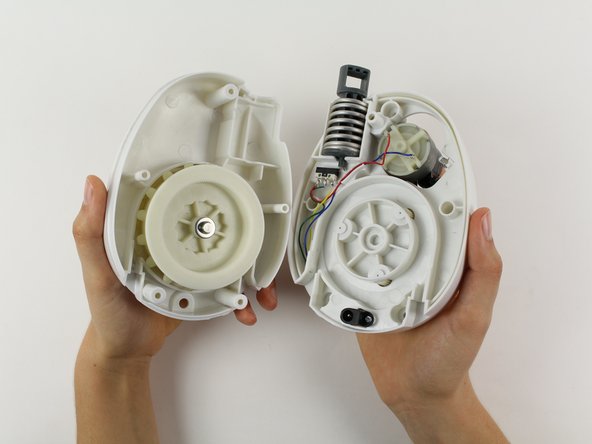
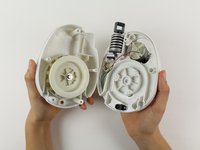
  2. GravityLight Mounting Post Replacement and Spring Replacement, Opening the Device Housing: шаг 2, изображение 1 из 1
    • Some of the internal pieces may loosen or fall out during disassembly.

    • Firmly grasp both parts of the GravityLight body and pull them apart.

    Спросите у FixBot

    Добавить комментарий

  3. GravityLight Mounting Post Replacement and Spring Replacement, Removing the Back Panel Screws: шаг 3, изображение 1 из 1
    • Place the back panel, the larger of the two pieces, on a sturdy surface with its back down.

    • Unscrew the two 2cm Phillips 00 screws on the inside of the back panel.

    Спросите у FixBot

    Добавить комментарий

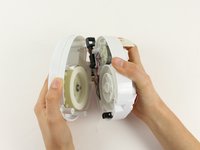
  4. GravityLight Mounting Post Replacement and Spring Replacement, Separating the Back Panel Housing: шаг 4, изображение 1 из 3 GravityLight Mounting Post Replacement and Spring Replacement, Separating the Back Panel Housing: шаг 4, изображение 2 из 3 GravityLight Mounting Post Replacement and Spring Replacement, Separating the Back Panel Housing: шаг 4, изображение 3 из 3
    • Some of the internal pieces may loosen or fall out during disassembly.

    • Firmly grasp both parts of the back panel and pull them apart.

    Спросите у FixBot

    Добавить комментарий

  5. GravityLight Mounting Post Replacement and Spring Replacement, Orienting the Middle Section: шаг 5, изображение 1 из 1
    • Place the middle section on a sturdy surface.

    • Move any wires in front of the mounting post.

    Спросите у FixBot

    Добавить комментарий

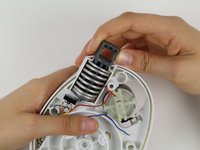
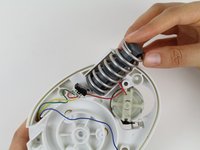
  6. GravityLight Mounting Post Replacement and Spring Replacement, Removing the Mounting Post from the Middle Section.: шаг 6, изображение 1 из 2 GravityLight Mounting Post Replacement and Spring Replacement, Removing the Mounting Post from the Middle Section.: шаг 6, изображение 2 из 2
    • Push down on the spring.

    • The spring is very stiff. Compressing the spring requires a moderate amount of force.

    • Push the spring and the mounting post away from the middle section and remove them from the pocket.

    Спросите у FixBot

    Добавить комментарий

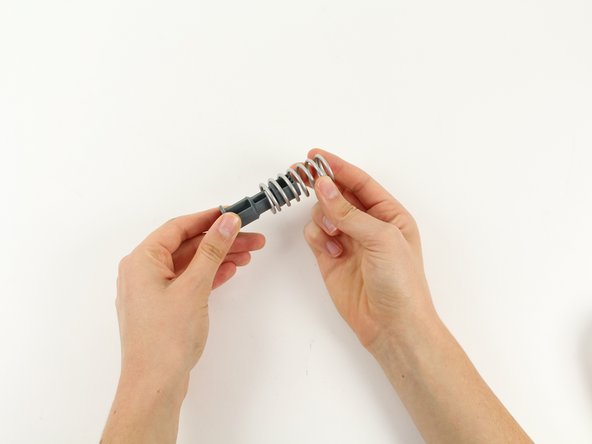
  7. GravityLight Mounting Post Replacement and Spring Replacement, Separate Mounting Post and Spring: шаг 7, изображение 1 из 2 GravityLight Mounting Post Replacement and Spring Replacement, Separate Mounting Post and Spring: шаг 7, изображение 2 из 2
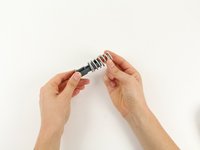
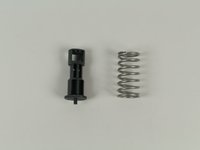
    • Pull the mounting post out of the inside of the spring

    Спросите у FixBot

    Добавить комментарий

Заключение

To reassemble your device, follow these instructions in reverse order.

Отменить: Я не выполнил это руководство.

Jamie Forslin

Участник с: 09/26/14

143 Репутация

1 руководство автора

Команда

Cal Poly, Team 12-2, Forte Fall 2014 Участник Cal Poly, Team 12-2, Forte Fall 2014

CPSU-FORTE-F14S12G2

5 членов

Автор 7 руководств

0 Комментарии к руководству

Добавить комментарий

Статистика просмотров:

За последние 24 часов: 0

За последние 7 дней: 3

За последние 30 дней: 25

За всё время: 1,040