Перейти к основному содержанию
Присоединяйся к сообществу ремонтников - Создай аккаунт

HP 15-BA078DX Hard Drive Replacement

Выберете то, что вам нужно

    1. HP 15-BA078DX Hard Drive Replacement, Battery: шаг 1, изображение 1 из 3 HP 15-BA078DX Hard Drive Replacement, Battery: шаг 1, изображение 2 из 3 HP 15-BA078DX Hard Drive Replacement, Battery: шаг 1, изображение 3 из 3
      • Unclip the two latches on the bottom of the laptop.

      • Slide the battery straight out while holding the clip open.

      Спросите у FixBot

      Добавить комментарий

    1. HP 15-BA078DX Hard Drive Replacement, Disc Drive: шаг 2, изображение 1 из 1
      • Using the Phillips #0 screwdriver, remove the 7.5mm screw from the underside of the plastic frame that holds the disc tray in place.

      Спросите у FixBot

      Добавить комментарий

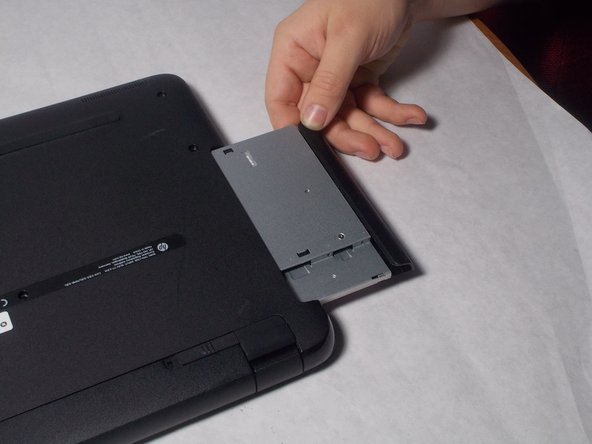
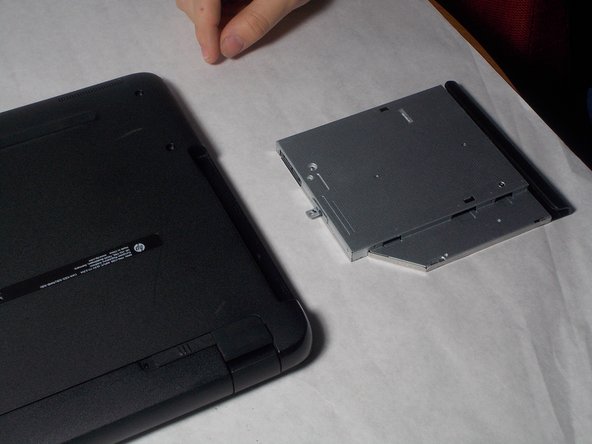
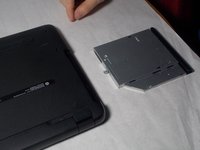
    2. HP 15-BA078DX Hard Drive Replacement: шаг 3, изображение 1 из 3 HP 15-BA078DX Hard Drive Replacement: шаг 3, изображение 2 из 3 HP 15-BA078DX Hard Drive Replacement: шаг 3, изображение 3 из 3
      • Remove the disk tray assembly by sliding it out from the side using the blue plastic opening tool.

      Спросите у FixBot

      Добавить комментарий

    1. HP 15-BA078DX Hard Drive Replacement, Back Panel: шаг 4, изображение 1 из 1
      • Remove all of the remaining back panel screws with a #0 Phillips head screwdriver.

      • Remember to remove the two screws under the rubber feet.

      Спросите у FixBot

      Добавить комментарий

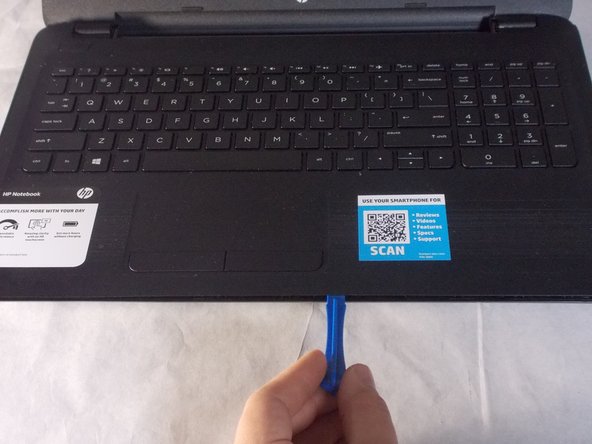
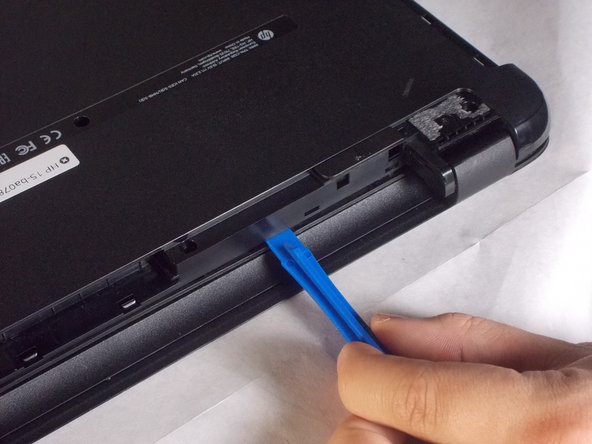
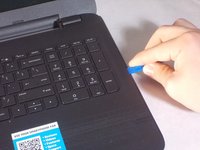
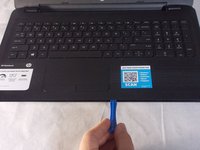
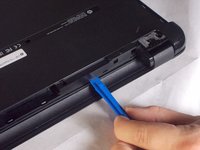
    2. HP 15-BA078DX Hard Drive Replacement: шаг 5, изображение 1 из 3 HP 15-BA078DX Hard Drive Replacement: шаг 5, изображение 2 из 3 HP 15-BA078DX Hard Drive Replacement: шаг 5, изображение 3 из 3
      • Carefully use the blue plastic opening tool to pry the clam shell of the laptop apart.

      • You may need to flip the laptop over to unlatch all of the internal clips.

      Спросите у FixBot

      Добавить комментарий

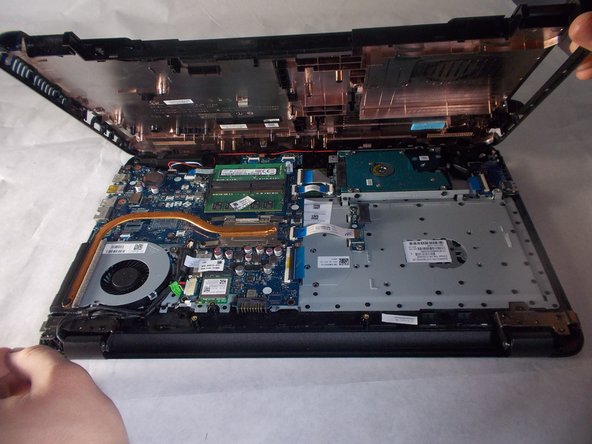
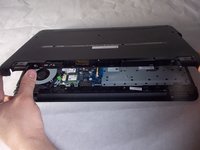
    3. HP 15-BA078DX Hard Drive Replacement: шаг 6, изображение 1 из 3 HP 15-BA078DX Hard Drive Replacement: шаг 6, изображение 2 из 3 HP 15-BA078DX Hard Drive Replacement: шаг 6, изображение 3 из 3
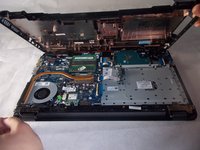
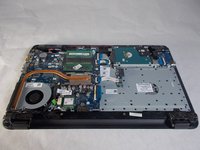
      • Carefully pull the shell of the computer apart.

      Спросите у FixBot

      Добавить комментарий

    1. HP 15-BA078DX Hard Drive Replacement, Hard Drive: шаг 7, изображение 1 из 2 HP 15-BA078DX Hard Drive Replacement, Hard Drive: шаг 7, изображение 2 из 2
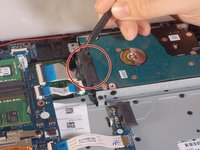
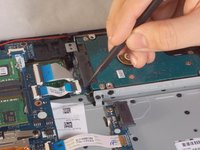
      • Using a black nylon spudger, disconnect the black connector that attaches the hard drive to the motherboard

      Спросите у FixBot

      Добавить комментарий

    2. HP 15-BA078DX Hard Drive Replacement: шаг 8, изображение 1 из 1
      • Using the Phillips #0 screwdriver, unscrew the three screws holding the hard drive down to the board.

      Спросите у FixBot

      Добавить комментарий

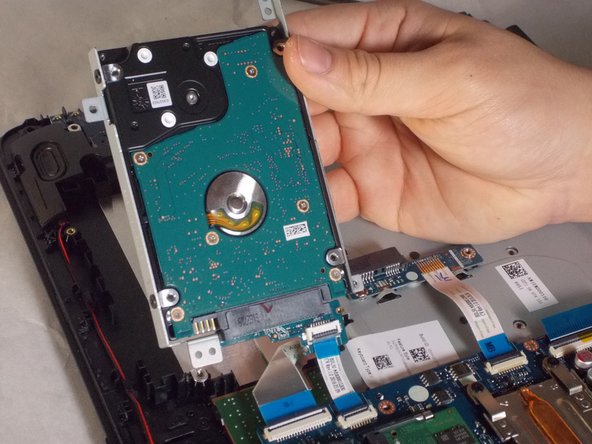
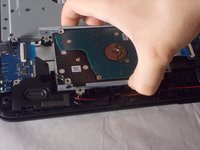
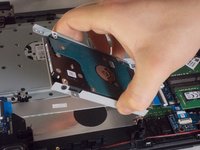
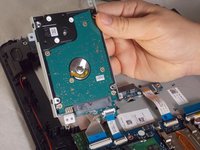
    3. HP 15-BA078DX Hard Drive Replacement: шаг 9, изображение 1 из 3 HP 15-BA078DX Hard Drive Replacement: шаг 9, изображение 2 из 3 HP 15-BA078DX Hard Drive Replacement: шаг 9, изображение 3 из 3
      • Remove the hard drive.

      Спросите у FixBot

      Добавить комментарий

    4. HP 15-BA078DX Hard Drive Replacement: шаг 10, изображение 1 из 2 HP 15-BA078DX Hard Drive Replacement: шаг 10, изображение 2 из 2
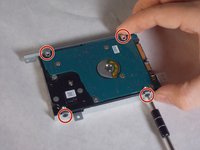
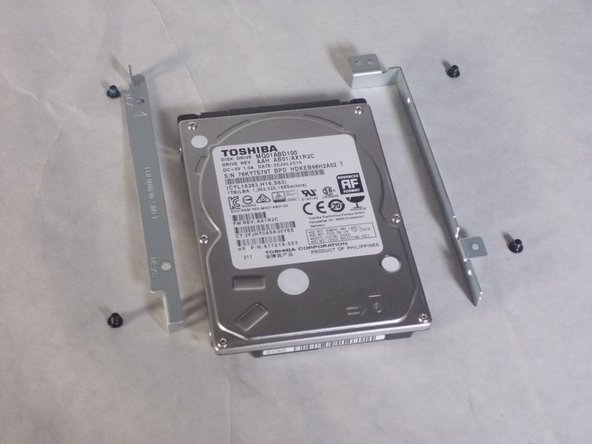
      • Using the Phillips #0 screwdriver, unscrew the four screws from the holding apparatus.

      Спросите у FixBot

      Добавить комментарий

Заключение

To reassemble your device, follow these instructions in reverse order.

Отменить: Я не выполнил это руководство.

3 человек успешно провели ремонт по этому руководству.

Benjamin DosSantos Jr

Участник с: 03/20/18

469 Репутация

Автор 4 руководств

Команда

UMass Dartmouth, Team S3-G4, Peak Spring 2018 Участник UMass Dartmouth, Team S3-G4, Peak Spring 2018

UMASSD-PEAK-S18S3G4

3 членов

Автор 54 руководств

3 Комментарии к руководству

Can you provide the HDD model number for replacement? Also the model number or description of a compatible HDD with higher capacity.

Thank You

jcoengineer - Ответить Поделиться
Today, while disassembling my HP 15-BA078DX I had an issue trying to get the shell apart. I didn't realize that there was a screw under each rubber foot by the hinges. It would have saved me a whole lot of trouble had I known that. Very important to get those 2 screws out, otherwise you will risk breaking out the corner on the backside of the keyboard tray....... like I did. Fortunately for me, I was able to use some 2-part epoxy (the kind that works on plastic) to glue the hinge back down to the shell. Had the author pointed out those 2 screws in particular, in the pictorial, things would have gone way easier. Hopefully, this will help the next guy.

Eric S - Ответить Поделиться

btw.........you will also need a #1 phillips screwdriver if you plan on removing the hard drive.

Eric S - Ответить Поделиться

Добавить комментарий

Статистика просмотров:

За последние 24 часов: 1

За последние 7 дней: 2

За последние 30 дней: 26

За всё время: 1,638