Перейти к основному содержанию
Присоединяйся к сообществу ремонтников - Создай аккаунт

HP 15-R263DX RAM Replacement

Выберете то, что вам нужно

    1. HP 15-R263DX RAM Replacement, Battery: шаг 1, изображение 1 из 2 HP 15-R263DX RAM Replacement, Battery: шаг 1, изображение 2 из 2
      • Eject the battery from the computer by sliding the two clips on the bottom of the computer toward the center of the computer.

      • Slide the battery out as shown in the picture.

      Спросите у FixBot

      Добавить комментарий

    1. HP 15-R263DX RAM Replacement, Optical Drive: шаг 2, изображение 1 из 2 HP 15-R263DX RAM Replacement, Optical Drive: шаг 2, изображение 2 из 2
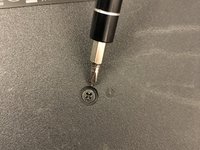
      • Using a Phillips #1 screwdriver, remove the small screw next to the disc engraving shown in the picture.

      Спросите у FixBot

      Добавить комментарий

    2. HP 15-R263DX RAM Replacement: шаг 3, изображение 1 из 1
      • Gently slide the optical drive out of the side of the computer.

      Спросите у FixBot

      Добавить комментарий

    1. HP 15-R263DX RAM Replacement, HP 15-R263DX Disassembly: шаг 4, изображение 1 из 2 HP 15-R263DX RAM Replacement, HP 15-R263DX Disassembly: шаг 4, изображение 2 из 2
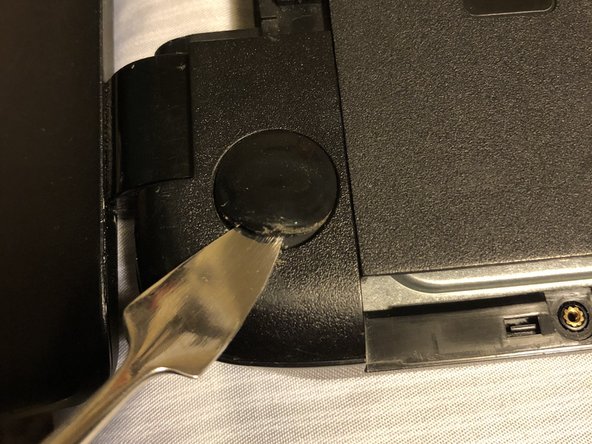
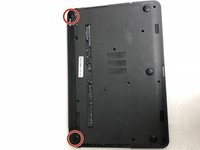
      • Locate the two corner grips on the hinge side of the computer.

      • Using a metal spudger, remove the two corner grips to reveal the screws.

      Спросите у FixBot

      Добавить комментарий

    2. HP 15-R263DX RAM Replacement: шаг 5, изображение 1 из 1
      • Remove the 11 small screws on the bottom of the computer that are shown in the picture.

      Спросите у FixBot

      Добавить комментарий

    3. HP 15-R263DX RAM Replacement: шаг 6, изображение 1 из 1
      • Remove the 2 small screws that are on the bottom side of the disc tray slot.

      • These screws are shorter and wider than the others.

      Спросите у FixBot

      Добавить комментарий

    4. HP 15-R263DX RAM Replacement: шаг 7, изображение 1 из 2 HP 15-R263DX RAM Replacement: шаг 7, изображение 2 из 2
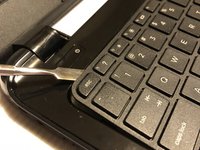
      • Once the keyboard is loose, do not immediately pull away from computer. It is attached by the ribbon connector.

      • Using a spudger, pry around the edges of the keyboard until all clips are disengaged and the keyboard is loose from the computer.

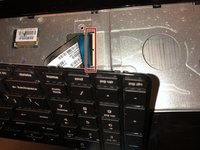
      • To disconnect the ribbon connector, flip up the black clip shown in the picture.

      • Gently pull the ribbon until disconnected.

      Спросите у FixBot

      Добавить комментарий

    5. HP 15-R263DX RAM Replacement: шаг 8, изображение 1 из 2 HP 15-R263DX RAM Replacement: шаг 8, изображение 2 из 2
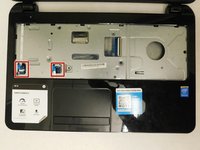
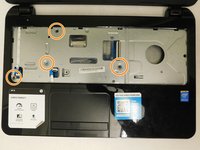
      • Disconnect the other two ribbon connectors underneath the keyboard by fliping up the black clips.

      • Remove the 4 small screws shown in the picture.

      Спросите у FixBot

      Добавить комментарий

    6. HP 15-R263DX RAM Replacement: шаг 9, изображение 1 из 1
      • Disengage the face plate clips by prying the case away from around the outer edge of the face plate with a metal wedge.

      • The face plate can then be lifted away from the computer.

      Спросите у FixBot

      Добавить комментарий

    1. HP 15-R263DX RAM Replacement, Hard Drive: шаг 10, изображение 1 из 1
      • Remove the 2 black screws holding the hard drive to the computer frame.

      Спросите у FixBot

      Добавить комментарий

    2. HP 15-R263DX RAM Replacement: шаг 11, изображение 1 из 2 HP 15-R263DX RAM Replacement: шаг 11, изображение 2 из 2
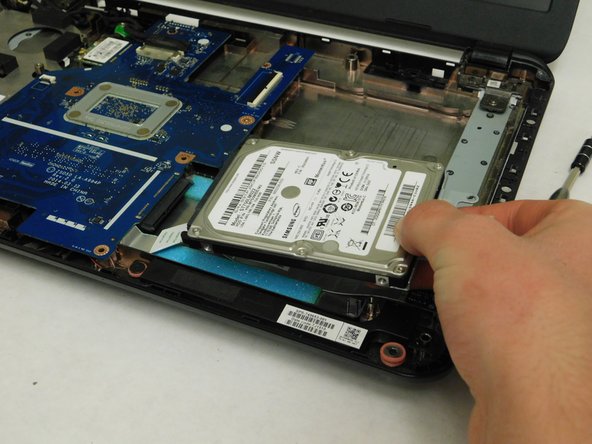
      • Gently slide the hard drive away from the motherboard to disconnect it.

      • After it's disconnected, lift the hard drive up to remove it from the computer.

      Спросите у FixBot

      Добавить комментарий

    1. HP 15-R263DX RAM Replacement, RAM: шаг 12, изображение 1 из 1
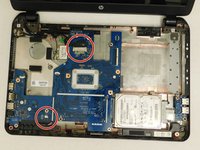
      • Remove the 2 screws holding the motherboard into the case of the laptop.

      Спросите у FixBot

      Добавить комментарий

    2. HP 15-R263DX RAM Replacement: шаг 13, изображение 1 из 2 HP 15-R263DX RAM Replacement: шаг 13, изображение 2 из 2
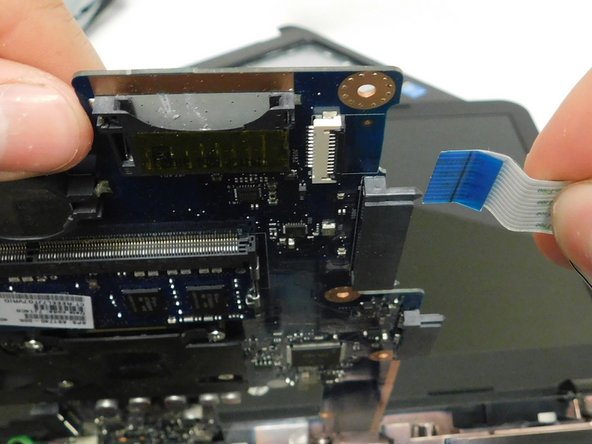
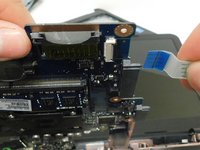
      • Remove the connections around the motherboard.

      • There is a connection hidden underneath the board. Remove this one last as you will need to lift the motherboard up to access it.

      Спросите у FixBot

      Добавить комментарий

    3. HP 15-R263DX RAM Replacement: шаг 14, изображение 1 из 2 HP 15-R263DX RAM Replacement: шаг 14, изображение 2 из 2
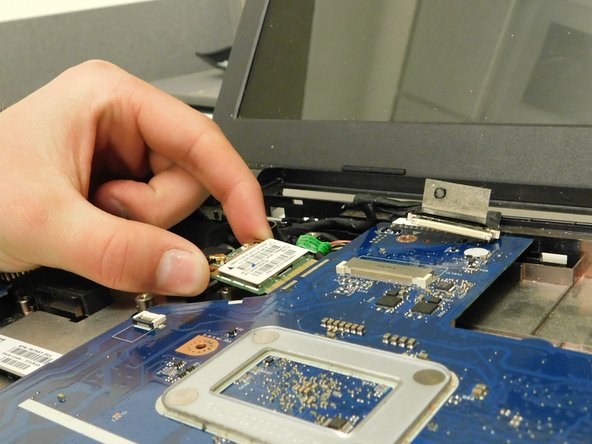
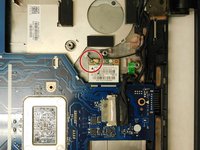
      • Remove the screw holding the WiFi chip in place.

      • Slide the chip away from the motherboard and set it elsewhere inside the computer.

      Спросите у FixBot

      Добавить комментарий

    4. HP 15-R263DX RAM Replacement: шаг 15, изображение 1 из 1
      • Flip the motherboard over to access the underside revealing the RAM.

      Спросите у FixBot

      Добавить комментарий

    5. HP 15-R263DX RAM Replacement: шаг 16, изображение 1 из 2 HP 15-R263DX RAM Replacement: шаг 16, изображение 2 из 2
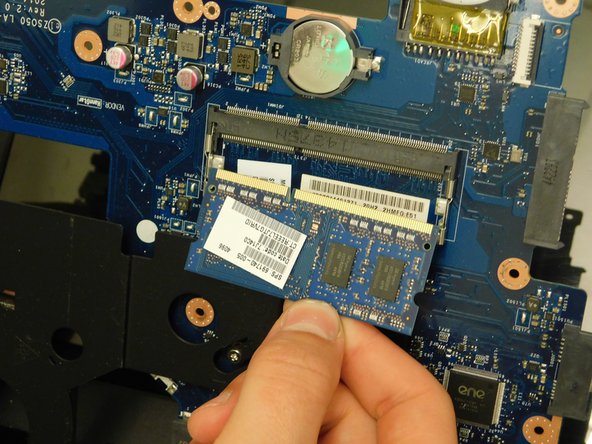
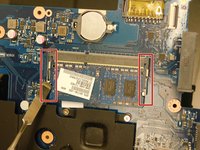
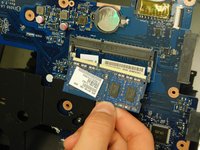
      • Remove the RAM chip by simultaneously prying the 2 spring clips away from the RAM.

      • The RAM will pop up when both clips are completely released.

      Спросите у FixBot

      Добавить комментарий

Заключение

To reassemble your device, follow these instructions in reverse order.

Отменить: Я не выполнил это руководство.

5 человек успешно провели ремонт по этому руководству.

Drake Hort

Участник с: 03/05/18

487 Репутация

Автор 3 руководств

Команда

Washington State, Team S2-G3, Lobnitz Spring 2018 Участник Washington State, Team S2-G3, Lobnitz Spring 2018

WSU-LOBNITZ-S18S2G3

8 членов

Автор 56 руководств

1 Комментарий к руководству

is this laptop model ram upgradable?

Gordon Velupillai - Ответить Поделиться
Добавить комментарий

Статистика просмотров:

За последние 24 часов: 1

За последние 7 дней: 10

За последние 30 дней: 32

За всё время: 1,924