Введение
Project title: How to Replace a Keyboard on an HP Pavilion Series Laptop
Included:
- Checkpoint photo set (PDF, steps 1–8): 4 completed, hands-on photos (my HP Pavilion and my hand in frame) and labeled placeholders for the final four shots I’ll add after approval.
📄 iFixit_Checkpoint_Photo_Set_Nancy_Forvilus-Corvil.pdf - (Optional supporting docs for your records)
• 📄 Fast Fix Project Proposal
• 📄 Full iFixit Project – HP Pavilion Keyboard
What the attached photos show (Steps 1–4 completed):
- Powering down and unplugging the HP Pavilion
- Flipping the laptop to access the bottom panel/battery area
- Identifying bottom-panel screws and battery latch
- Setting up the work area and parts tray
I plan to add the remaining shots (panel off, ribbon-cable unlock/lock, and final key test) immediately after checkpoint approval. Please let me know if these meet the EDU requirements or if you’d like any adjustments before I proceed.
Thank you for your time!
Выберете то, что вам нужно
-
-
-
Remove all external devices from the computer.
-
Remove the charging cord from the computer.
 Спросите у FixBot
-
-
-
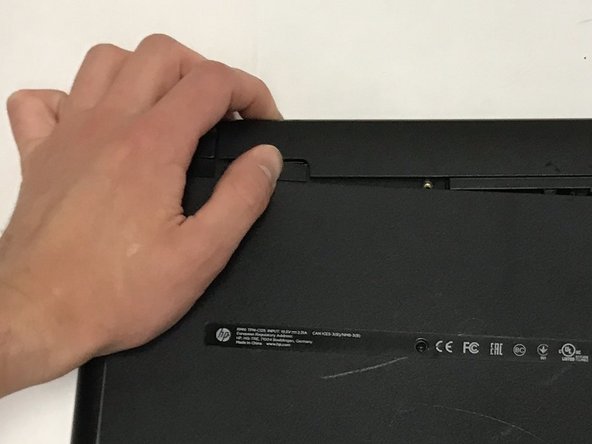
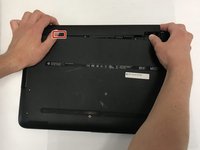
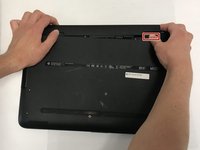
To remove the battery, slide the left slider on the back to the unlocked position.
-
-
-
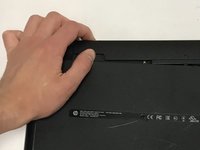
Push the right slider inwards.
-
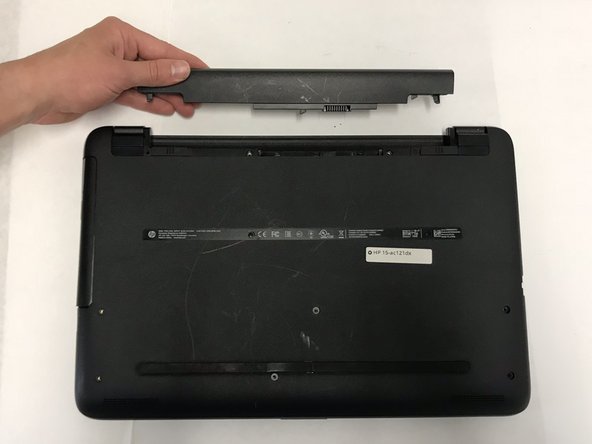
Remove the battery out by pulling straight out and to the right.
-
-
-
-
-
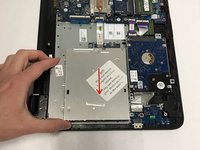
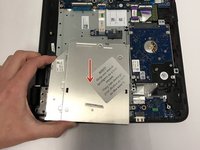
Locate the CD Compartment panel and gently slide it out.
-
-
-
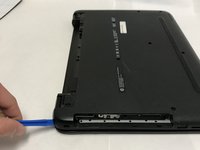
Remove the back of the laptop by unscrewing the screws shown.
-
Also remove the other 5 Phillips screws lining the back cover.
-
-
-
Using the prying tool, wedge it underneath the back of the laptop and do the same all around until the back comes off.
-
Dont forget to unscrew 2 screws under 2 plastic tabs (one on each hing). The lid will not come off without them being removed!
-
-
-
-
-
-
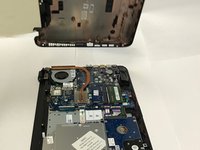
Locate the CD Compartment as shown and gently slide it out.
-
-
-
-
-
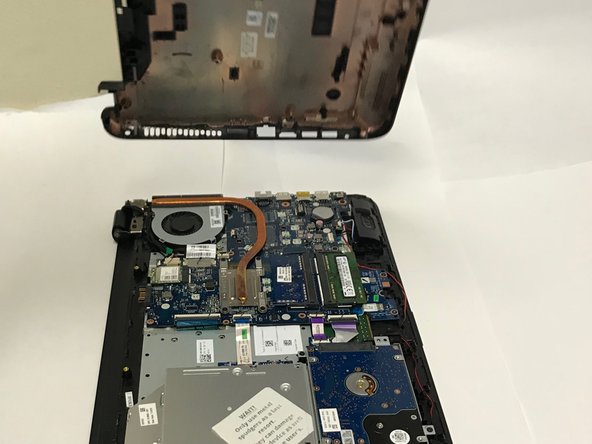
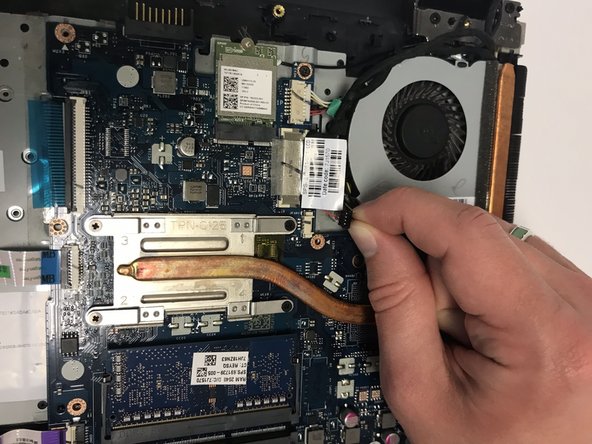
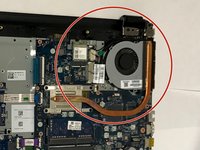
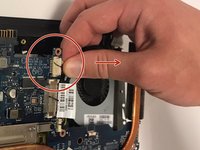
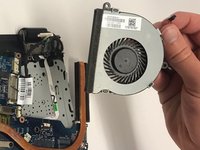
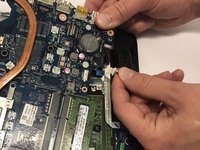
Locate the Fan as shown.
-
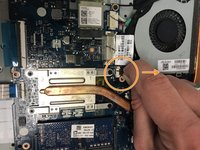
Pull out the black cable, with four wires attached from its port.
-
-
-
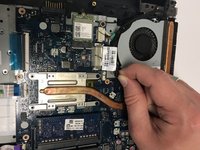
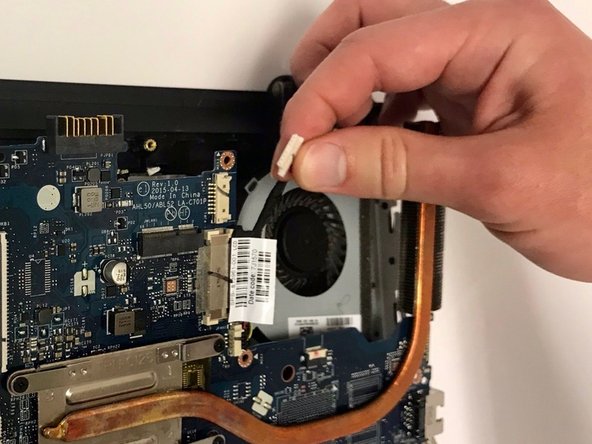
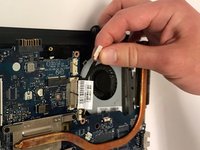
Pull out the white cable wire from its port.
-
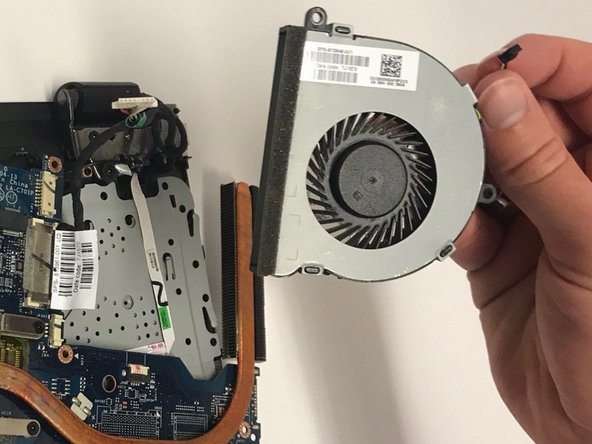
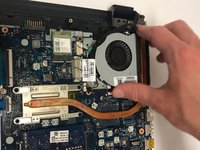
Unscrew the two black Phillips screws holding in the fan.
-
-
-
-
-
Remove the TEN 3mm screws.
-
Remove the ONE 9mm screw.
-
-
-
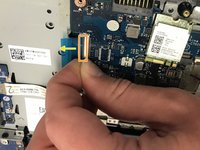
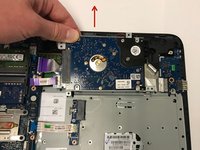
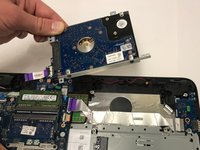
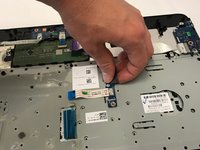
Locate the four ribbon clips.
-
Lift the grey part of the ribbon clips.
-
Pull the ribbon cable out and repeat this step for all four ribbon cables.
-
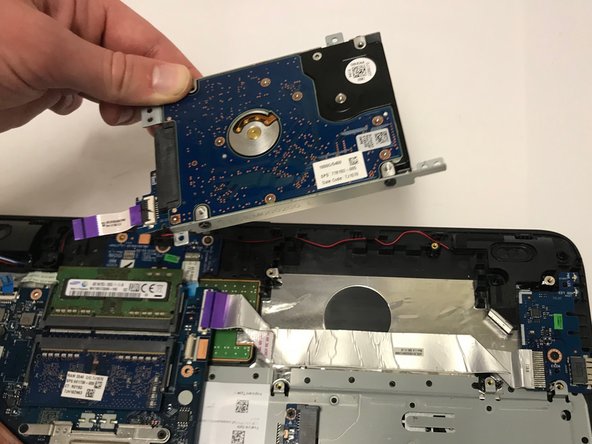
Also use a spudger and release the TWO cables attaching the hard drive to the motherboard. Another ribbon cable is located where the fan was sitting.
-
-
-
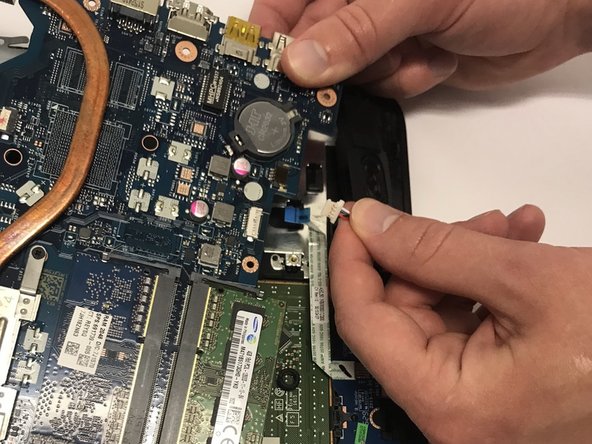
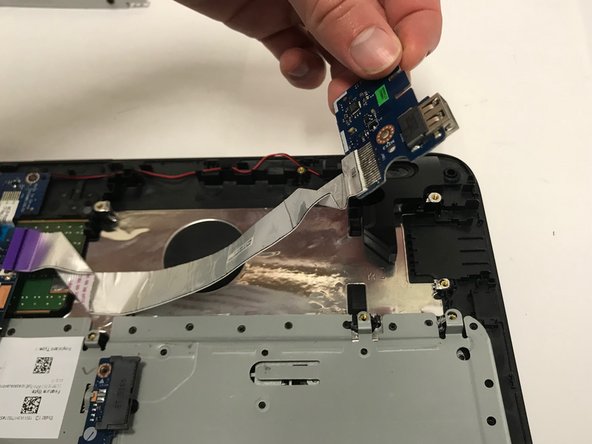
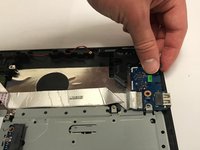
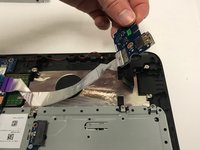
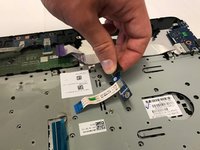
Pull out the white cable (contains red and white cable attached to a black support) with wires from its port.
-
-
-
-
-
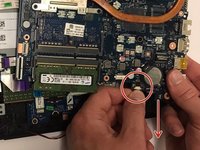
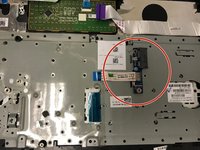
Lift up the cable port and place it to the side but do not remove completely from the laptop.
-
Remove the single Phillips screw securing it first.
-
-
-
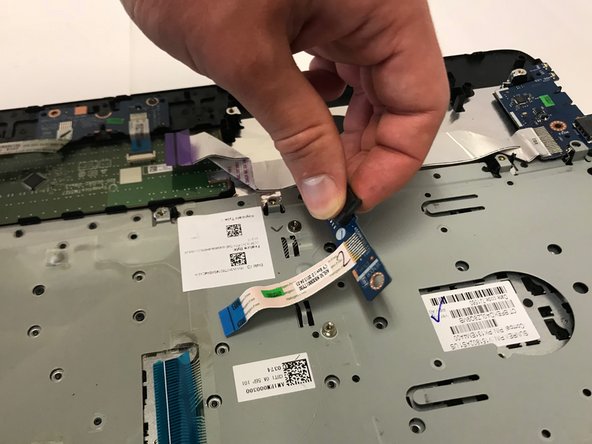
Remove the VENDOR component.
-
Unscrew the single Phillips screw holding it to the frame first.
-
-
-
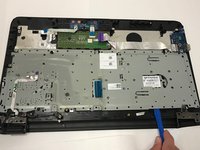
Using a plastic prying tools, remove the grey metal plate.
-
It will not come off easy, but do not force it off.
-
-
-
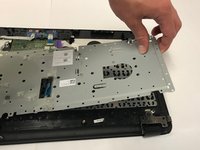
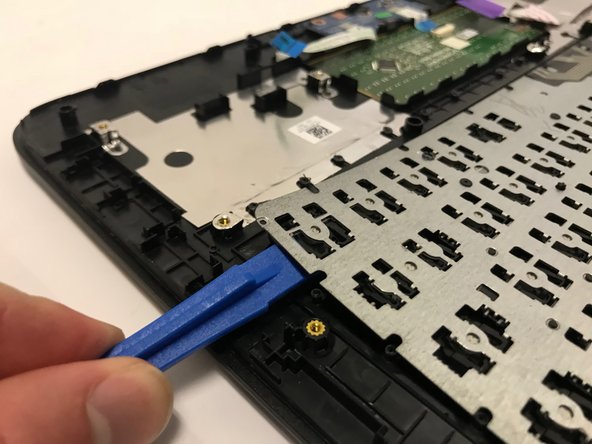
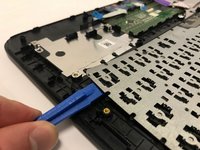
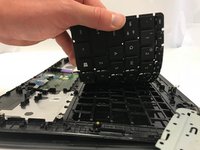
Locate the damaged keyboard and lift up with the prying tool to remove.
-
-
-
To put everything back together and use your laptop with the new keyboard, follow the steps in REVERSE..
-
ENJOY :)
-


To reassemble your device, follow these instructions in reverse order.
Отменить: Я не выполнил это руководство.
7 человек успешно провели ремонт по этому руководству.
Команда

Baylor, Team S1-G2, Johnson Spring 2018 Участник Baylor, Team S1-G2, Johnson Spring 2018
BU-JOHNSON-S18S1G2
3 членов
Автор 18 руководств
3 Комментарии к руководству
Did you have to use soldering iron to melt the plastic rivets when putting back the keyboard?
Cheers.
I have done these before and yes, using a soldering iron to melt the plastic rivets is a good method.
Helpful. Too good!