Перейти к основному содержанию
Присоединяйся к сообществу ремонтников - Создай аккаунт

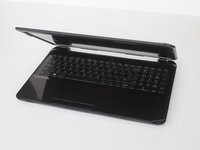
HP 15-d076nr Fan Replacement

Выберете то, что вам нужно

    1. HP 15-d076nr Fan Replacement, Battery: шаг 1, изображение 1 из 1
      • Orient the laptop upside down so that the back of the laptop, where the battery is located, faces you.

      • Locate the left and right switches at the bottom of the laptop.

      Спросите у FixBot

      Добавить комментарий

    2. HP 15-d076nr Fan Replacement: шаг 2, изображение 1 из 1
      • Move the right switch to the left so that the orange unlock symbol is showing.

      Спросите у FixBot

      Добавить комментарий

    3. HP 15-d076nr Fan Replacement: шаг 3, изображение 1 из 1
      • Move the left switch to the right, covering the battery symbol, and hold.

      Спросите у FixBot

      Добавить комментарий

    4. HP 15-d076nr Fan Replacement: шаг 4, изображение 1 из 1
      • While holding the left switch in place, slide the battery towards you and away from the laptop.

      Спросите у FixBot

      Добавить комментарий

    1. HP 15-d076nr Fan Replacement, Wireless Card: шаг 5, изображение 1 из 1
      • Re-orient the laptop, so that the back of the laptop faces away from you.

      Спросите у FixBot

      Добавить комментарий

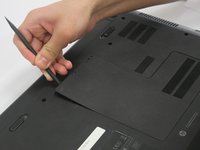
    2. HP 15-d076nr Fan Replacement: шаг 6, изображение 1 из 1
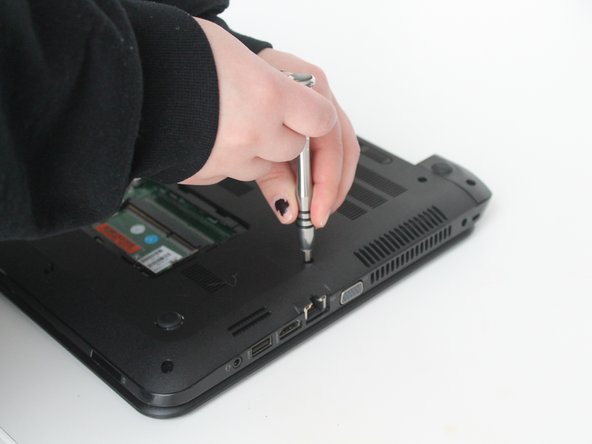
      • Locate the small screw on the panel at the center of the laptop.

      • Loosen the small screw using a Philips # 1 screwdriver.

      • The screw does not come free from the panel. It only needs to be loosened enough so that the panel can be lifted/pried.

      Спросите у FixBot

      Добавить комментарий

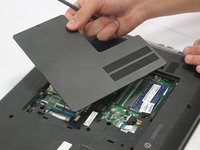
    3. HP 15-d076nr Fan Replacement: шаг 7, изображение 1 из 2 HP 15-d076nr Fan Replacement: шаг 7, изображение 2 из 2
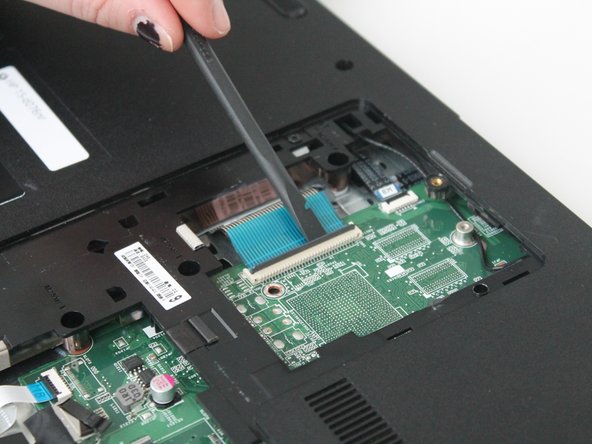
      • Carefully pry the middle panel up using a plastic spudger, or other prying tool .

      • Pull the panel away from the laptop and set it off to the side.

      Спросите у FixBot

      Добавить комментарий

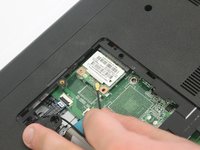
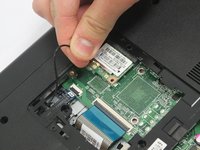
    4. HP 15-d076nr Fan Replacement: шаг 8, изображение 1 из 2 HP 15-d076nr Fan Replacement: шаг 8, изображение 2 из 2
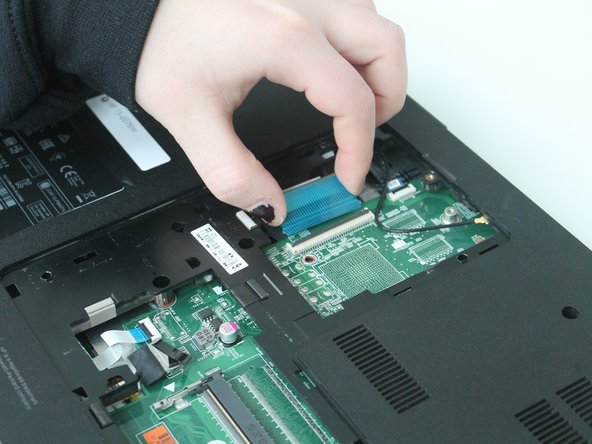
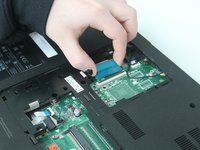
      • Gently wiggle and lift the black antenna wire away from the wireless card.

      • If there is also a white wire attached, both black and white wires will need to be removed from the wireless card.

      Спросите у FixBot

      Добавить комментарий

    5. HP 15-d076nr Fan Replacement: шаг 9, изображение 1 из 3 HP 15-d076nr Fan Replacement: шаг 9, изображение 2 из 3 HP 15-d076nr Fan Replacement: шаг 9, изображение 3 из 3
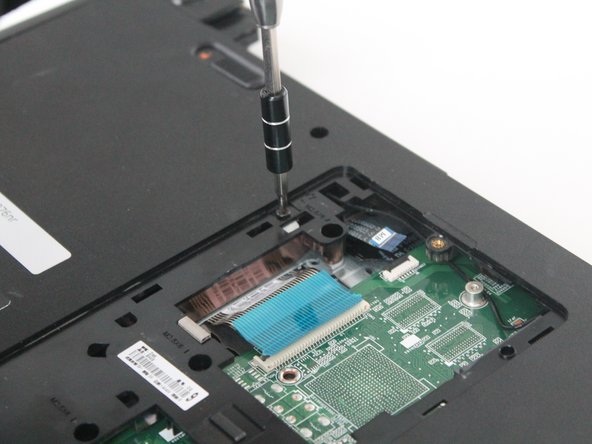
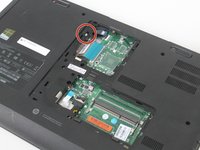
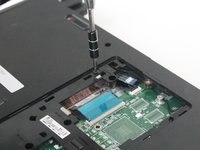
      • Locate the Phillips 2.0x3.0mm screw on the upper left corner of the wireless card.

      • Carefully remove the 2.0x3.0mm screw using a Philips #0 screwdriver.

      Спросите у FixBot

      Добавить комментарий

    6. HP 15-d076nr Fan Replacement: шаг 10, изображение 1 из 1
      • Slide the wireless card to the left to remove it from the socket.

      Спросите у FixBot

      Добавить комментарий

    1. HP 15-d076nr Fan Replacement, Motherboard: шаг 11, изображение 1 из 1
      • Locate the RAM in the exposed area.

      Спросите у FixBot

      Добавить комментарий

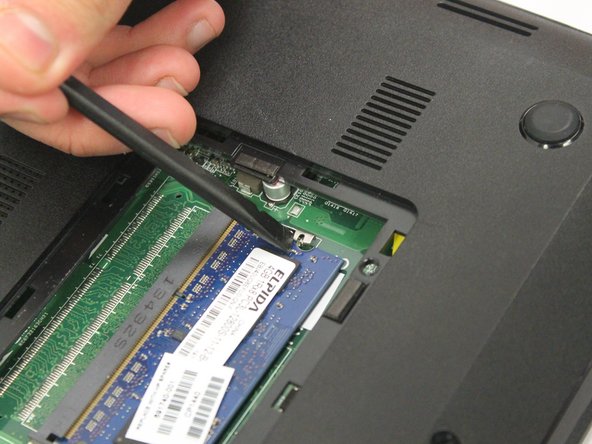
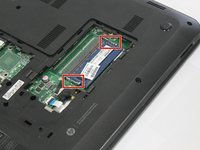
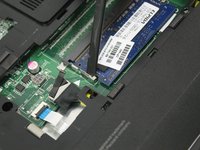
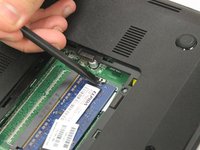
    2. HP 15-d076nr Fan Replacement: шаг 12, изображение 1 из 3 HP 15-d076nr Fan Replacement: шаг 12, изображение 2 из 3 HP 15-d076nr Fan Replacement: шаг 12, изображение 3 из 3
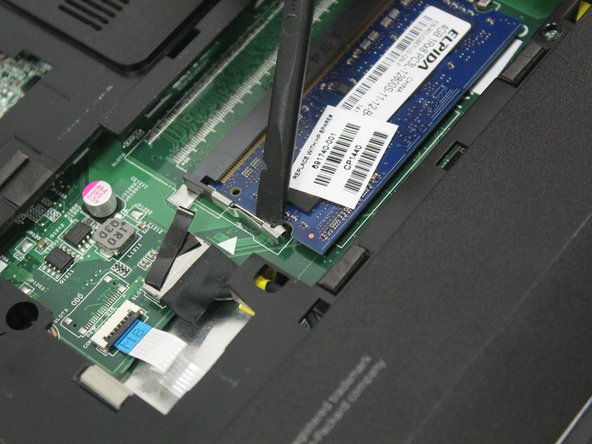
      • Locate the latches on the RAM.

      • Slide the latches away from the RAM using a plastic spudger.

      • The RAM might spring out.

      Спросите у FixBot

      Добавить комментарий

    3. HP 15-d076nr Fan Replacement: шаг 13, изображение 1 из 1
      • Remove the RAM.

      Спросите у FixBot

      Добавить комментарий

    4. HP 15-d076nr Fan Replacement: шаг 14, изображение 1 из 3 HP 15-d076nr Fan Replacement: шаг 14, изображение 2 из 3 HP 15-d076nr Fan Replacement: шаг 14, изображение 3 из 3
      • Locate the ribbon cables.

      • Pry up the black tabs on the connectors and disconnect both of the ribbon cables.

      Спросите у FixBot

      Добавить комментарий

    5. HP 15-d076nr Fan Replacement: шаг 15, изображение 1 из 2 HP 15-d076nr Fan Replacement: шаг 15, изображение 2 из 2
      • Locate the DVD drive screw.

      • Remove the Phillips PM2.5×6.5 screw using a Phillips #0 screwdriver.

      • Continue using a Phillips #0 screwdriver for the rest of this guide, and subsequent guides.

      • Take the screw and place it in a container so as to not lose it.

      Спросите у FixBot

      Добавить комментарий

    6. HP 15-d076nr Fan Replacement: шаг 16, изображение 1 из 2 HP 15-d076nr Fan Replacement: шаг 16, изображение 2 из 2
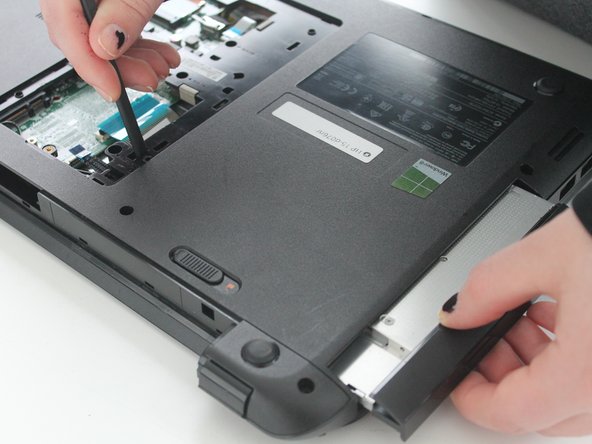
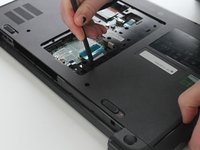
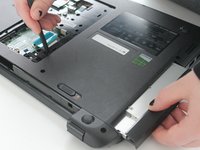
      • Push down the tab that is located by the DVD drive screw.

      • Take the DVD drive in one hand, and using the plastic spludger, push the tab down, and out.

      Спросите у FixBot

      Добавить комментарий

    7. HP 15-d076nr Fan Replacement: шаг 17, изображение 1 из 2 HP 15-d076nr Fan Replacement: шаг 17, изображение 2 из 2
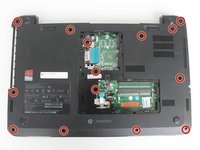
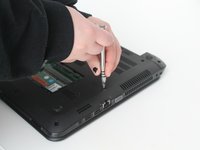
      • Remove the fourteen Phillips PM2.5×6.0 screws, and place them in a separate container.

      Спросите у FixBot

      Добавить комментарий

    8. HP 15-d076nr Fan Replacement: шаг 18, изображение 1 из 3 HP 15-d076nr Fan Replacement: шаг 18, изображение 2 из 3 HP 15-d076nr Fan Replacement: шаг 18, изображение 3 из 3
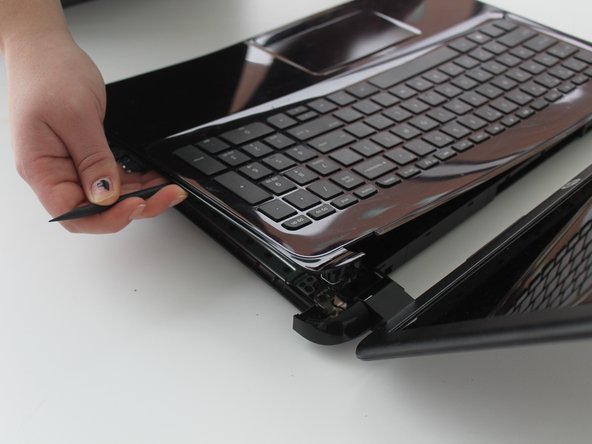
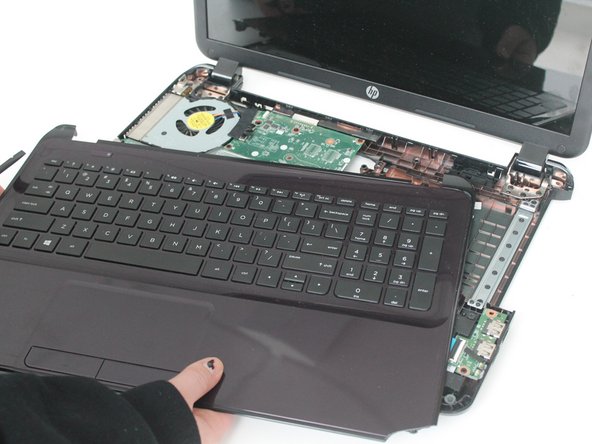
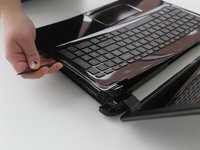
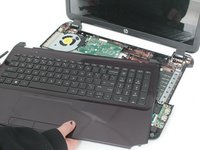
      • Flip the laptop over, and open it as if you were using it.

      • Gently, remove the laptop cover/keyboard from the laptop using the plastic spudger.

      • When you remove the cover/keyboard, the laptop will become top heavy.

      Спросите у FixBot

      Добавить комментарий

    9. HP 15-d076nr Fan Replacement: шаг 19, изображение 1 из 1
      • Disconnect the monitor cable, using the plastic spudger, and pry it upwards.

      • Pull the cable from its routing until it is free.

      Спросите у FixBot

      Добавить комментарий

    10. HP 15-d076nr Fan Replacement: шаг 20, изображение 1 из 2 HP 15-d076nr Fan Replacement: шаг 20, изображение 2 из 2
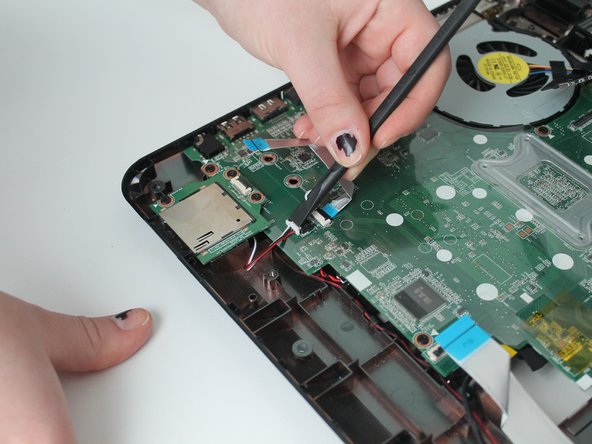
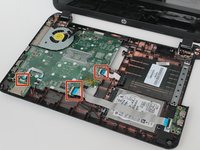
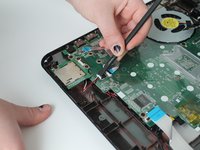
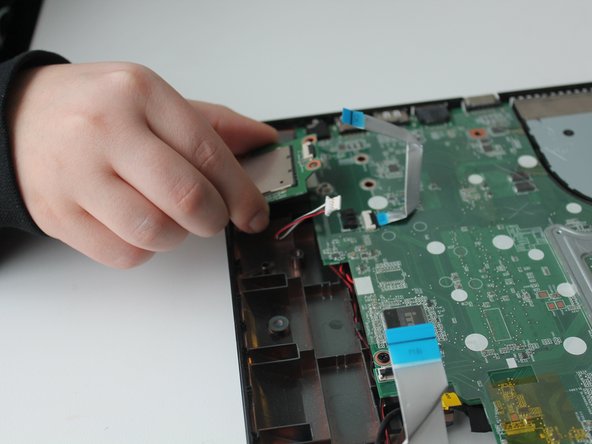
      • Lift the black tabs, and disconnect the three ribbon cables.

      • Disconnect the red-black-white speaker cable located in the lower left corner.

      Спросите у FixBot

      Добавить комментарий

    11. HP 15-d076nr Fan Replacement: шаг 21, изображение 1 из 2 HP 15-d076nr Fan Replacement: шаг 21, изображение 2 из 2
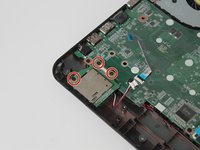
      • Remove the three Phillips PM2.5×4.0 screws on the card reader in the bottom left corner.

      • Place the screws in a separate container.

      • Remove the card reader.

      Спросите у FixBot

      Добавить комментарий

    12. HP 15-d076nr Fan Replacement: шаг 22, изображение 1 из 2 HP 15-d076nr Fan Replacement: шаг 22, изображение 2 из 2
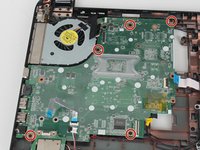
      • Remove the five Phillips PM2.5×5.0 screws on the motherboard.

      Спросите у FixBot

      Добавить комментарий

    13. HP 15-d076nr Fan Replacement: шаг 23, изображение 1 из 1
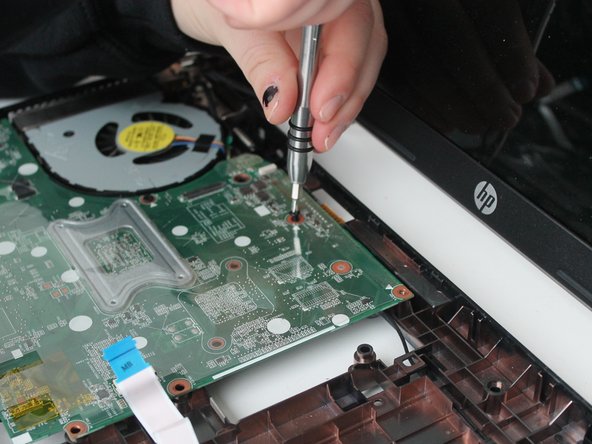
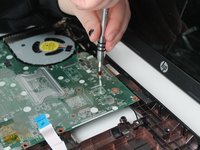
      • Remove the Phillips PM2.5×5.0 screw located on the fan, in the upper right corner.

      Спросите у FixBot

      Добавить комментарий

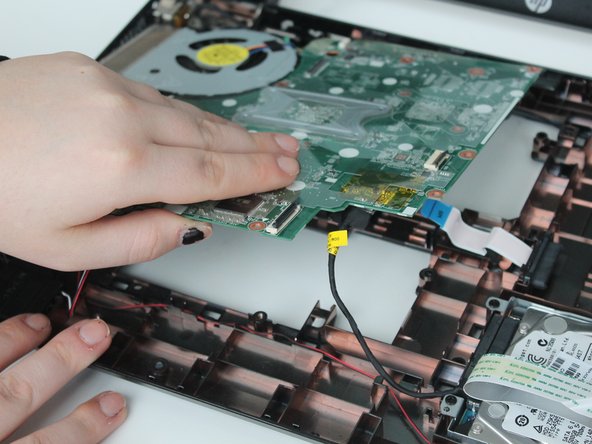
    14. HP 15-d076nr Fan Replacement: шаг 24, изображение 1 из 2 HP 15-d076nr Fan Replacement: шаг 24, изображение 2 из 2
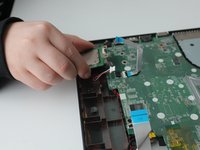
      • Carefully lift up the motherboard.

      • Do not completely remove the motherboard. Simply lift it. There is a black cable on the bottom of the motherboard that is anchoring it.

      Спросите у FixBot

      Добавить комментарий

    15. HP 15-d076nr Fan Replacement: шаг 25, изображение 1 из 1
      • Locate the cable on the underside of the motherboard, in its lower right corner.

      • Carefully grip the cable, and pull downward to remove it.

      Спросите у FixBot

      Добавить комментарий

    16. HP 15-d076nr Fan Replacement: шаг 26, изображение 1 из 1
      • Flip the motherboard over.

      Спросите у FixBot

      Добавить комментарий

    17. HP 15-d076nr Fan Replacement: шаг 27, изображение 1 из 1
      • Locate the charge port cable connection point on the motherboard.

      • Grab the charge port cable's connector, and wiggle it to remove it.

      • Set the board off to the side.

      Спросите у FixBot

      Добавить комментарий

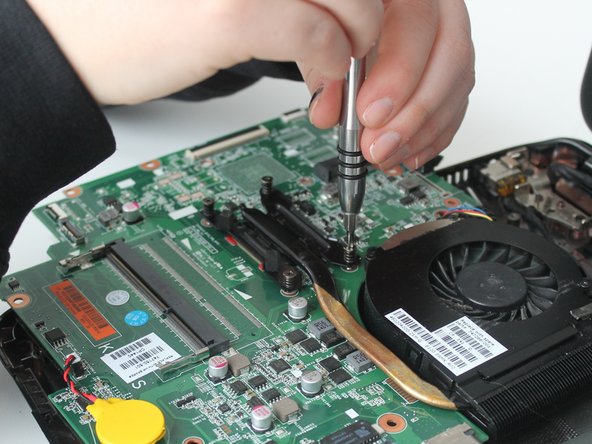
    1. HP 15-d076nr Fan Replacement, Fan: шаг 28, изображение 1 из 2 HP 15-d076nr Fan Replacement, Fan: шаг 28, изображение 2 из 2
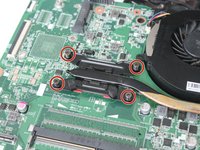
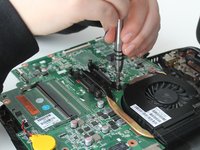
      • Carefully loosen the four screws on the processor heat sink.

      • The screws do not come out. They are retained by the heat sink.

      Спросите у FixBot

      Добавить комментарий

    2. HP 15-d076nr Fan Replacement: шаг 29, изображение 1 из 1
      • Disconnect the red-yellow-blue-black cable, next to the fan, on the motherboard.

      • You may need to wiggle it

      Спросите у FixBot

      Добавить комментарий

    3. HP 15-d076nr Fan Replacement: шаг 30, изображение 1 из 1
      • Remove the fan.

      Спросите у FixBot

      Добавить комментарий

Заключение

To reassemble your device, follow these instructions in reverse order.

Отменить: Я не выполнил это руководство.

Mohiuddin Baig

Участник с: 01/10/17

172 Репутация

1 руководство автора

Команда

Oakland University, Team 2-2, Ruskiewicz Winter 2017 Участник Oakland University, Team 2-2, Ruskiewicz Winter 2017

OAK-RUSKIEWICZ-W17S2G2

4 членов

Автор 57 руководств

0 Комментарии к руководству

Добавить комментарий

Статистика просмотров:

За последние 24 часов: 2

За последние 7 дней: 8

За последние 30 дней: 26

За всё время: 936